These anti-inflammatory recipes are designed to support blood sugar balance, reduce inflammation, and simplify everyday meals without restriction or complicated rules. You’ll find breakfasts, dinners, snacks, and seasonal recipes built around whole foods, flexibility, and real-life consistency. Recipes are sugar-free, gluten-free, flour-free, anti-inflammatory, and Mediterranean diet compliant.
This Red Velvet Smoothie is the BEST red beet smoothie I’ve had, hands down.
Not only is it super easy, it packs in healthy fats plus mega antioxidants with non-peeled red beets. Plus it’s sugar-free, gluten-free, and can be adapted easily to be dairy free.
If you’re all in on healthy anti-inflammatory smoothies that taste like dessert, you HAVE to try this one!
Here’s how to make this divine red velvet smoothie:
You’ll need-
2 cups of milk
2 cups of ice
½ avocado
½ beet
3 TBSP cocoa powder
2 scoops vanilla protein powder (non-sugar sweetened)
2 TBSP granular sweetener
Directions:
Cut up the beet
So the first thing we’re gonna do is wash the beet really well (these tend to still have a lot of dirt on them) and then cut up the beet.
You can peel the beet if you want, but studies have shown that good bacteria from unpeeled vegetables can help boost the immune system. So I opt NOT to peel mine.
Then cut it up really small. If you don’t have a high-powered blender, boil them first for 20-40 minutes to get them softer and then let them cool.
Those can go right into the blender.
And don’t throw the greens away! You can chop them up and use them in dishes like frittatas, in salads, and even nourish bowls.
Avocado
Cut open your avocado and spoon out ½ of it into the blender.
If you’re not using the other half, seal it in a snack-size baggie and store it in the fridge with the seed in it.
Milk
Add your milk—I say use full-fat whole if you tolerate dairy, if not, choose an unsweetened dairy-free version
Cocoa Powder
Add your Cocoa powder
Vanilla Protein Powder
Make sure you use vanilla flavored protein powder, but one that is not sweetened with sugar. Best bets are sweetened with stevia, monk fruit, or allulose.
Sweetener
Add your natural, zero-calorie sweetener – I prefer stevia, monk fruit, erythritol, or allulose.
Remember, per anti-inflammatory guidelines, we’re steering clear of any sugar, but also artificial sweeteners.
Ice
Add your Ice
Blend
Blend until it’s super smooth, keeping an eye on the beet chunks.
Tips
Now if you’re watching your blood sugar levels, a good trick is to add in more protein.
Two ways to add a boost of protein to this would be to:
sub in ½ cup of Greek yogurt for ½ of the milk, or
This Red Velvet Smoothie is super easy and packs in healthy fats plus mega antioxidants with red beets. If you’re all in on healthy anti inflammatory smoothies that taste like dessert, you’ll love this red beet smoothie!
Author:Laura Brigance, MS, CHC
Prep Time:5
Total Time:5 minutes
Yield:21x
Ingredients
Scale
2 cups of milk
2 cups of ice
1/2 avocado
1/2 beet
3 TBSP cocoa powder
2 scoops Vanilla protein powder (non-sugar sweetened)
2 TBSP granular sweetener (2-4 TBSP, to taste)
Instructions
Wash the beet really well and cut it up into super small chunks. If you don’t have a high powered blender, you may want to boil the beet for 20-40 minutes to soften it up. Add the beet to the blender.
Cut open your avocado and spoon out ½ of it into the blender.
Cooking breakfast for everyone on the weekends is one of my husband’s favorite things to do. And this is seriously one of my favorite anti inflammatory breakfasts for fall.
Because how can you beat pancakes and pumpkin?
And since we’re on a mission to control our blood sugar levels, we’re doing it with an anti-inflammatory keto version of pumpkin pancakes that you’re gonna love!
One thing I wanna highlight for these keto pumpkin pancakes is that they’ve got a good amount of protein in them.
What we’ve found in our house is that the kids tend to veer more towards carbs in the morning, so if I use a higher protein recipe, they’re getting a better balanced meal that leads to less blood sugar spikes (and crashes) and keeps us full longer.
But the norm to accomplish this is to use a protein powder. Instead, I like to use egg white powder for that extra protein. (This trick also keeps it dairy-free.)
One thing to note is that you can store these in the fridge if you have leftovers, and I’ve even frozen them to have for anti-inflammatory breakfast and snacks!
Eating for your health shouldn’t mean skipping breakfast or flavor. These pumpkin pancakes prove you can do both — deliciously. My free Anti-Inflammatory Diet Quick-Start Guide shows you exactly how to get started with blood-sugar-balancing meals like this one. ✨ Download your free Quick-Start Guide and make your mornings both cozy and anti-inflammatory.
Pumpkin puree, coffee, erythritol or other granulated natural sugar-free sweetener, vanilla extract, unsweetened non-dairy milk of your choice, and pumpkin pie spice.
You don’t have to give up your favorite fall latte to stay anti-inflammatory — you just need the right ingredients. My free Anti-Inflammatory Diet Quick-Start Guide shows you exactly how to swap out sneaky inflammatory foods for blood-sugar-friendly ones (like this version of your PSL!). 🍂 Grab your free Quick-Start Guide and learn how to make every cozy craving work for your health.
Prepare the 2 parts of your pumpkin spice latte
First, you need to go ahead and start your coffee brewing. This will take a few minutes.
While your coffee is brewing, add that cup of nondairy milk to a small saucepan and turn it to medium heat, then add in your sweetener, and the pumpkin puree.
And then whisk it really well until it’s all mixed together,and let it get really warm.
Then turn off your heat, add the vanilla extract and pumpkin spice, give it another good whisk…
And then you’re ready to pour it up!
Pour it up like a barista
Put the coffee in your mug first, then pour the pumpkin milk mixture into the coffee.
This Healthy Pumpkin Spice Latte proves you can sip something sweet, creamy, and comforting — without the sugar crash or inflammation spike. Want more anti-inflammatory recipes that feel just as indulgent? ✨ Download the free Anti-Inflammatory Diet Quick-Start Guide and start enjoying seasonal favorites that fuel your energy and calm inflammation all year long.
The Anti-Inflammatory Vegan Pumpkin Cheesecake Smoothie You’ve Been Waiting For
Today we’re making what tastes like dessert but is a balanced meal with a fall-inspired yummy twist: Pumpkin Cheesecake Smoothies
So, there’s nothing better than that break in heat from the summer and smelling fall in the air, and when it comes to easy, yummy, FAST meals, you can’t beat a smoothie.
This fall-inspired, anti inflammatory Pumpkin Cheesecake Smoothie owes its anti-inflammatory balanced macro goodness to pumpkin and banana and a surprise ingredient that gives it that creamy cheesecake mouthfeel that keeps us coming back for more. 😋
When you can sip on something this creamy and know it’s anti-inflammatory, that’s a win-win. My free Anti-Inflammatory Diet Quick-Start Guide shows you how to build more everyday meals just like this — balanced, satisfying, and healing from the inside out. ✨ Grab your free Quick-Start Guide and start feeling your best this fall.
And here’s how you make it…
Prep Your Ingredients
Although many smoothies are just ‘dump and blend’, this one needs two ingredients pre-frozen: a banana and the pumpkin puree.
We keep bananas that were about to go bad in a baggie in the freezer so I always have them on hand for smoothies (or ice cream). But the pumpkin puree is a different story.
For this smoothie I measured out the pumpkin puree and placed it on a silmat and put it in the freezer. (This should freeze for about 30 minutes to an hour.)
Dump and Blend
Once those 2 ingredients are frozen you’re free to dump them all in a high-powered blender (my choice is the Ninja), including our secret ingredient that we use instead of cream cheese: Silken tofu.
(Some links may be affiliate links, meaning if you click on and then purchase, I’ll get a portion of the proceeds, at no additional charge to you.) 🙂
Now, if you’ve never eaten or used tofu before, settle down. I used to avoid it like the plague because of all the bad press soy has gotten over the years. The truth is that it’s full of vegan (complete) protein, fiber, and healthy fat.
The reason some soy isn’t considered healthy is because if it’s NOT organic, it’s laden with chemicals, and the soy oil is extremely oxidized.
So choose organic and you’re good to go!
Also, if you can’t find silken (which is a much softer version), you can still use medium or firm, you may just have to add a few TBSP of water and blend longer for it to get super smooth.
Blend all your ingredients until super smooth (scraping the insides of the blender if needed).
So, what happens regularly around our house is that I’m looking for my spice mix, and…. It’s been all used up by my kids, and they also conveniently forget to tell me we’re out of it.
So I started keeping spice mix recipes so I can make my own any time that happens.
Here’s how to make your own pumpkin spice mix to keep in your pantry.
Our ingredients are :
Ground cinnamon
Ground ginger
Ground nutmeg
Ground cloves
Ground allspice
And our last surprise ingredient is a pinch of ground black pepper.
The reason I love adding in ground black pepper is that all the other spices already have mega anti-inflammatory properties, but black pepper has a compound in it that boosts absorption of the nutrients in the other ingredients.
Love that cozy pumpkin spice flavor — but want it to love you back? Grab my free Anti-Inflammatory Diet Quick-Start Guide to learn how to use everyday ingredients (like this spice blend!) to calm inflammation, balance blood sugar, and boost energy naturally. 🍁 Download your free Quick-Start Guide and turn every recipe into a feel-good one.
When I make spice mixes, I like to just use a measuring cup that has a spout so I can pour it into the container without a funnel.
So I add all the spices into the measuring cup, no special order, then stir really well. You want to make sure to get everything mixed really really well, then pour into your storage container.
This spice mix is perfect in any recipe that calls for pumpkin pie spice mix, like pumpkin smoothies, pumpkin seed granola, pumpkin muffins, and even pumpkin pie.
Anti-Inflammatory Recipes I use this Homemade Pumpkin Pie Spice mix in:
When it’s fall everybody goes bonkers for pumpkin spice, and these keto pumpkin muffins, which are anti-inflammatory, gluten-free, and sugar-free, should definitely be in your saved + often-used recipe collection.
And I get it–it’s (hopefully where you live) starting to cool down for fall, and that crisp snuggly feeling should be crankin’ up!
The only thing is… when we think of ‘cozy’ things, it usually veers in dramatically different directions: Either heavier soups and stews (savory), or warm, sweet breads (sweets direction).
Lucky for you, I’ve got the sweet covered with a fiber-filled, pumpkin-spice loaded muffin that is sugar-free, and also has the added benefit of being a great after-dinner snack (if you add on the pumpkin seeds–they contain melatonin. 😉)
Now, I know some of us like stevia, some prefer erythritol, some like monk-fruit, and on and on. So I put 2 options in the directions to accommodate for either choice, because that one option will determine baking time.
So warm up some unsweetened coconut (or almond) milk and enjoy! 🍂
If you love comfort food but want to keep inflammation and cravings in check, this is your sign. The free Anti-Inflammatory Diet Quick-Start Guide walks you through the exact foods that balance blood sugar, calm inflammation, and still let you enjoy treats like these keto muffins guilt-free. 🌿 Download your free Quick-Start Guide and make cozy anti-inflammatory living easy.
There’s nothing better than that break in heat from the summer and smelling fall 🍂 in the air, and when it comes to easy, yummy, FAST meals, you can’t beat a smoothie— And if you love pumpkin spice as much as I do, you’re gonna love this!
So this fall-inspired, Anti Inflammatory Pumpkin Spice Smoothie (that is a mouthful!)—is packed with anti-inflammatory goodness like pumpkin, avocado, spinach, and ginger, and I have a feeling it’s gonna become your GO TO smoothie for fall from now on.
Now, as much as I’d like this to be a gorgeous pumpkin color, as with all smoothies that have greens added…it’s green. But this absolutely doesn’t detract from it’s yumminess–pinky promise.
And here’s how you make it:
Step 1: Gather your ingredients
This smoothie is made with pumpkin, banana, avocado, spinach, ginger, pumpkin pie spice, ginger, nondairy milk, egg white powder, and keto maple syrup.
Love fall flavors and feeling amazing after you eat? Grab my free Anti-Inflammatory Diet Quick-Start Guide to learn how to turn cozy seasonal favorites (like this pumpkin spice smoothie!) into meals that naturally balance blood sugar and fight inflammation. 🍁 Get your free Quick-Start Guide here and start feeling your best this season.
Step 2: Put them all in the blender
Honestly this is why smoothies are so darn easy. You just put them all in the blender at once.
The one caveat for this smoothie (I’d suggest) is to hold off on the egg white powder until everything else is nice and smooth, because it can make it thicker.)
A high-powered blender is always recommended, like this Ninja, or if you want to spend more, the Vitamix is a favorite for a higher price tag.
(Some links may be affiliate links, meaning if you click on and then purchase, I’ll get a portion of the proceeds, at no additional charge to you.) 🙂
If your smoothie is having a hard time blending, you may need to add a little more liquid to it. If it gets too thick it can’t run back down to the bottom where the blades are doing their thang.
Step 4: Assess sweetness
I always like to do a little taste-test and just make sure the sweetness is where I like it. If it needs more, I add a tiny bit at a time. If there’s no sweetener in the recipe, I add a natural zero calorie sweetener like liquid stevia, monk fruit, or erythritol.
Step 5: Pour it up + enjoy!
In all honesty, sometimes smoothies make way more than I can handle in one sitting. So if it’s a bit too much, just store it in the fridge for up to a day.
Love fall anti-inflammatory recipes? Check out my Fall Anti-Inflammatory Meal Prep Session where I prep for 4+ meals in an hour! CLICK HERE to read!
2 TBSP egg white powder (or plant-based plain protein powder)
Instructions
Place all ingredients into a high-powered blender.
Blend until smooth.
If too thick, add a few TBSP of water at a time, or 4-5 ice cubes.
Taste test to determine if sweet enough.
Pour into a large glass and enjoy!
Notes
Per serving:
Fat- 9g
Carbs-40g
Fiber-7g
Protein-12g
Nutrition
Calories:267
Every ingredient you add to your blender can either feed inflammation or fight it. My free Anti-Inflammatory Diet Quick-Start Guide shows you exactly how to choose the right ones — so every smoothie, meal, or snack helps you lower inflammation and boost energy naturally. 🎃 Download your free Quick-Start Guide and start blending smarter today!
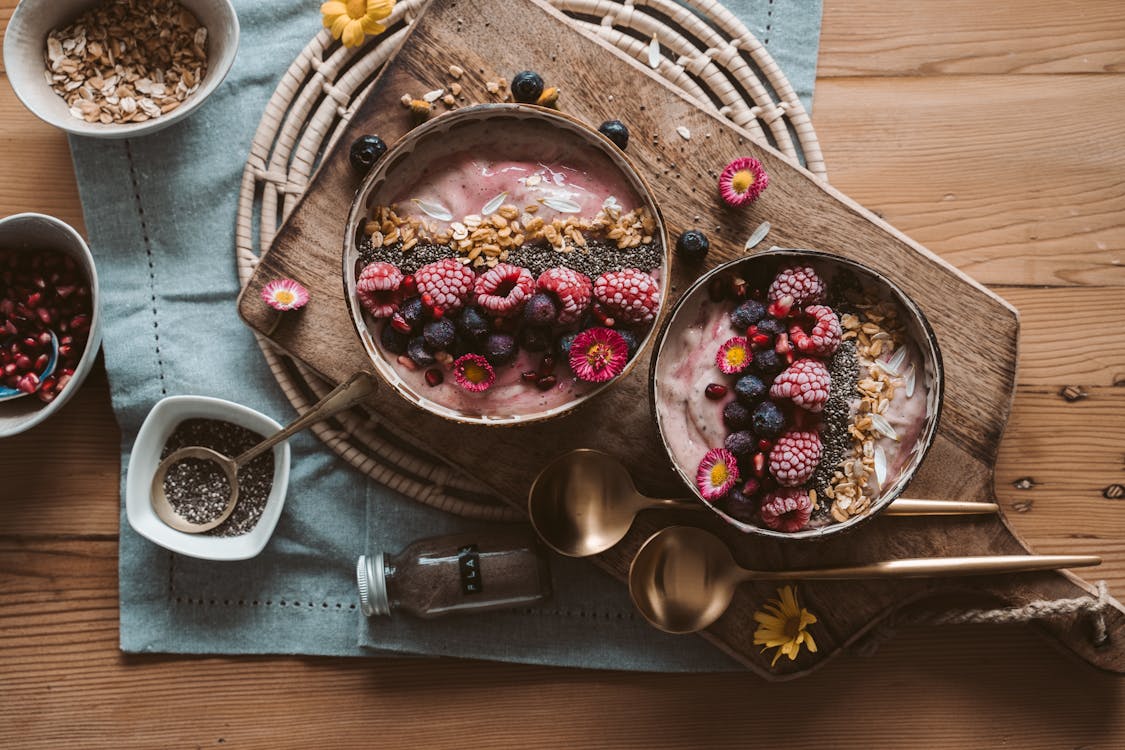
Overnight oats can be a total game-changer for breakfast — quick, delicious, and perfect for busy mornings.
But here’s the thing: not all overnight oats recipes are created equal. Many recipes are loaded with sugar and fillers that can actually fuel inflammation instead of fighting it.
That’s why this version is different — no added sugar, anti-inflammatory add-ins, and a trick that makes it more blood sugar-friendly, too.
💡 Stop Guessing Which Breakfast Foods Trigger Inflammation.
My Anti-Inflammatory Quick Start Guide shows you:
10 foods to swap first
Simple, ready-to-use shopping list
4-step method to personalize your anti-inflammatory diet
It is, however, a little harder to find one that’s sugar-free, as sugar is inflammatory. That’s why this basic overnight oats recipe is just as yummy, but without any added sugars.
So before I get into the recipe and how to make overnight oats, I want to talk about what exactly makes these overnight oats an anti-inflammatory recipe so you can do the same, no matter which flavor variation you make at home.
What Makes Overnight Oats Anti-Inflammatory?
There are three big factors that turn a basic overnight oats recipe into an anti-inflammatory one.
1. What You Leave Out
Skip the inflammatory extras you’ll find in many instant oat packets:
Added sugars
Artificial colorings and flavors
Preservatives
Low-quality, oxidized oils
By starting with plain, minimally processed oats and no added sugar, you’re already ahead of the game.
For traditional overnight oats, you simply soak them in liquid overnight — but with this tweak, you get even more metabolic benefits.
3. What You Add In
Here’s where you can turn a simple breakfast into an anti-inflammatory powerhouse:
Great add-ins:
Cinnamon (may help lower blood sugar)
Turmeric or ginger (natural anti-inflammatory spices)
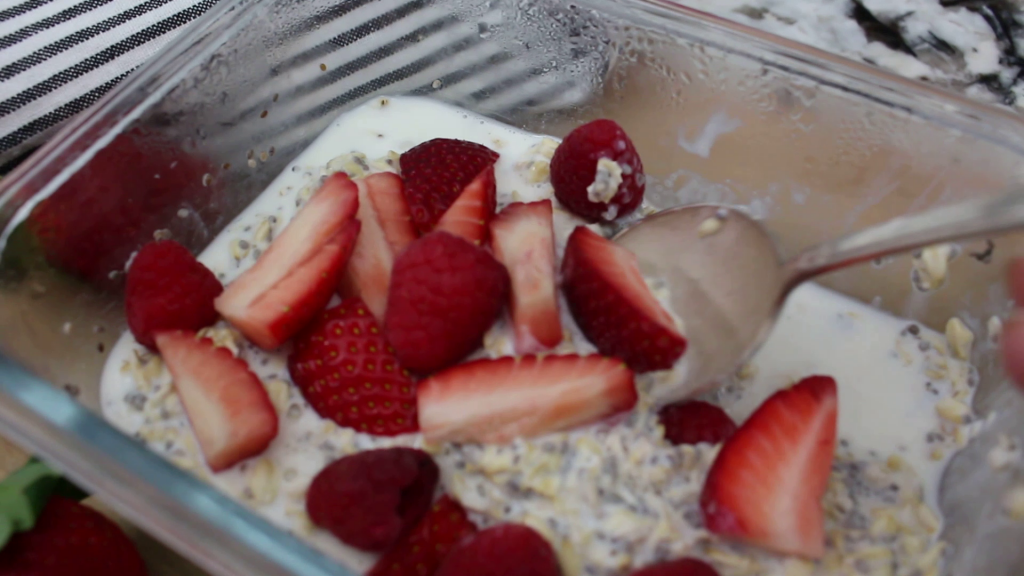
Lower-sugar fruit like berries
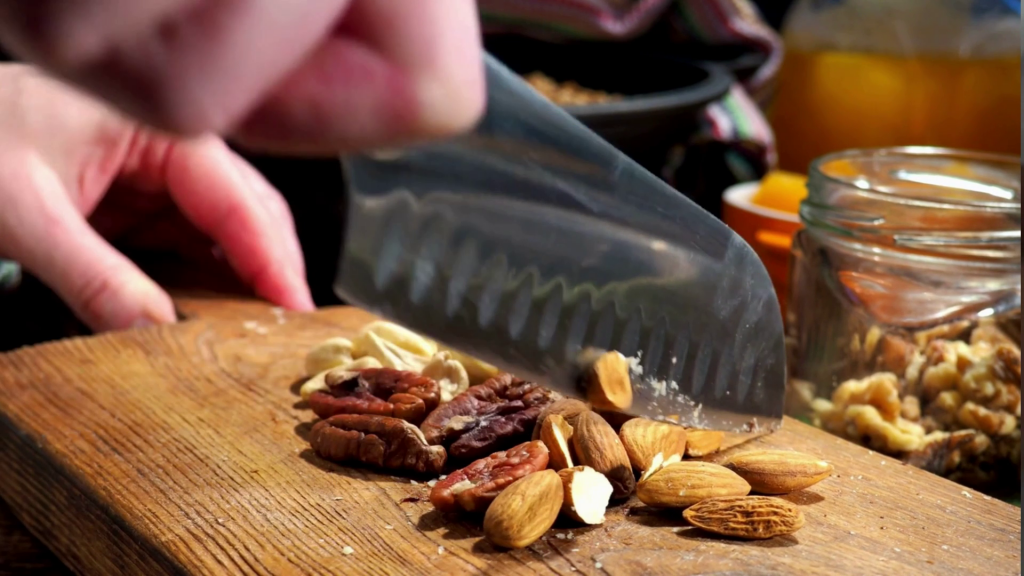
Chopped nuts (almonds, macadamia, walnuts) for healthy fats and crunch
⚡ HealthierMicro-Action: Choose at least one spice and one healthy fat add-in every time you make this recipe.
Discover My Easy 4-Step Approach to the Anti-Inflammatory Diet So You Can Get Started Immediately (Without Getting Overwhelmed or Cleaning Out Your Entire Pantry)
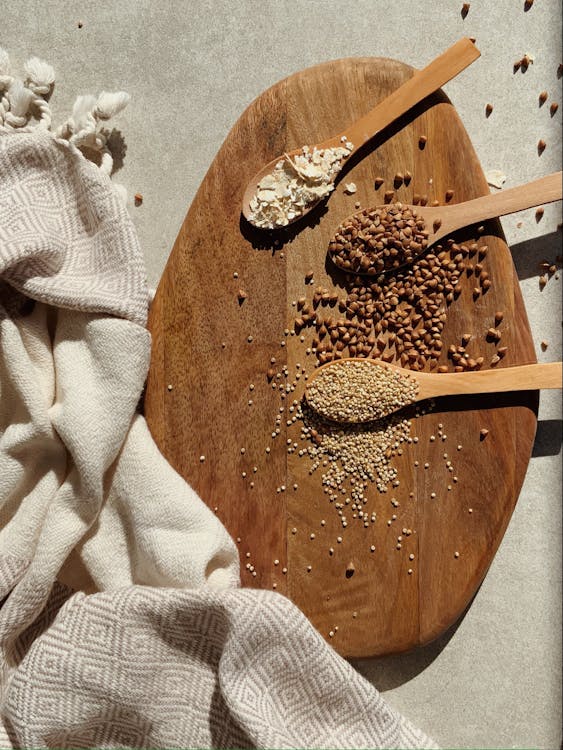
You can see the difference in texture here, and if you’ve had any experience with oats and oatmeal you’ll know that the thinner the cut, the more mushy they can get.
Per anti-inflammatory diet basics, whole or partially cracked grains are acceptable because of those lower blood sugar hits, so I recommend using oat groats, steel-cut, or rolled (in that order).
As far as them being gluten free, oats are inherently gluten free, however, cross contamination is really frequent with oats, so I recommend getting oats that are labeled as gluten-free if you have celiac or a severe gluten intolerance.
Directions for Preparing Anti-Inflammatory Overnight Oats
1. Cook oats first (optional but recommended):
For this overnight oats recipe, we use ½ cup of oats.
**Now one thing to note in CASE you don’t have the correct type of oats and want to use up what you have is that there are different calorie and macro counts for the different types of oats because of the difference in their denseness.
So you want to make sure you match those if you are counting calories or macros for your weight.
2.Combine ingredients
Next, we add milk.
Not everyone *needs* to go dairy-free to follow an anti-inflammatory diet as the guidelines of anti-inflammatory dictate that it’s unique to each person after eliminating foods KNOWN to be inflammatory to all humans.
So, obviously, don’t use cow’s milk if you’re lactose intolerant, If you’re allergic, and if you’re adapting this recipe to be a vegan breakfast.
There are a ton of other non-dairy options.
However, make sure you find one that is sugar-free. The label will say ‘Unsweetened’, and try to find one with as few fillers and thickeners as possible.
Many people react to these and some people even end up making their own nut milks because of this.
We’ll need ½ cup of milk.
Next we’ll add yogurt. Again—if you’re fine with dairy, choose a plain, unsweetened yogurt (preferably organic).
I prefer Greek, and if you’re dairy-free or vegan, coconut milk yogurt or any other dairy-free option is fine as long as it’s plain and unsweetened.
Chia seeds are our next add-in.Chia seeds are great because they’re high in protein and healthy fat, can help lower LDL cholesterol, and they also help blunt that blood sugar spike.
And when they have moisture, the seed has sort of a gelatinous coating that helps us feel full, they give a tiny bit of a crunch.
Next we’re adding in vanilla extract. Just make sure this is REAL vanilla extract, not imitation as that’s an artificial flavoring.
The vanilla flavor goes with practically any flavor profile that you want to create, unless it’s a savory flavor, and it helps add to the overall sweetness factor.
So speaking of sweetness, let’s talk sweeteners. Although there ARE savory flavors of overnight oats, most recipes are for sweeter versions. Since we’re eliminating sugar per anti-inflammatory diet guidelines, we can use zero calorie natural sweeteners.
Artificial sweeteners are terrible for your gut health, among other things, so we’re gonna steer clear of those.
I know many people will still insist on using natural sweeteners that do have sugar like honey or maple syrup. Those sweeteners are allowed in a Paleo diet, which is considered one type of anti inflammatory diet, so you use your own judgement for your own body.
If you are trying to lose weight or reduce chronic inflammation, I recommend steering clear even of those natural sweeteners daily, and instead using stevia, monk fruit, erythritol, or allulose.
Next we add salt. In all honesty, oats can sometimes taste a little like cardboard if you don’t know how to prepare them.
Salt livens up that plain grain flavor 💃, but it also adds a counter balance to the sweetness. So don’t forget to add in a pinch or two of salt.
And last is the anti-inflammatory add-ins.
Cinnamon has been shown to lower blood sugar, so it’s a perfect add-in if you have insulin resistance or are trying to lose weight.
Turmeric and ginger have a bit of a bite, but are perfect for helping to lower chronic inflammation as well.
And if you want to add a bit more crunch, those chopped almonds, pistachios, macadamia nuts, or walnuts that I mentioned before are perfect here as well.
The flavor combinations are endless, but if you’d like some flavor pairing suggestions, check out the recommendations below.
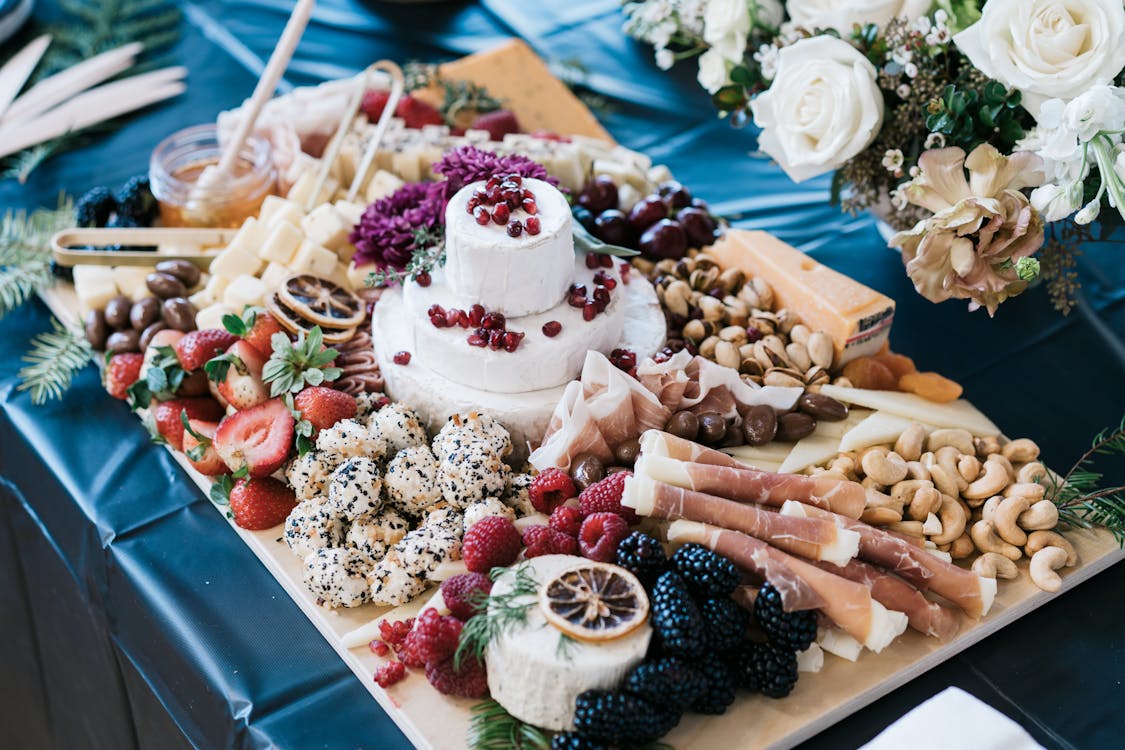
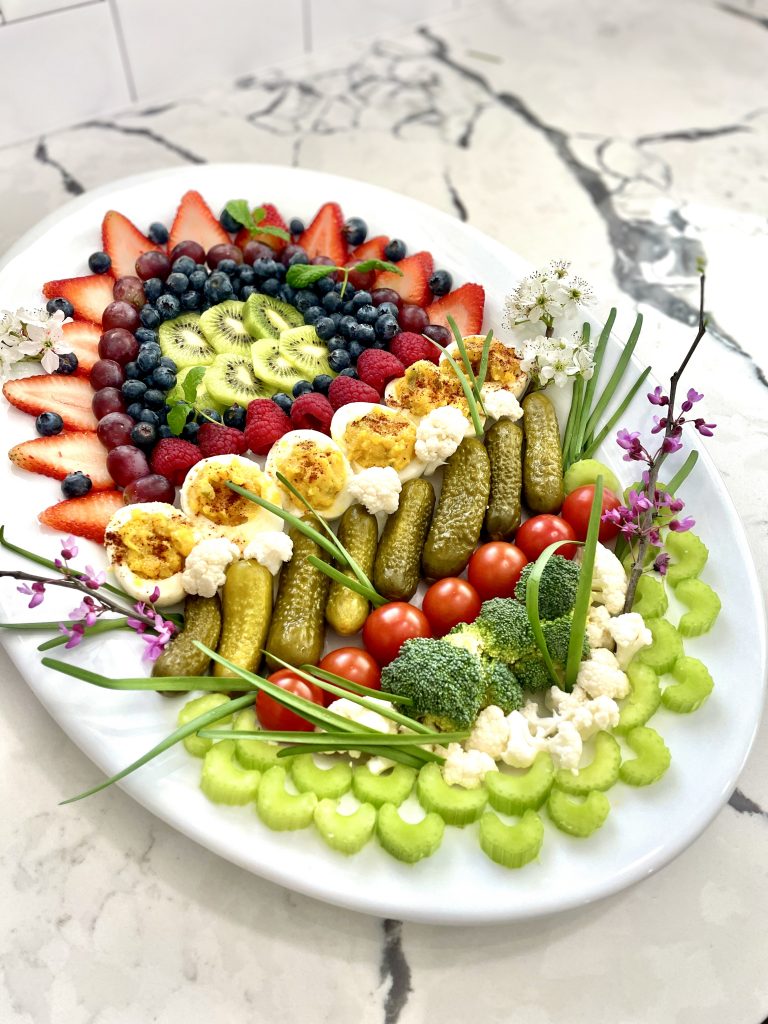
The charcuterie board has become one of the biggest crazes on social media in the last couple years. I’d blame it on how gorgeous they can be… but I think after lockdowns and quarantine, the appeal may also have to do with the fact that they represent togetherness: If you’re building a board, you must be having a get-together.
And that’s what makes them so fun–having a way to entertain and feed guests at the same time! It also doesn’t hurt that there are literally a million ways to build a charcuterie board based on what season, holiday, or event is being celebrated.
That being said, most charcuterie boards have a few ingredients as staple items that are no good for those of us trying to live an anti-inflammatory lifestyle.
Especially since the definition of charcuterie revolves around cured meat products (even though nowadays we add on lots of other fun stuff, too!)
So here’s how to build a board that’s just as pretty and fun, while also keeping out the foods that send inflammation into overdrive.
What exactly makes this an anti-inflammatory charcuterie board?
Obviously the thing that will determine how anti-inflammatory your board is will be the ingredients that you add. These are normally the processed meats, breads, crackers, many of the dips or sauces (including honey), and some dairy additions.
The thing to remember about making a charcuterie board anti-inflammatory is that it’s made up of so many fresh ingredients that you can still make it gorgeous and fun without all the inflammatory no-go foods.
There are also (thankfully) enough substitutions for things like crackers and dairy-based dips to give us plenty of options that are A-OK on the anti-inflammatory diet.
So let’s get to it.
STEP 1: Choose your base
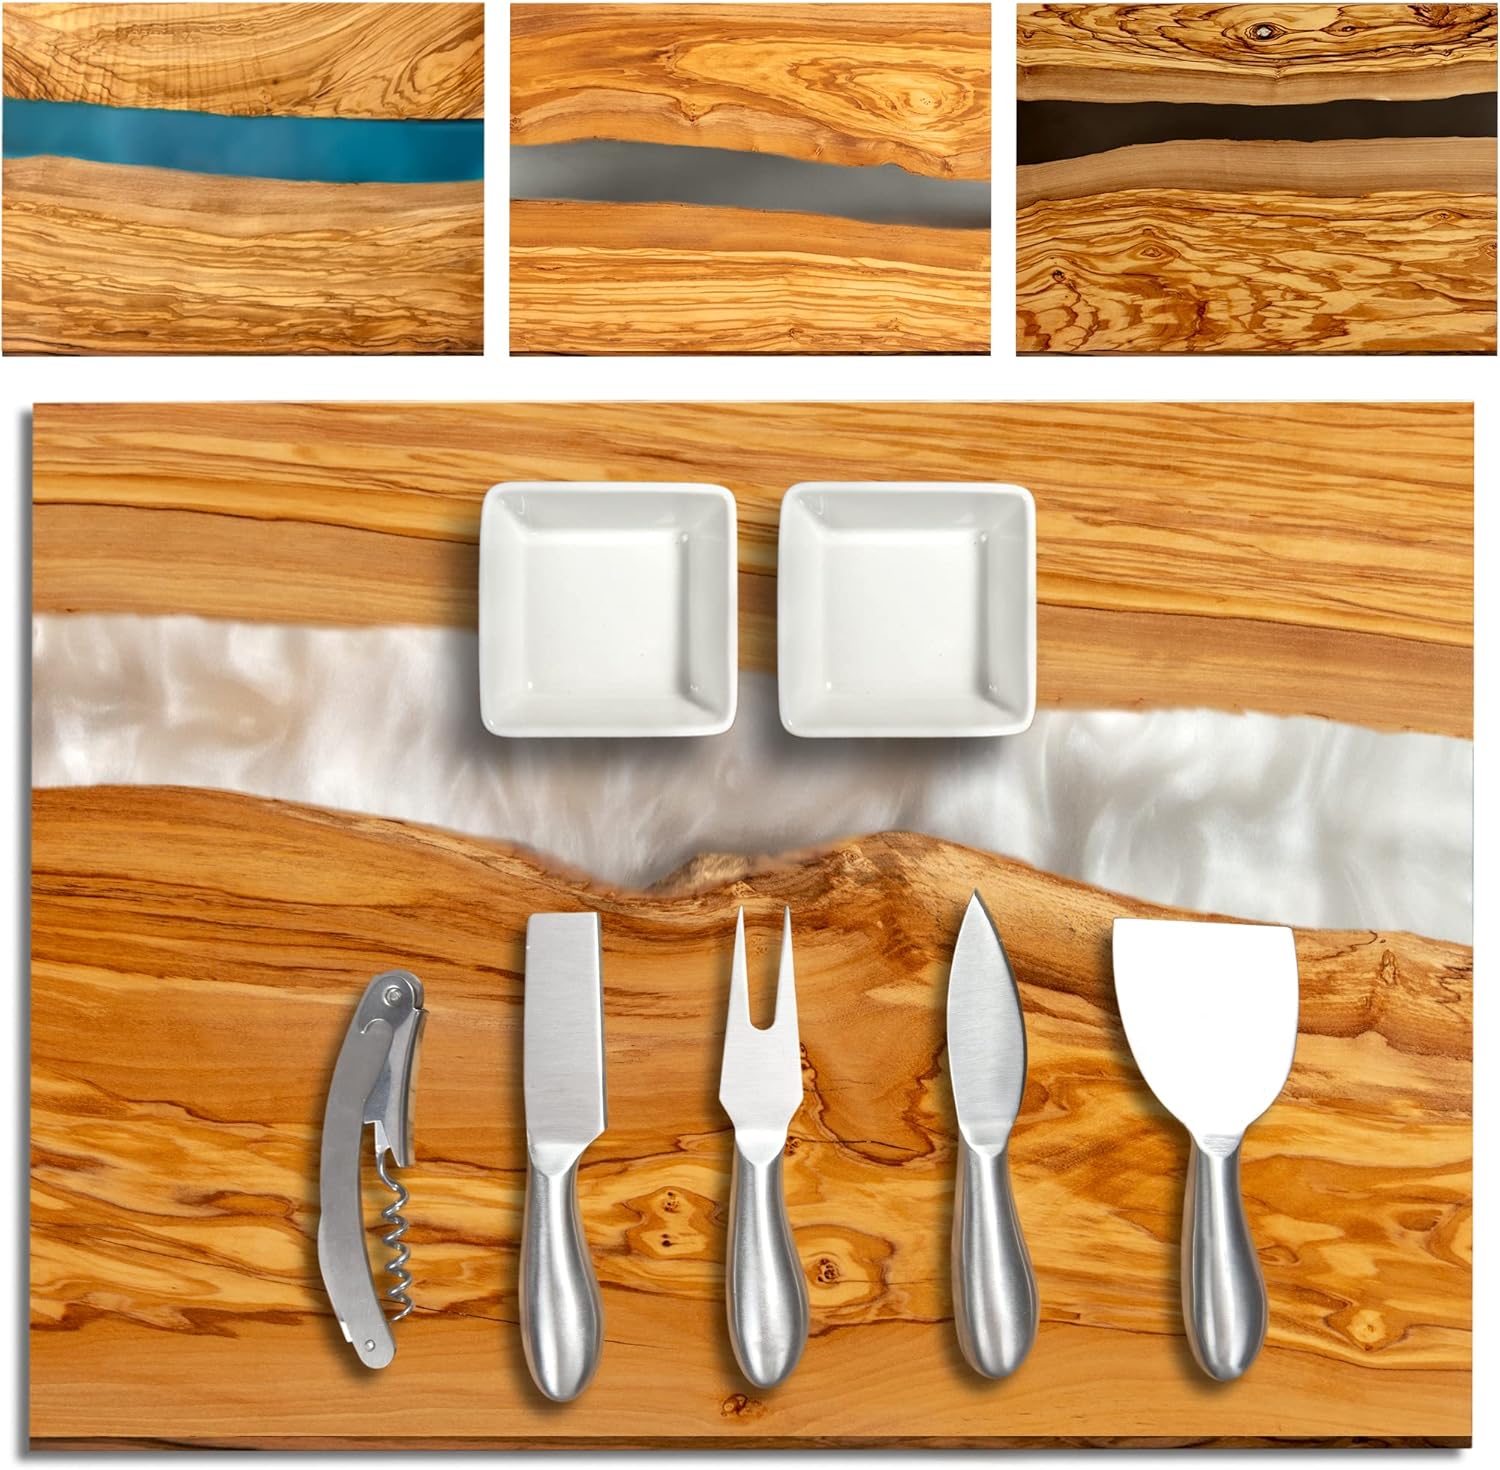
The very first step is choosing what your base will be. Since the word ‘board’ is in ‘charcuterie board’, you may automatically think you need a special board for this. Or even a cutting board (which is a good option).
But the truth is that you can expand this way beyond just a plain ole board.
Platters in various different shapes are great, cutting boards (wooden or stone are the prettiest for this), boards specifically designated for charcuterie, or even something more creative like a dough bowl. (I’ve even been seeing charcuterie boxes lately!) Honestly, the possibilities are endless.
Here are some great options:
*As an affiliate, I may receive a small portion of proceeds of any items you buy through these links, at no extra cost to you. However, I only recommend products I know or use, and love.
You’ve surely even seen some of the spreads down the entire countertop. These are usually referred to as ‘spreads’, ‘tables’, or even ‘grazing tables’.
In that case, you may just need some butcher paper as your base. (Although even this larger cases I do still recommend having some boards and other platters to add visual interest.)
👉How to choose between a board, platter, or table? First think about how many people you’re feeding or entertaining. If it’s just a few, a smaller board or platter is perfect. 5-10 would be better served with a board. 20-30 people may warrant several boards or a spread.
There’s really no formal calculation on this, but just know that these boards are traditionally the thing people see when they walk in the door to your get-together.
Although they can be used as the option for sides at a meal, they’re normally used as appetizers before the main meal.
Since people love to graze, especially when having drinks and mingling, it’s highly likely the whole thing will be cleaned off by the end of your get-together.
STEP 2: Layering and levels
Different levels could work for smaller boards, but is usually best when you have a larger board, need a little extra space, or are doing a spread.
The best types of varying levels would be things like raised cake platters, or even a bowl upside down as a pedestal for a smaller platter to sit on.
Using layers can give the board a really interesting add-on while helping to delineate or highlight certain ingredients.
For example, if you have some special ingredients for those with allergies or foods that contain alcohol that kids don’t need to partake in, special levels can designate those foods separately.
I’ve even used separate platters before to keep crackers away from the juices of the fruits and veggies.
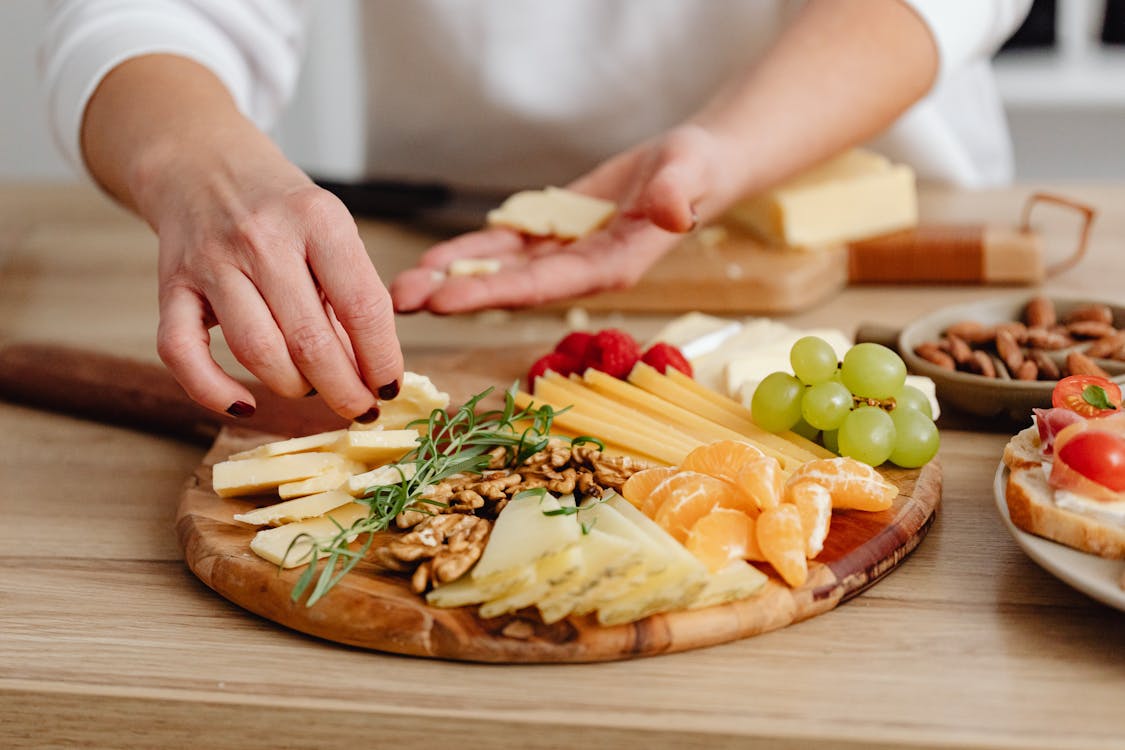
STEP 3: Ingredients
Obviously the ingredients are the star of the show. Even though the goal here is an anti-inflammatory board, it should still be pointed out that most of your guests (if this is for a get-together) probably don’t eat by anti-inflammatory guidelines.
Discover My Simple 4-Step Approach to the Anti-Inflammatory Diet So You Can Get Started Immediately (Without Getting Overwhelmed or Cleaning Out Your Entire Pantry)
Why a full-scale pantry clean out is NOT the best way to start your anti-inflammatory journey, and the steps you can take instead to make sure you’re fueling your body with foods that love you back
The essential foods you MUST add into your diet if you want to nourish and heal your body naturally
My anti-inflammatory shopping list so you can quickly fill your cart with the right foods (no googling in the produce aisle or wasting hours staring at ingredient lists)
When this is the case, don’t be afraid to add in ingredients that you don’t eat yourself. Most people appreciate the variety, even if you’re not eating some of those foods.
Another important thing to consider is the season or theme of the get-together (or board). Winter and fall themes probably shouldn’t include things like zucchini or summer squash while spring and summer themes wouldn’t include cranberries.
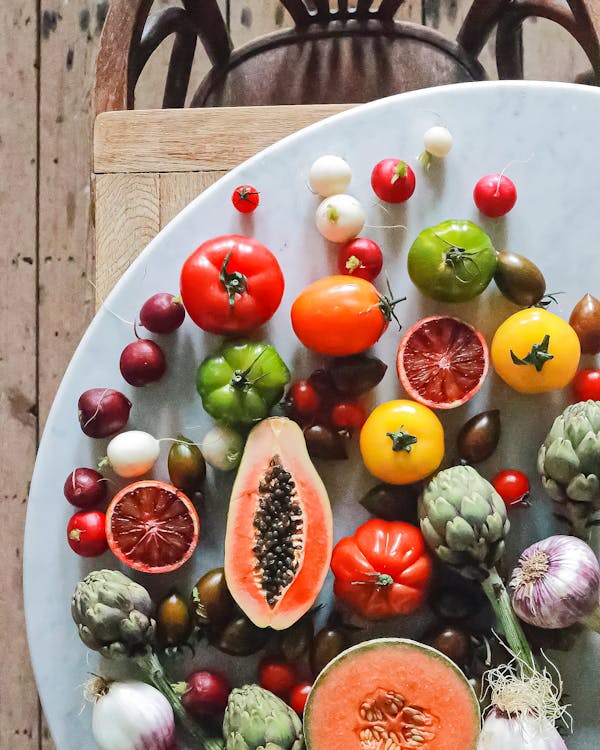
Fruit and Veggies
Unless the board is specifically for, say, pre-dinner vs dessert (meaning no fruit vs no veggies), I like to make sure I have a mix of half veggies and half fruit. I also add in lots of extra finger foods like nuts and sometimes seeds. These all work perfectly for an anti-inflammatory diet.
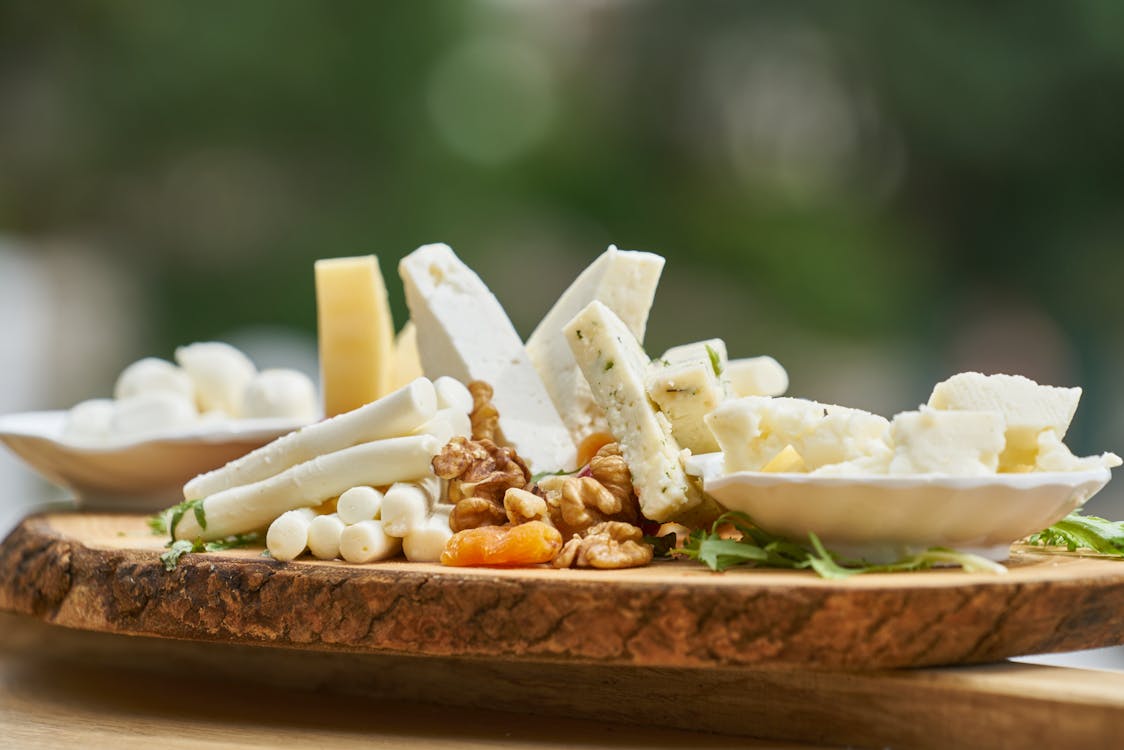
Cheese
Cheese can be ok if it’s organic, but it may be a good idea to keep it separate if you have anyone who can’t have dairy.
Cheeses that are great for charcuterie boards include mozzarella pearls and pre-sliced cheese that you can cut into different shapes if needed.
Triangular shapes are popular because you can layer pieces while shifting the directions, creating a super cool pattern. Soft cheeses like brie may be ok, but try to choose organic as well.
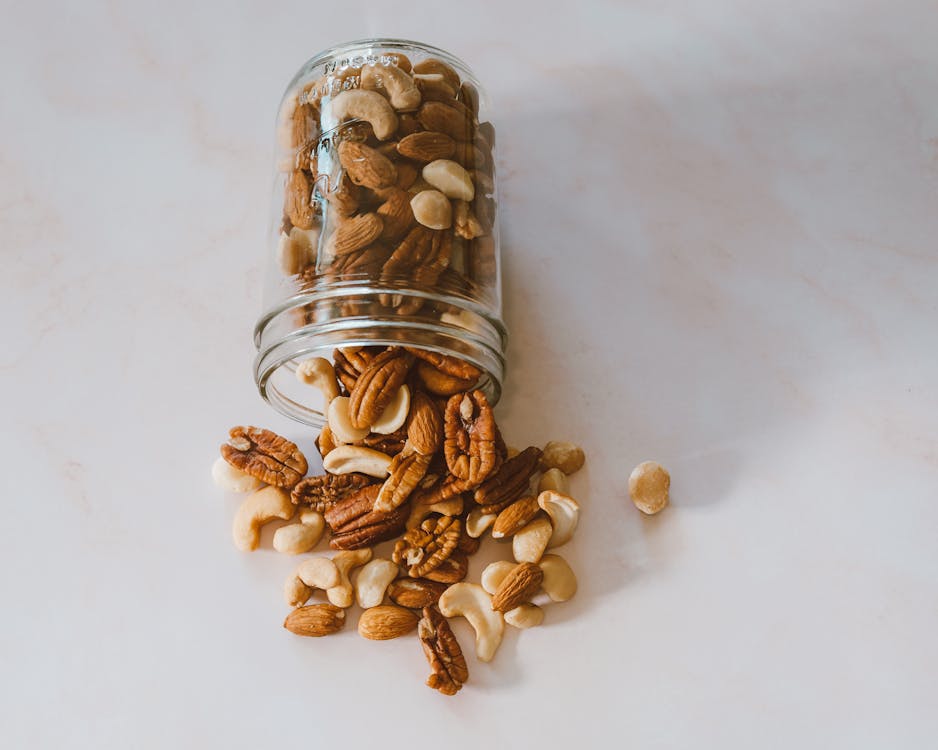
Nuts
Unless there’s a severe nut allergy, these can be a great way to add texture and variety. I recommend buying the kinds that are salted and roasted, and individual types, not mixed. (This allows easier flexibility in arranging them.)
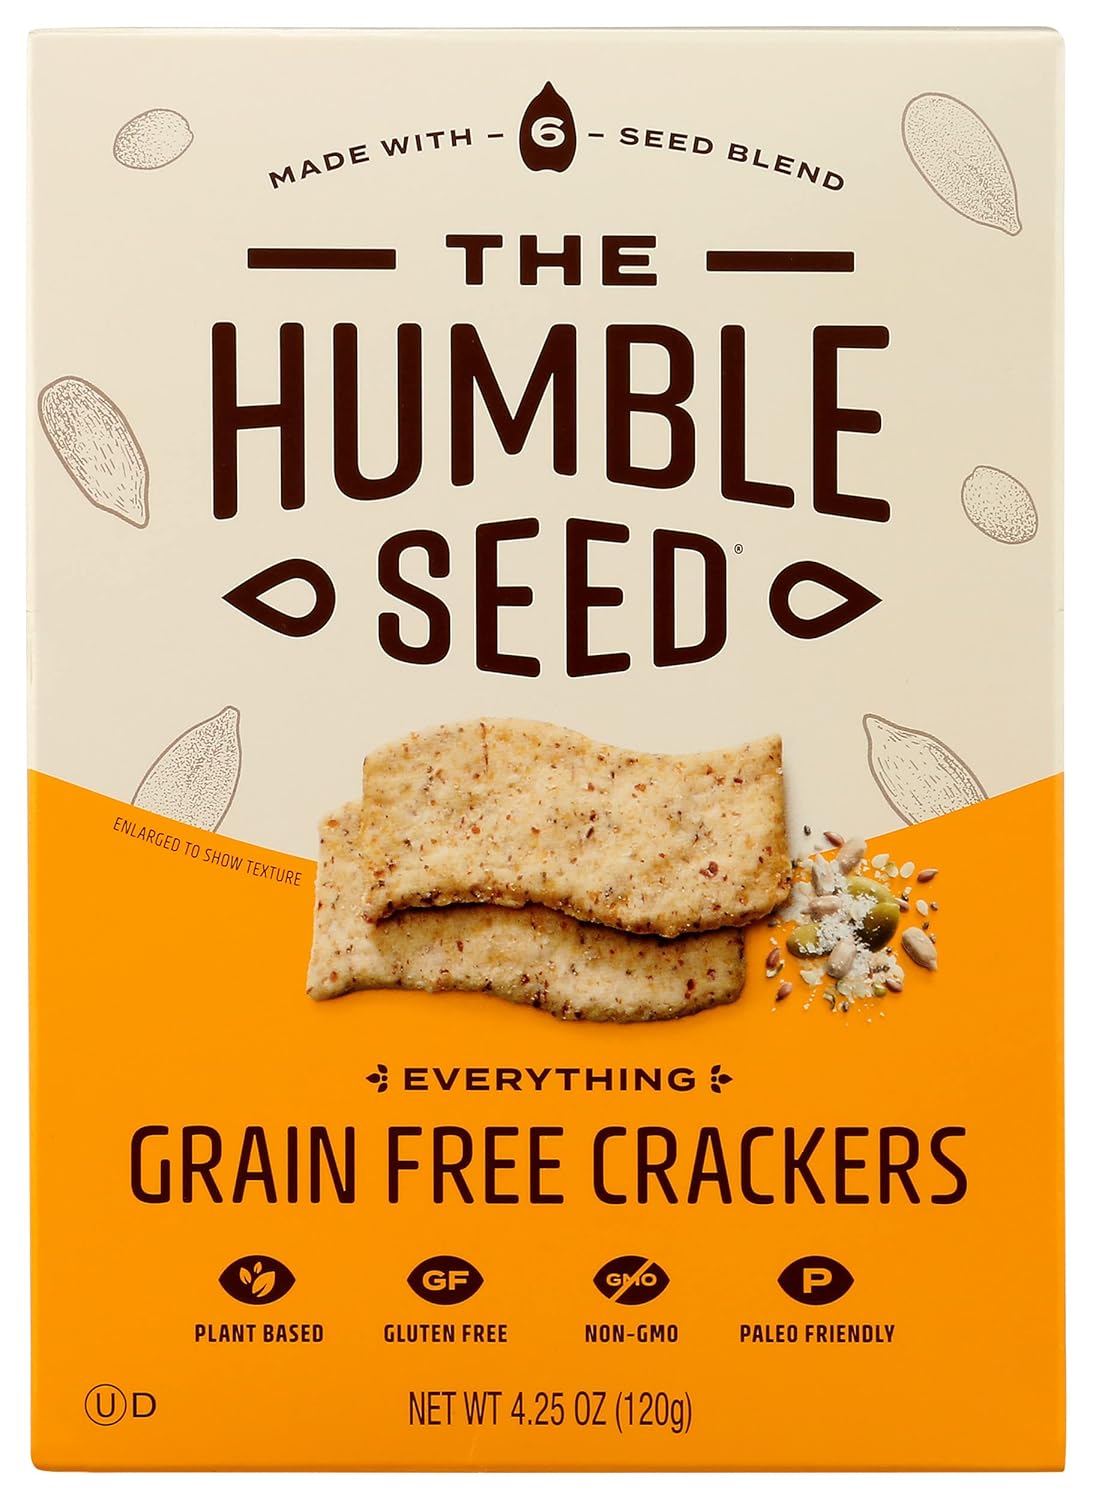
Crackers and breads
Bread can be a tricky addition because slices can dry out quickly. It’s especially tricky when it’s gluten-free or grain-free because the slices are more crumbly and hard to manage.
If you include bread, I do recommend pre-slicing it so that the guest line can move along quicker and nobody has to handle a knife.
I personally don’t usually include breads just because they can be tough to deal with when I have so many other things going on as the hostess.
But if you really want to include it (or just try out some yummy grain-free bread!) I recommend the Simple Mills brand:
Crackers are usually a fun addition because you can use them to separate sections on a board, and they come in different shapes to add visual interest.
Gluten-free or grain-free are a little more limited in variety, but can be just as fun!
I’ve recently found these grain-free crackers that are yummy and have just enough crunch to satisfy:
As said before, processed meats are a definite no-no on an anti-inflammatory diet. So if you choose to leave them out, you can still always add chunked-up grilled or baked chicken, steak bites, or even tuna.
There are some brands now that are uncured, so this may even be an option. If you do opt to have processed meats, I still recommend choosing organic.
Eggs are also a really great protein option. Boiled, that is. (Unless you’re doing a breakfast or brunch board, in which scrambled can still work too.)
Deviled eggs are becoming a popular addition as well since they’re cooked, prepped, ready to go, and usually super yummy.
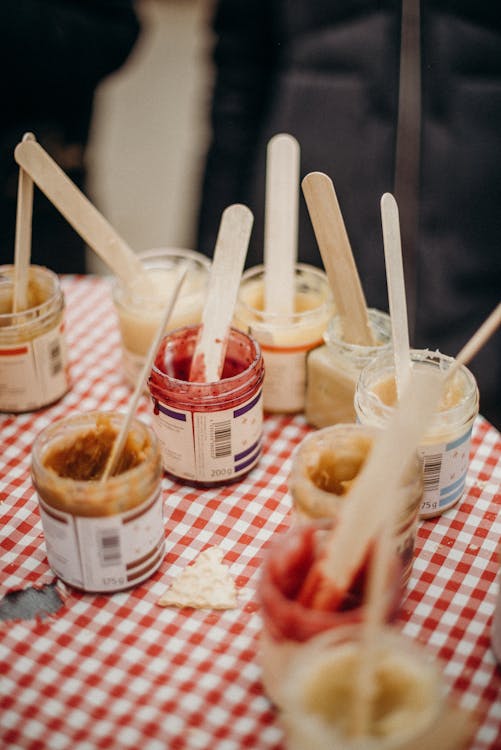
Sauces and spreads
Any anti-inflammatory sauces, spreads, or condiments will probably have to be homemade as most store-bought versions are full of inflammatory oils, preservatives, and non-organic dairy.
Some good options for these include hummus, bean dips, and homemade versions of dips or dressings for dipping veggies.
Honey has sugar, sure, but it can be a nice add-on for others. I always recommend raw and organic.
Fruit spreads are also a favorite as they pair well with cheeses and crackers. It can be hard to find sugar-free versions that also don’t have artificial sweeteners. So if you’re going for anti-inflammatory just for yourself, you may need to whip this one up yourself.
Consider color
Since one goal of the charcuterie board is to sit and be gorgeous, an important thing to consider when choosing your ingredients is color.
Some boards vary color throughout the board, while others have distinct color groupings.
💡 Think about how you want to arrange the board, or the colors you may need to emphasize before making final choices on ingredients to go on the board.
For example, I did a 4th of July board last year that distinctly moved from red to white to blue. This meant that I didn’t include ANYTHING that was green.
STEP 4: Design and place
The most fun part of a charcuterie board is designing it, then placing all the ingredients!
Designs can be literally anything, but the most eye-catching ones usually follow any of these patterns:
Linear separations
Symmetrical design
Color groupings
Balanced color through the board
Randomized texture
Basically, don’t just put stuff willy-nilly on the board. Have a visual plan in place and follow it, adjusting as needed.
And don’t forget to place your levels as you go as well (like the tiered cake platters.)
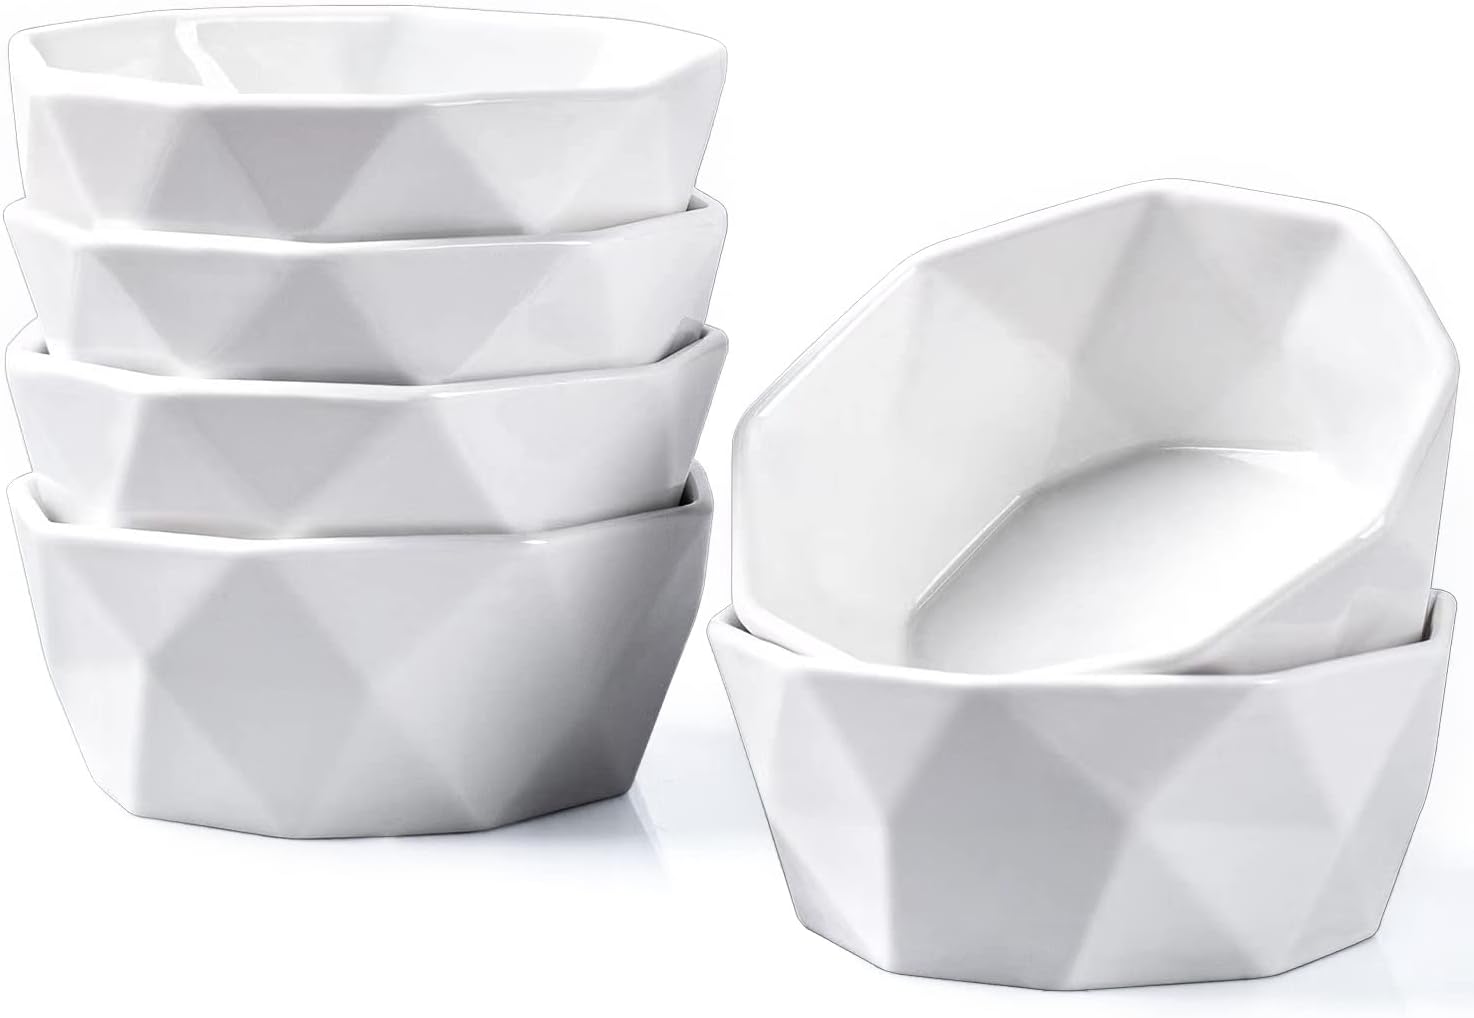
STEP 5: Containers
This step is needed for any sauces or condiments, but it’s also a neat visual add-on for things that are small and may need to be contained (like nuts or seeds.) I even use them sometimes for olives since they’re sometimes covered in oil or brine.
Using small containers like ramekins is perfect, but I’ve even seen other fun stuff like cupcake papers or silicone cupcake wrappers. Just make sure the spacing is random or proper spacing throughout the board or table.
An art professor in college once pointed out that the goal of any piece of art is to encourage the eye to move around the total piece, not just focus on one thing. This is the same concept with charcuterie boards. You may have a main focal ‘part’, but you want the entire thing to be visually appealing.
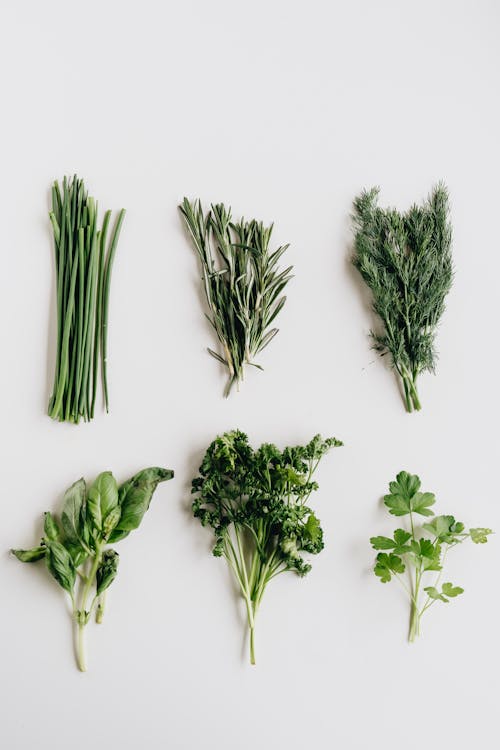
STEP 6: Decor and garnish
I think this is the most fun part, because it speaks to whatever season, holiday,or event you’re celebrating!
Decor and garnish can be as simple as letters or numbers cut out of cheeses, as easy and natural as flowers from your yard, or as themed as paper or plastic cutouts and do-dads you’ve purchased specifically for this get-together.
Garnish can also be as simple as fresh herbs.
The possibilities are endless.
These, too, should be spaced out so they make sense visually and continue to encourage eye movement around the board.
STEP 7: Plates and serving
Plates are necessary for charcuterie serving, but make sure that you pay attention to the types of foods you have as well.
Do you need spoons to scoop anything?
Are there soft cheeses or spreads that require a knife?
Would toothpicks be the obvious choice for some of the foods (like olives)?
Would little serving forks be best for spearing things?
Make sure you have appropriate serving pieces to make things easy. (And don’t forget the napkins! 😉)
I’ll be the first to warn you that making a charcuterie board can take a while!
That being said, you want to try to time the finished masterpiece with when your guests arrive (unless you have a large enough fridge to accommodate until then.)
Just remember that the last thing you want is a food poisoning situation from foods that have been out too long because you made the thing first thing in the morning when guests didn’t arrive until late afternoon.
I will sometimes place the tiered platters and ramekins, then arrange the nuts and crackers earlier. Then when it’s closer to time for guests to arrive I’ll place the cold items and garnish with decor right as people arrive.
If it’s just a board I’m making for us at home, the kids will NOT let me do it alone! So it’s actually a kind of cool time to spend together creating something pretty we can eat when we’re finished. 🥰
~
Charcuterie boards can be a super fun way to add spark and interest to your food choices at any get-together! (I still have friends who talk about boards I’ve done on various holidays.)
But admittedly, it can be a challenge to create one that’s anti-inflammatory. Don’t despair, though–it CAN be done!
Check out my other charcuterie boards and get the ingredients lists and charcuterie platter ideas of your own! 👇
Anti-inflammatory recipes are a great addition to a healthy eating pattern as they can help manage, prevent or reverse the effects of inflammation in the body.
Ingredients like dark leafy greens, beets and cauliflower are packed with anti-inflammatory properties which can help reduce chronic pain and prevent age-related illnesses.
Eating anti-inflammatory foods doesn’t have to be bland or boring either, as there are plenty of fresh and healthy recipes to choose from that cater to different dietary needs. Incorporating these recipes into your meal prep routine can help balance your blood sugar and reduce chronic inflammation.
What is an anti-inflammatory diet?
An anti-inflammatory diet focuses on consuming foods that have anti-inflammatory properties, like fruits, vegetables, whole grains, lean proteins, and healthy fats.
It aims to reduce chronic inflammation in the body, which can help prevent chronic diseases and promote overall health and well-being.
What are the benefits of anti-inflammatory meal prep?
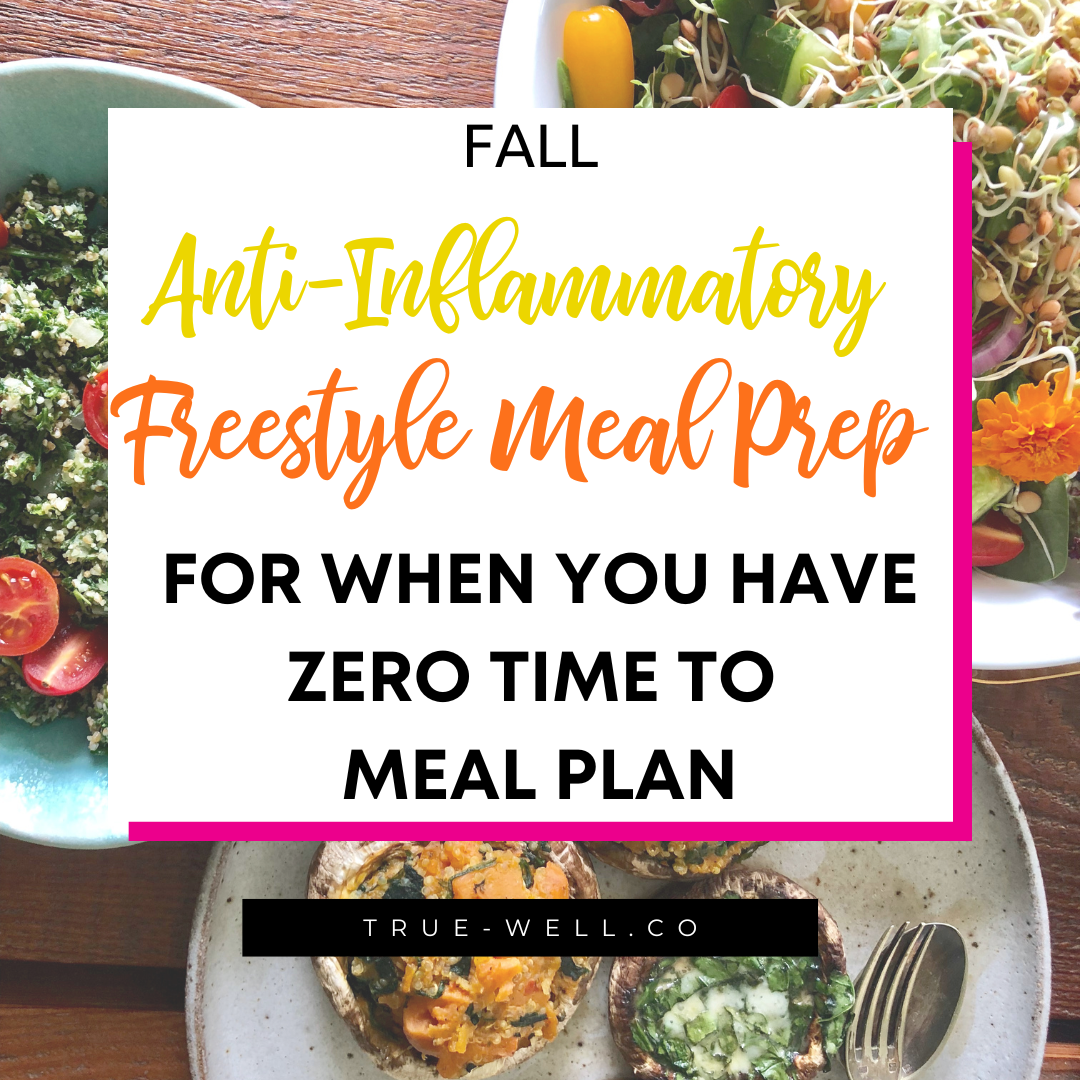
No matter the season, your life is probably super busy. We have 4 kids (3 at home), and regardless of whether school is in or it’s summer or even winter break, things are always sorta chaotic.
So this method has actually been a lifesaver for us so that on weeks where I don’t even have the brainpower to put a meal plan together, this is our lifeline.
We have a backup.
No thinking about it all day, no scrambling at the last minute, and definitely no ultra-processed, inflammatory, and overpriced drive-thru or takeout.
So I’m gonna show you how to meal prep with fall anti-inflammatory foods (meaning: in season for fall in the US).
I’m also linking the example meals that we made for the week with all of the produce that we got.
And if you scroll a bit, you can get the GUIDE that shows you the details for all of this so you can keep it on hand for ANY time you have weeks like this.
And all of this was just random stuff that I know my family will eat and that gave us a pretty good variety for meals this week.
Step 2: Prep your workspace
And after washing all the produce, I pre-heated both ovens for 350 degrees F.
The tools you’ll need for your meal prep session are a large cutting board, good knives, and roasting pans- probably with a lip, and something to line it with so stuff doesn’t stick.
Now I use something I found by accident with is a BBQ grilling mat—I love these because I can cut them to fit perfectly in my pan and NOTHING sticks to them—they come in a pack all rolled up in a box.
(Some links may be affiliate links, meaning if you click on and then purchase, I’ll get a portion of the proceeds, at no additional charge to you.) 🙂
So our base seasoning includes avodado oil to drizzle on, I use this to cook with because it has a high smoke point. Or you can use something like this Misto spray can where you put the oil in, pump air in to build pressure, and spray it on.
Then season with salt, pepper, and garlic powder, and it’s ready to go in the oven.
Click the image below to grab the free Fall Anti-Inflammatory Meal Prep Guide!👇
Step 4: Prep foods that cook the longest first
So, even though I didn’t have full meals planned out when I got all this produce, I had a loose plan for a few things. So I knew I’d want to do baked potatoes one night, so since they take an hour to bake you’ll want to do these first if you’re doing baked potatoes one night.
And for baked potatoes, you just coat each one individually with oil, salt it, wrap it in foil, and then punch some holes with a fork.
Once I’ve got those all set and into the oven for one hour, I get to work chopping everything else.
Step 5: Prep all other foods that cook the same length of time
Broccoli and cauliflower
I started out with broccoli, and just basically cut all the florets off—and if you don’t like to chop you can always buy the bags where it’s pre-chopped. It does save time, but may cost a little more.
Once these were all cut up, I put them all on the pan on one end, because I put the cauliflower on the other end.
Then I started with the cauliflower and removed that large base then cut those into florets as well, breaking some of them apart. And you can also buy these prechopped if you don’t like cutting them up- it does save a lot of time and mess.
Then I placed all those on the second half of the pan where the broccoli was. I cook these on the same pan because cook at right about the same rate.
And then I wanted a bit more flavor than just our base seasoning, so I chopped an onion into chunks and just spread it out evenly on the pan.
Brussels sprouts
Next I prepped brussels sprouts, and the easiest way to do these is chop off the end piece slice them in half and lay them face down on the pan.
I arranged mine with a hole in the middle for all the loose little leaves because they get extra crispy and are a super yummy snack!
Then drizzle or spray with oil, then season with salt, pepper, and garlic powder.—and they’re ready to go!
Mushrooms.
I decided to split the mushrooms and do half chopped pretty small and the other half roasted.
I chopped one half because I like to mix them in with ground meat to give it bulk and really boost the vitamin content-and my kids can never tell! I don’t precook those, so I just put them in a baggie to store in the fridge until the night I needed them.
The other half I just spread out on the pan, and I had a pack of sage I grabbed at the store as well—this is such a fragrant and nutrition-packed herb, and perfect for colder weather.
So I just chopped some of it, sprinkled it on the mushrooms, then added our oil, salt, pepper, and garlic powder and it’s ready to go.
Sweet potatoes
I roughly chopped the sweet potatoes because I had loosely planned mashed sweet potates with cinnamon- my kids love those- and the rest I planned to use in my lunches during the week.
But that meant that all of them needed to be chopped.
Regular potatoes
Then I started on the rest of the regular potatoes I had. So for the ones I wasn’t using for a whole baked potato, we like to sometimes do homemade fries and this tool makes it super easy.
It’s a fry cutter and has this grid blade inside to cut the potato in perfectly squared fries.
So how it works is that you take the lid off, place the potato wedge on top of that grid, then put the lid on and push it down to force the potato through the grid. And you have perfectly shaped fries.
So I repeated this process until I got all the rest of the potatoes cut, then put them with the sweet potatoes on a pan, because they cook at about the same rate. I got them all seasoned and ready for the oven.
Step 6: Put all prepped veggies into the oven
All of the veggies go into the oven at that 350 degrees F for 30 minutes- just keep an eye out and take out anything that’s cooking a little too much.
Step 7: Any veg that won’t be pre-cooked
And the last thing I prepped was kale. Since this came in a bag, I picked out any bad pieces since it was already chopped, and planned to wilt some one night for dinner, and then would have a massaged kale salad one night as well.
So once all the bad pieces were picked out I just stored it in a Ziploc in the fridge.
Step 8: Remove veggies from oven
And when they’re done, just take all the pans out, and let them cool…
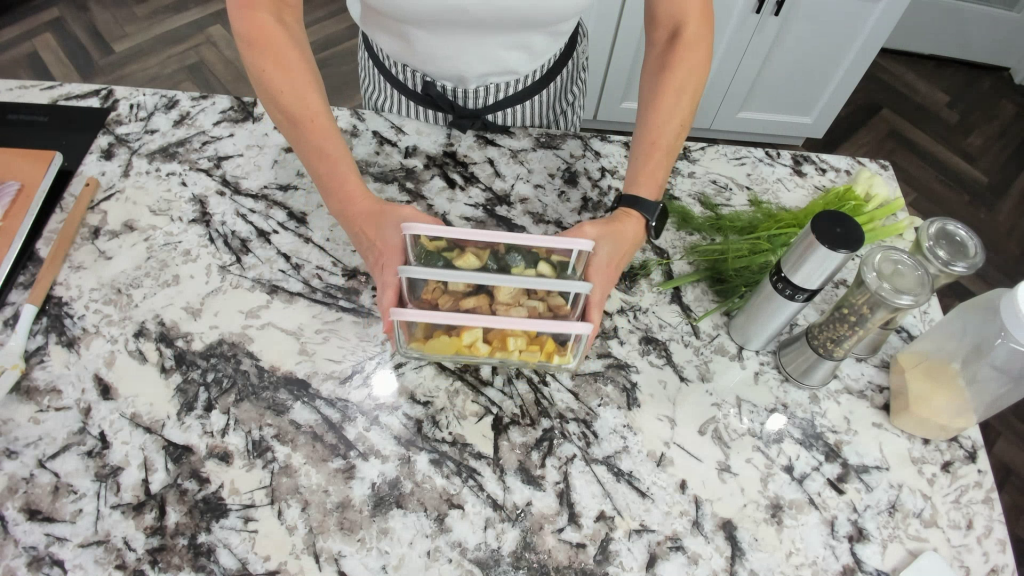
Step 9: Store prepped veggies
Then start putting them into your storage containers.
I do recommend putting them in separate containers because some veggies do have a higher water content and a lot of times they get a little bit mushy in there and you don’t want that water running into the other vegetables.
And then you’ve got all your veggies prepped for the week! You can store all of these AND your baked potatoes in the fridge until the night you need them.
4+ Meals with pre-prepped fall anti-inflammatory vegetables
The meals we cooked with our freestyle meal prep session were:
This is oatmeal👇…………………………………………………. and this is oatmeal👇…
Only one qualifies as anti-inflammatory and insulin-friendly—and today I’m gonna show you how to tell the difference and how to choose oats that will help control blood sugar and chronic inflammation.
In a market overflowing with different types of oats, it’s pretty darn important to know how the heck to choose which type is best for you depending on conditions you may have, the nutritional density of the different types of oats, the insulin response of different types of oats, and the best time of day to eat them—cause this one may surprise you!
So, one of the main goals of an anti-inflammatory diet is managing blood sugar levels no matter what meal you’re eating and what ingredients you’re using—and oats are a big topic for that because they’re very popular, and they’re a carbohydrate.
There are tons of questions about oats and if they can even fit into an anti-inflammatory diet. This is especially true if you need to know how to prepare oats for diabetics or others with insulin resistance. So let’s start with a couple of those, and then other questions I’ll answer in their respective section below.
Are oats anti-inflammatory?
This question largely depends on several things:
What cut of oats they are
If they’re gluten-free
If they’re organic
How you prepare them
What things are or aren’t added in
The best time to eat oats
The bottom line is that YES- oats are anti-inflammatory if they follow certain guidelines.
Oats CAN be inflammatory if you’re eating oats that are finely cut or ground into flour, and/or if they have added sugars and/or inflammatory fats.
So let’s dive into specifics, starting out with the definition of ‘whole grains’.
Whole grains in an anti-inflammatory diet
Truly whole vs. refined:
The first mistake I see when starting an anti-inflammatory diet is thinking that because an ingredient says ‘whole grain‘, it’s acceptable for this dietary style.
Using this logic leads to choosing breads, pastas, or even recipes that use oats (or other grains) and turn them into flour.
Let me be clear when it comes to an anti-inflammatory diet: Balanced blood sugar is key, and flour (even when it’s from whole grains) is its kryptonite.
An anti-inflammatory diet dictates that the grains are intact and whole, or partially cracked.
The more degraded the grain, the faster the blood sugar spike and ensuing inflammatory response.
When it comes to oats, whole is where the heart is – and where the health benefits reside. Choosing truly whole grain oats means you’re getting the full spectrum of nutrients and fiber that nature intended.
This distinction matters because whole grains release their energy more gradually, preventing those unwelcome blood sugar spikes.
And yes, this also means refraining from using ground oats as flour, as the processing alters their structure and impact on blood sugar.
Fiber + resistant starch:
Ah, fiber – our unsung hero in the world of nutrition. Whole grain oats are brimming with this essential nutrient, particularly beta-glucans, which hold the power to regulate blood sugar and promote a sense of lasting fullness.
These friendly fibers not only support digestion but also play a crucial role in curbing inflammation.
And let’s not forget about resistant starch, another star in the oat realm that supports gut health and even aids in weight management.
Gluten-free oats vs non-gluten-free oats
There are a few different conditions that may warrant you NOT eating oats at all.
Some of these would be, obviously, if you’re allergic to oats and if you’ve found that you have a sensitivity to oats.
If you have celiac or an intolerance to gluten, you need be careful with oats because unless the package says “Gluten-free”, it may be cross-contaminated and have traces of gluten because sometimes they’re manufactured and packaged in a facility that also packages gluten-containing foods.
Another condition that may warrant a second thought on oats is any autoimmune condition. Gluten has been shown to cause leaky gut- especially for those more prone to autoimmune conditions, so if you do have an autoimmune condition make sure to buy gluten-free oats if you choose to eat them at all.
But many people find that they need to eliminate grains altogether for a while and then slowly reintroduce them to make sure they’re not reacting to each one.
If you have GI conditions like IBS, IBD, or Chron’s disease, eating any kind of grain could irritate the GI tract or cause bloating if you have a gut bacteria imbalance.
One condition that isn’t talked about a lot is any kind of mood disorder or even ADHD. Studies are showing that a low-carb to keto diet can be very effective in managing mood disorders.
So if you have depression, anxiety, ADHD, or any other type of mood disorder, you might consider nixing the oats (and other grains) altogether for a lower carb or keto diet to see how that affects you first.
And if you have any type of insulin resistance, eating large amounts of oats could make your blood sugar skyrocket, which is counterproductive to your health and any efforts you may be making at reversing that insulin resistance.
It’s ok to have oats with insulin resistance, but you need to take some steps to make sure you’re making that meal as insulin-friendly as possible, which I do talk about in our Anti-Inflammatory Overnight Oats post if you want to catch that.
Organic oats vs non-organic oats
So first and foremost, there is so much research on organic vs non-organic foods, and the science supports going organic if you can.
The chemical glyphosate is just one of several that are heavily sprayed on non-organic crops and all you have to do is a simple Google search to see the numerous lawsuits that have been won, for bodily damage from communities around the world that have been exposed to this chemical.
So bottom line—grains have been sprayed with these if they’re not organic, so choose organic if at all possible.
Decoding types of oats
So let’s dive into the types of oats and the differences between them and which you should choose for your anti-inflammatory oats recipes.
Oat Groats:
Groats are the most unrefined form of oats, as they have the whole kernel intact.
If you’re looking for the closest adherence to an anti-inflammatory diet, oat groats are your best option.
They cook pretty much like steel-cut oats and are very hearty and insulin-friendly as they aren’t broken down, cut, or ground at all.
Steel-Cut Oats:
These oats bring a heartier texture to the table, and their minimal processing ensures they retain more of their natural goodness.
Think of them as the oat connoisseur’s choice – a bit of extra chew and a distinct nuttiness that’s perfect for those who enjoy a more robust breakfast experience.
Old-Fashioned Oats (also known as Rolled Oats):
These trusty rolled oats have been a breakfast favorite for years. They offer a balanced combination of texture and nutrients.
They are, however, getting past that crucial point of being partially cracked.
So even though the majority of ‘healthy’ oat recipes call for rolled (old-fashioned) oats, this is the point of higher blood sugar spikes because of how much more these are refined.
Quick Oats:
While quick oats are pre-cut and slightly processed, people mistakenly choose these because they are so much faster to cook.
Instant oats are, for the most part, the same thing as quick oats. They’re extremely refined and cause that rapid and high blood sugar response. So, again, I’d avoid these.
Cooking and Preparation Tips
Substituting one type of oats for another:
Since there is a difference in density between the types of oats, just know that you may not want to substitute one for the other cup-for-cup in a recipe.
Here’s the calorie and macro difference between each type of oats per ½ cup:
You can see that the density of:
1/2 cup of oat groats has 360 calories, 5 g fat, 68 g carbs, 10 g fiber, and 10 g protein;
½ cup of steel-cut oats has 300 calories, 5 g fat, 54 g carbs, 8 g fiber, and 10 g protein;
½ cup of rolled oats has 190 calories, 4 g fat, 33 g carbs, 5 g fiber, and 6 g protein;
And ½ cup of quick oats has 150 calories, 3 g fat, 27 g carbs, 4 g fiber, and 5 g protein.
What this means is that if you’re watching your weight, you’ll need to do a little math to convert the amount of oats you use in a recipe to keep the same calorie and macro count – if you’re using a different type of oat than is in the recipe.
Again- I recommend oat groats or steel-cut, but if you can’t handle that texture, then rolled is the next best option.
Portion Control:
A little goes a long way when it comes to oats. Optimal portion sizes can prevent those unexpected spikes in blood sugar.
As a rule of thumb, one serving of dry oats is usually around 1/2 cup.
Keep in mind that different types of oats might yield slightly different cooked volumes, so adjust your portions accordingly (revisit the chart above.)
Oats and resistant starches:
And here’s a golden tip – try preparing your oats the night before. By cooking them, letting them cool in the fridge overnight and then reheating them, you’re increasing the formation of resistant starches.
Ingredients to add in or avoid in anti-inflammatory oats
The last key piece of this puzzle is what you either add in or avoid in your anti-inflammatory oats recipes.
These are going to be the major inflammatory things like added sugars (even natural unrefined ones), artificial flavorings or colorings, preservatives, and unhealthy oils.
Add-ins that are great would be fruits, vegetables, nuts, or spices that are known to be anti-inflammatory. This works super well when you pair these with seasonal ingredients to create yummy flavor combinations.
👉 Keep reading for links to recipes–👇
The best time to eat oats
And the last thing I want to cover is WHEN the best time is to eat oats.
This sounds silly, but eating a higher-carb breakfast is actually not the best idea.
Studies have shown that lower carbs in the morning and at lunch are much better for focus and productivity.
Then more carbs at dinner, or possibly an after-dinner snack with oats can actually help you sleep better because they contain tryptophan and melatonin.
Obviously this can be different for each person, but since blood sugar management and reducing inflammation can be drastically affected by sleep, it’s absolutely worth trying out to see how it may improve your sleep.
Oats Recipes
Check out these oats recipes we offer at TRUEWELL:
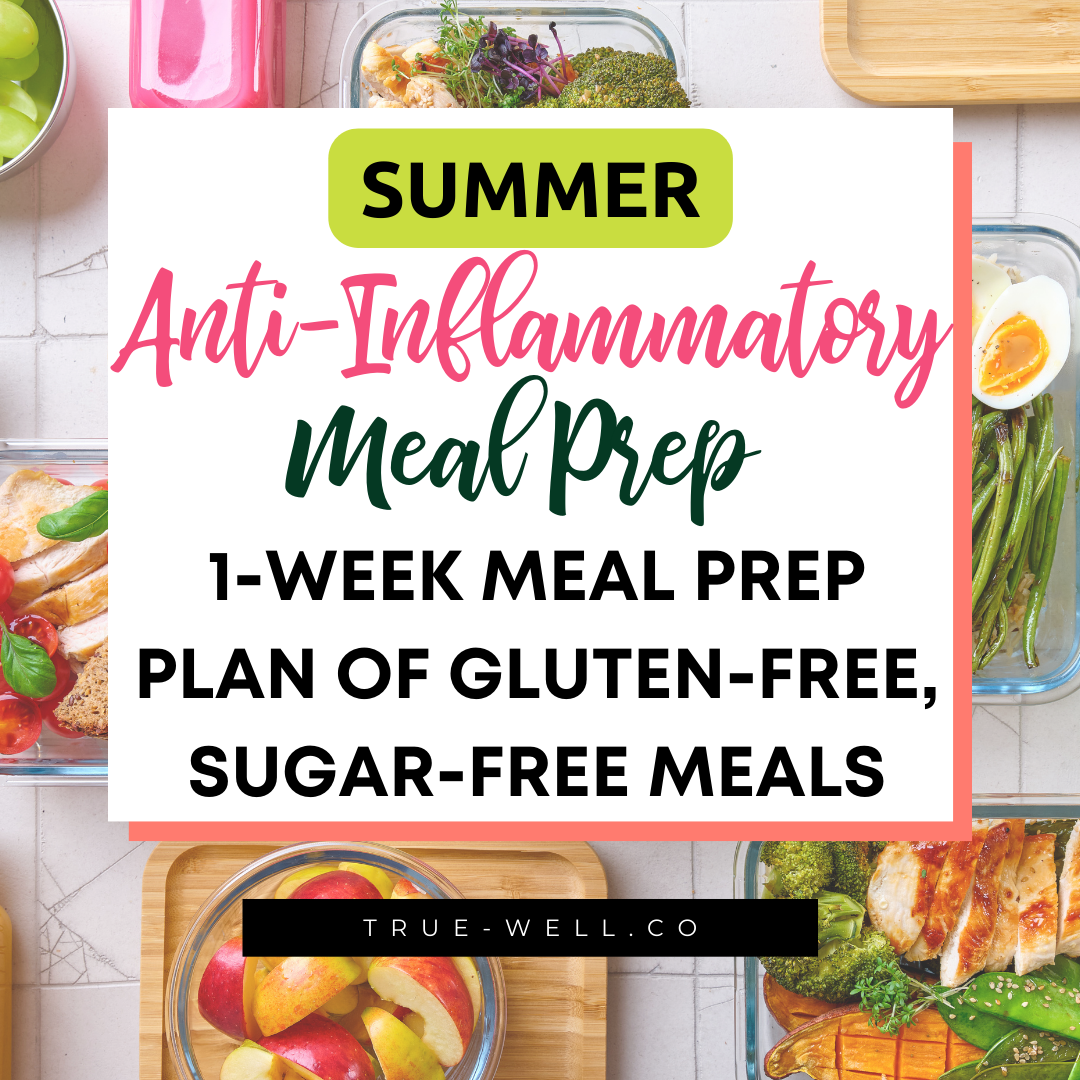
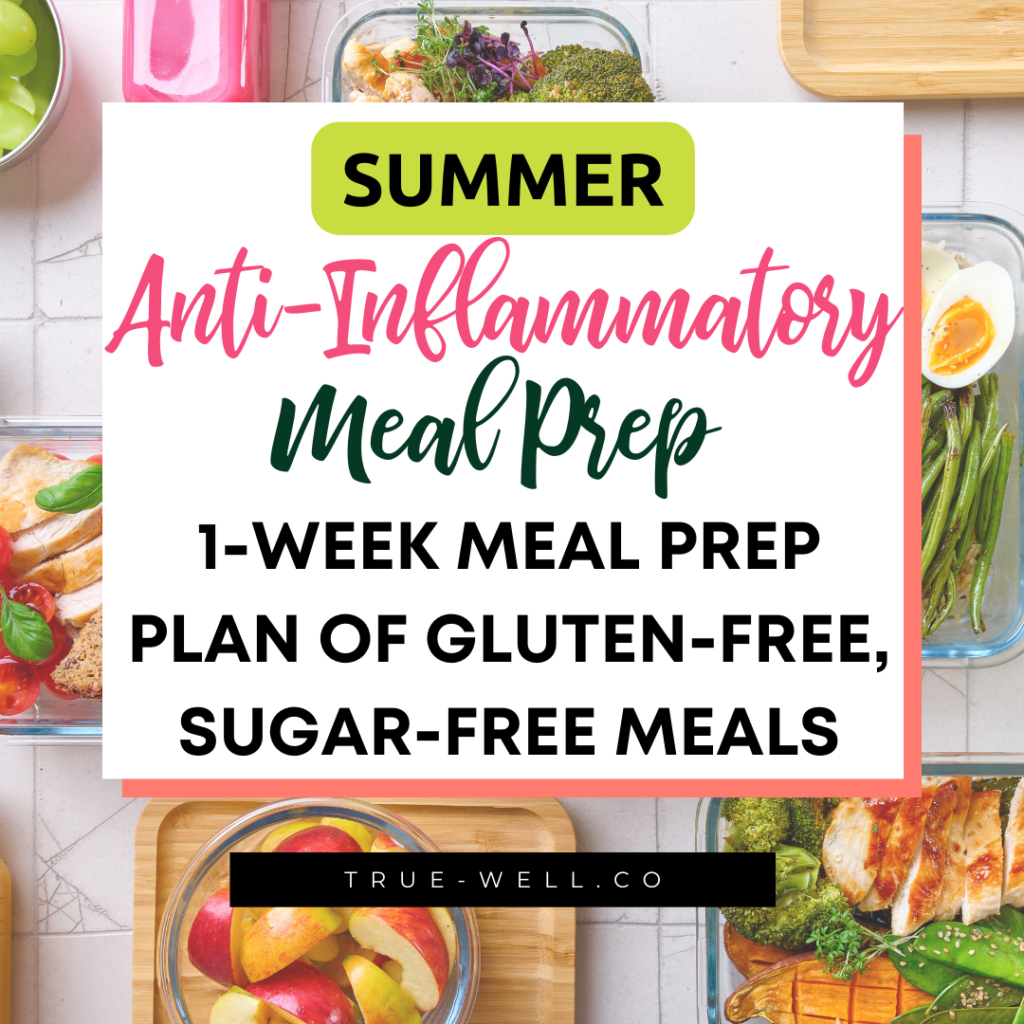
Today we’re doing anti-inflammatory meal prep for SUMMER that balances blood sugar, fights inflammation, and packs in nutrients from fresh seasonal produce.
I really love to eat seasonally, I think mother nature provides us with specific nutrients we need for each season, but also—it costs less to buy produce that’s in season.
Now I love to prep ingredients to be able to throw together, but I also know that weeks are CRAZY so it’s also important to have recipes that you’ve prepped for so you have as little as possible to think about during the week.
That being said—let me know in the comments if you like doing meal prep with actual recipes—or if you like prepping ingredients to assemble meals and snacks as you see fit throughout the week.
So this summer meal prep does both of those things – And I’ve created a PDF with instructions and links to the recipes so you can do this meal prep easily at home. 👇
Get the (free) Summer Anti-Inflammatory Meal Prep Guide!
Beat the summer heat with this 1-week gluten-free, sugar-free meal plan and prep guide! Featuring delicious anti-inflammatory recipes from fresh summer produce!
And our summer anti-inflammatory dinners we’re prepping vegetables and sauces for this week are:
Grilled salmon with sauteed green beans
Paleo Chicken Fajita bowls
Low Carb chicken and eggplant Parmesan casserole
Pesto chicken and zucchini and squash medley
Grilled Salmon with Sauteed Green Beans
Low Carb Eggplant Parmesan Casserole
Paleo Chicken Fajita Bowls
Pesto Chicken with Zucchini and Squash Medley
So let’s get started prepping!
Summer anti-inflammatory meal prep steps
Pre-step 1: Get out your prep foods and supplies, and wash everything
So to get started I get all that produce out. I get out my cutting board, my good knives, and a pan to roast the veggies on.
Then I go ahead and preheat the oven to 350 degrees F, and wash all the veggies really well.
Some people like to use a Sil match to roast veggies on because stuff doesn’t stick, but I found it really hard to find one of these that fits my pan perfectly.
I do still use this for things that I bake that won’t leak into the oven, but for roasting veggies I found a secret kitchen tool that I accidentally stumbled onto.
It’s a barbecue grill mat and I’m telling you nothing sticks to this! They usually come in a pack rolled up all nice in a box (linked below).
And what I do is actually cut them to fit my pans that have lips so that they fit perfectly. And I’ve done this with baking sheets and I’ve also done this with CorningWare dishes.
(Disclaimer: This is an affiliate link, so if you decide to purchase this product, I made a small percentage of the purchase price at no extra charge to you.)
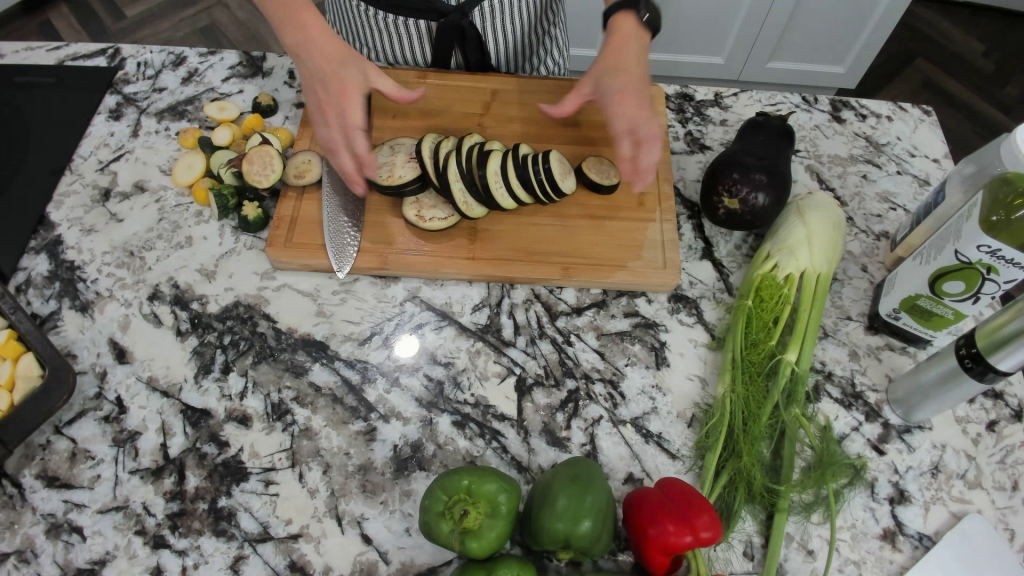
Now for this summer meal prep session, I’ve got zucchini, summer squash, eggplant, green beans, bell peppers, and onions.
Step 1: Chop
Once I make sure that everything’s been washed, I get started chopping.
So the way you want to chop veggies when you’re roasting them for meal prep like this is to try and cut them all around the same size. This just ensures that all those vegetable chunks cook at about the same rate.
Squash and zucchini
For the squash and zucchini, I just slice them in half lengthwise and then just chop slices all the way down.
Eggplant
Eggplants are tricky for some because they are part of the food family called nightshades. Nightshades cause inflammation in some people, but this isn’t a guarantee. Research has shown that nightshades causing inflammation is highly personal to each individual and any conditions they have, and the best way to know if you personally react is to do an elimination diet.
I like eggplants because they’re pretty filling but they have a soft texture without being mushy with liquid. Eggplant slices are really great for eggplant parmigiana, so it may help to slice it if you’d like to use it that way.
I’ve been told by an Italian chef before that they sometimes do that and leave the skin on to help the eggplant slice stay intact during cooking.
But I also like to peel mine and cut it into those kind of half-slices or half-moon slices to roast as well. One thing I’ve learned through the years about eggplant is that you may need to switch your peeling tool depending on the thickness of the skin.
For safety’s sake use a much smaller paring knife to get the eggplant skin off.
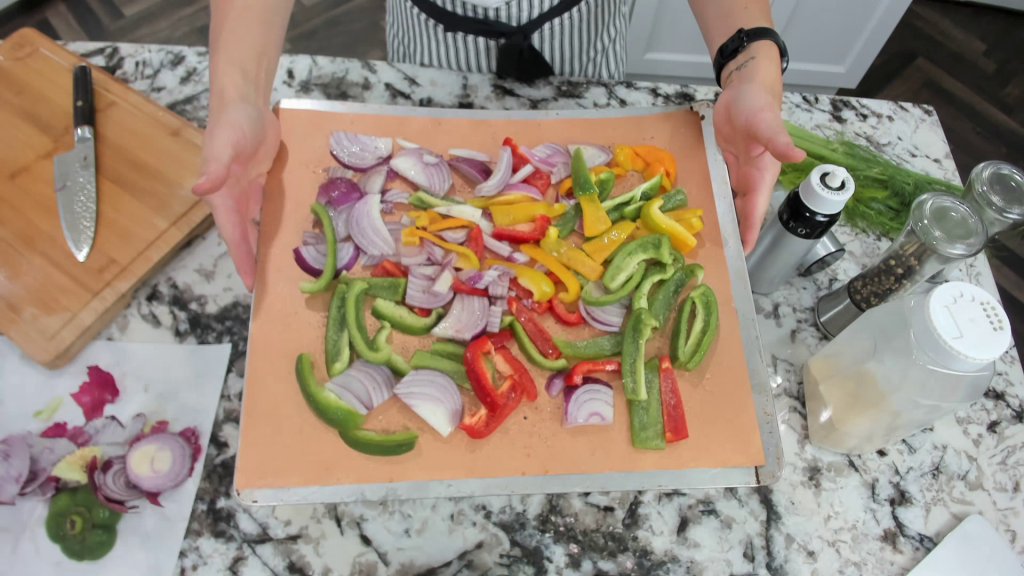
Bell peppers and onions
Then I moved on to my peppers and onions. For bell peppers, I usually will cut off the top and then I’ll work the knife around the insides to pull out that seed pod.
Then I’ll turn it upside down and give it a tap to get all those seeds out and then flip it upside down to cut it into slices. I did the same thing with my green, red, and orange bell peppers.
Then when those were done I peeled the skin of my onion. And then I cut the rest of it into larger slices to roast with the bell peppers.
These all get spread out onto a lined sheet pan as well.
Seasoning
Once I’ve got enough veggies to fill a pan I place all the chunks in sections.
The easiest way to prep roasted veggies–especially when you have recipes from different cuisines–is to do just the basic seasoning of:
oil,
salt,
pepper,
and garlic powder if you want
I used avocado oil because it has good monounsaturated fats, which is great for pulling down inflammation, and it also has a high smoke point. You can use the mister if you want a lighter coating of oil rather than it being drizzled.
Step 2A: Roast
Then everything’s ready and goes into the oven. We have a double oven so I actually take full advantage of that on days like this when I’ve got several pans to cook all at the same time.
I’ll just leave the light on in there so I can check in case something may need to come out a little earlier.
The general time that I cook these summer vegetables is about 30 minutes.
While those are cooking, I’m gonna take advantage of that time in the oven and chop anything else, mix up my batter for the blueberry scones, and then assemble my marinades and sauces.
Other veggies that don’t get cooked
The last thing in this session that I did was chop green beans. I do like roasted green beans, but we’re having Grilled Salmon with Sauteed Green Beans for one of our meals this week.
I love sauteing green beans during the summer because the fresh ones taste really great when they still have a bit of crunch to them.
So the green beans did not get roasted but they did get put into a storage container in the fridge.
Step 2B: Bake
And while everything is still roasting, we’re gonna mix our scone batter.
I want to go ahead and mix my batter for the Low-Carb Blueberry Scones, because as soon as the roasted veggies come out of the oven, the scones go in.
We start out mixing the dry ingredients, mix in all the wet ingredients, and then combine it really well. Then pour the batter onto a pan lined with parchment and shape it into a circle.
Chopping fruit
The summer fruits we’re using this week are blueberries, cherries, and limes.
The lime just needs to be sliced and juiced which takes no time, so I’m gonna leave that till the night I need it.
And I’m using frozen tart cherries, but if you’re using fresh, you’ll need to wash them, take the stems off, and pit the cherries to get the seed out. Then you’ll want to freeze them in a baggie until you need them for your smoothies because you want them to be nice and frozen.
So really the only prep for fruit is the cherries if you need to do that.
Chopping herbs
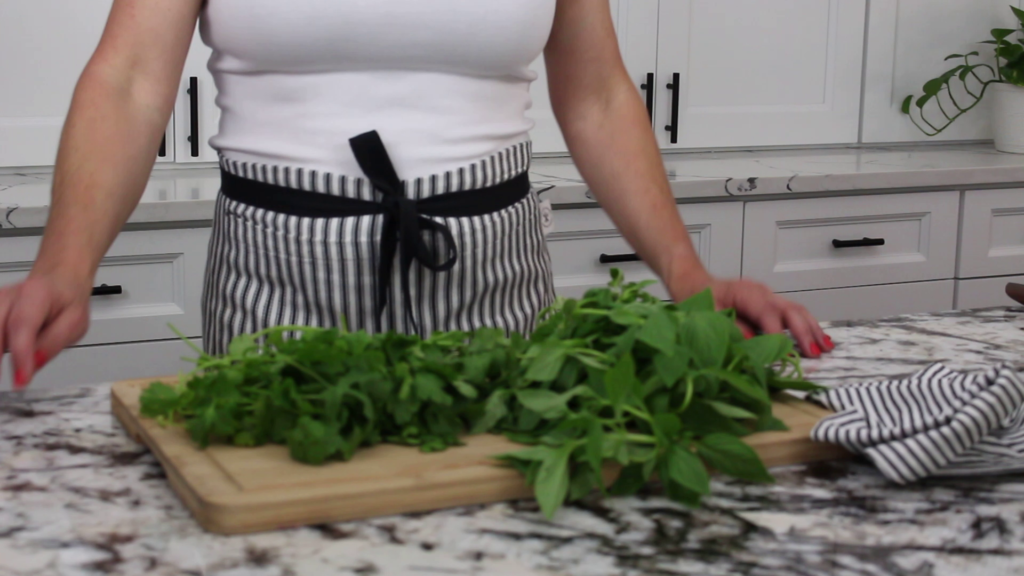
And then moved on to the herbs. This week I need cilantro and basil.
So I’m just gonna take the amount needed from the recipes and pull it from the stems.
Both of these recipes require the blender, so there’s really no need to go all out chopping these herbs unless your blender has a hard time pulling larger leaves like that down while it’s blending.
Veggies out | Scones in
By this time the veggies should be done in the oven, so we’ll pull the roasted veggies out of the oven to let them cool, and then the low carb blueberry scones go in at 350 F for 30 min.
Step 3: Assemble
Now that everything’s chopped and ready, and I’m still waiting on the scones to finish baking, I can start assembling prep packs and containers for stuff that will go in the fridge until the night or day I need it.
Smoothie packs
So let’s start with the Cherry Almond Smoothie packs. I’m making 2 of these for the week, and we just throw all the ingredients into a baggie that’s labeled.
These little handy things I’m using are called Baggie Stands, and I’m telling you—this makes it SO much easier to use baggies for storage when you have anything liquid, because if it tips at all—you’ve got liquid all over the counter if you don’t use these things.
This recipe also includes a few ice cubes, but we hold off on those until the day we make them.
You can write instructions for the ice on the baggie too if you want. And then once those are made, they go in the fridge.
Marinades, dips, dressings
Next we’ll mix the marinades, dips, and dressings.
Fresh Cilantro Lime Dressing
The Cilantro Lime Dressing is gonna go on our Paleo Fajita Chicken Bowls and can also be used for dressing on salads, so you can double or triple this recipe if you want.
The ingredients just go all in the blender, blend it on high, and pour it into a container to seal and store in the fridge.
Homemade Low-Carb Marinara
Nex is our Homemade Low Carb Marinara for the Low-Carb Eggplant Parmesan Casserole. Now if you can find no-sugar added marinara in the store, it may be easier for you to just buy it made already. If you can’t, then this recipe is great.
And as long as you can find crushed tomatoes, you don’t even need to blend it if you don’t want to.
Simply pour the ingredients into a saucepan, let it cook about 10-15 minutes, then when it’s cooled, store it in a jar in the fridge.
Now if you can’t find pine nuts, a good alternative is macadamia or even cashews.
You just throw it into the blender, pulse it several times and then pour it into a container to seal and store in the fridge.
Scones out
When the timer goes off, you’ll pull the scones out of the oven and let them cool before cutting into them.
You can alternately wrap the whole thing and store it in the fridge and cut it as needed during the week.
Cooling + storing meal prepped vegetables
The last step is getting the cooled veggies into containers to store in the fridge.
In our house, we use glass Pyrex storage containers that are rectangular shaped. I’m not sure who thought using round containers inside of a square-shaped fridge was a good idea of it in our house it pushes other dishes around and nearly pops them out of the fridge regularly, so we use square or rectangular shaped.
And then when they’re cool enough put the lids on and you can stack them nice and neat in the fridge until you need them during the week.
Then during the week, you have all your veggie components ready to go for the week for these recipes.
And if you happen to have leftovers from your meal prep at the end of the week, my favorite way to use it is to make a nourish bowl or macro bowl with all the leftovers.
Now, as I mentioned at the start, I’ve created a summer meal prep guide for you that should hopefully make meal prep a little easier because it has the full prep guide as well as links to all the recipes.
And—when you grab the free PDF for the summer meal prep, you also get a huge discount on the blood sugar balancing Summer Anti Inflammatory Meal Prep Kit that has 4 weeks of summer meal plans, full recipes, and prep guides that include breakfast and snacks, lunches, dinners, and even desserts and cocktails—all sugar-free, gluten-free, and dairy-free adaptable!
Get the (free) Summer Anti-Inflammatory Meal Prep Guide!
Beat the summer heat with this 1-week gluten-free, sugar-free meal plan and prep guide! Featuring delicious anti-inflammatory recipes from fresh summer produce!
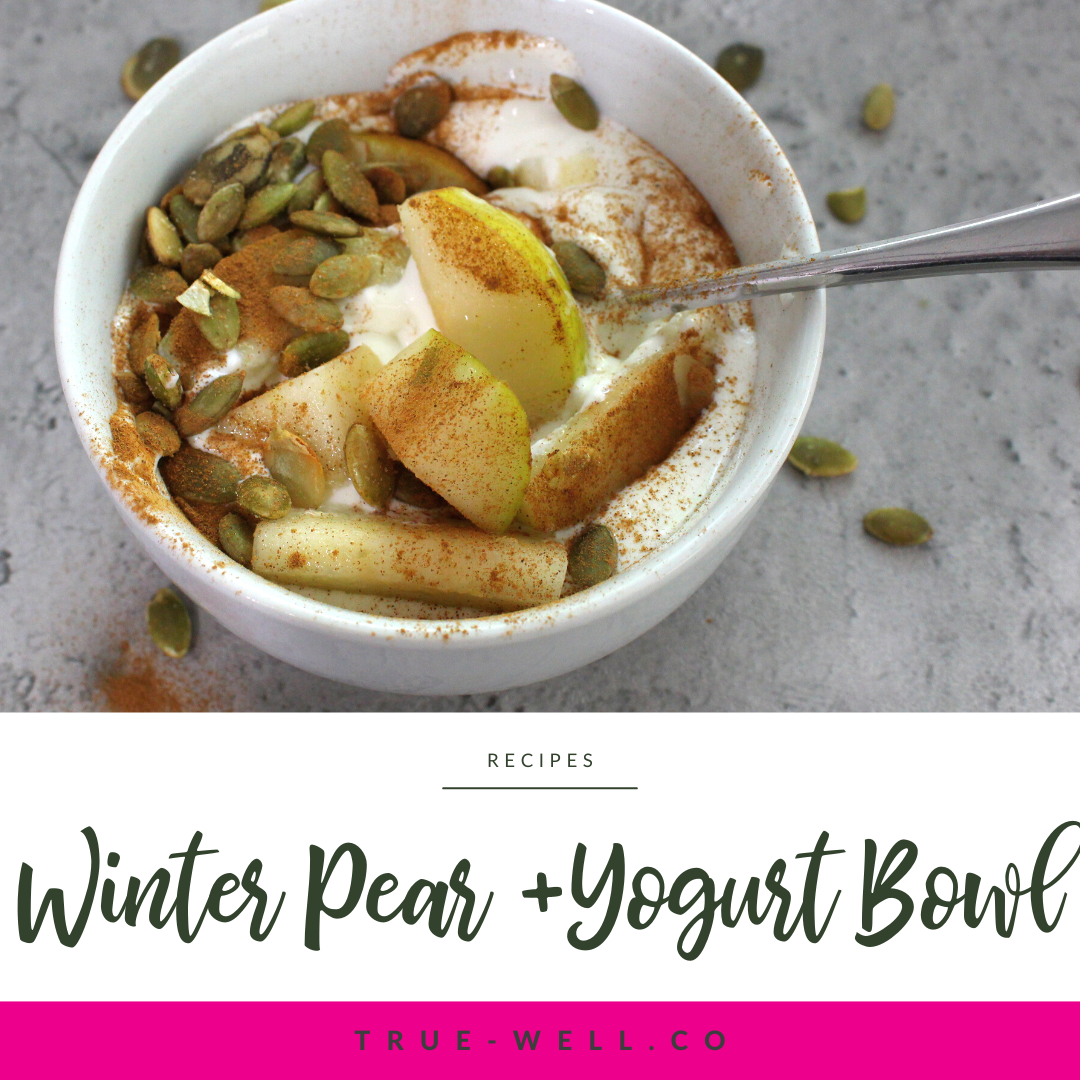
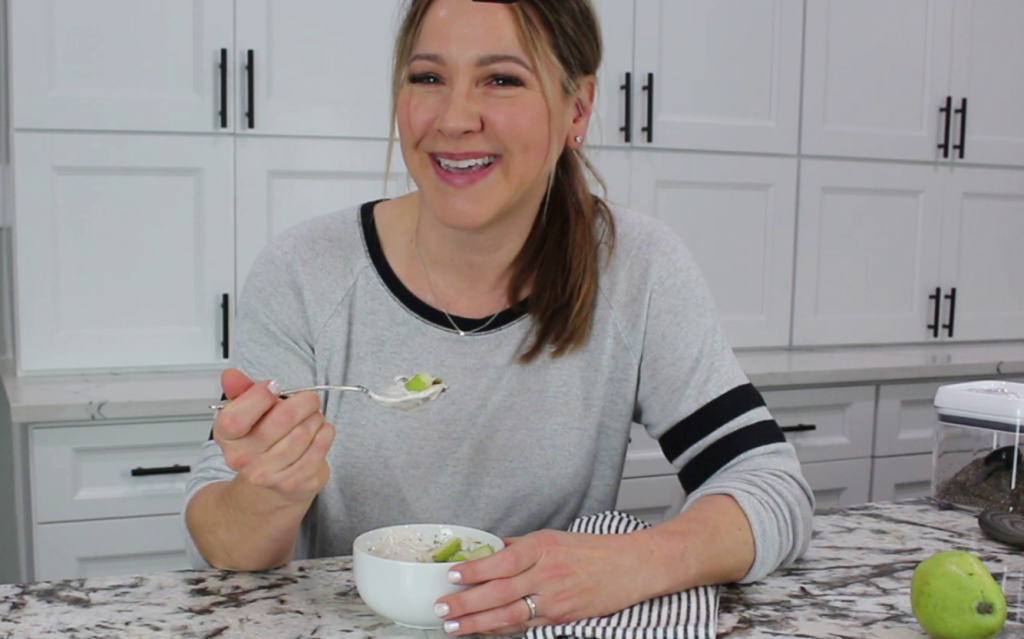
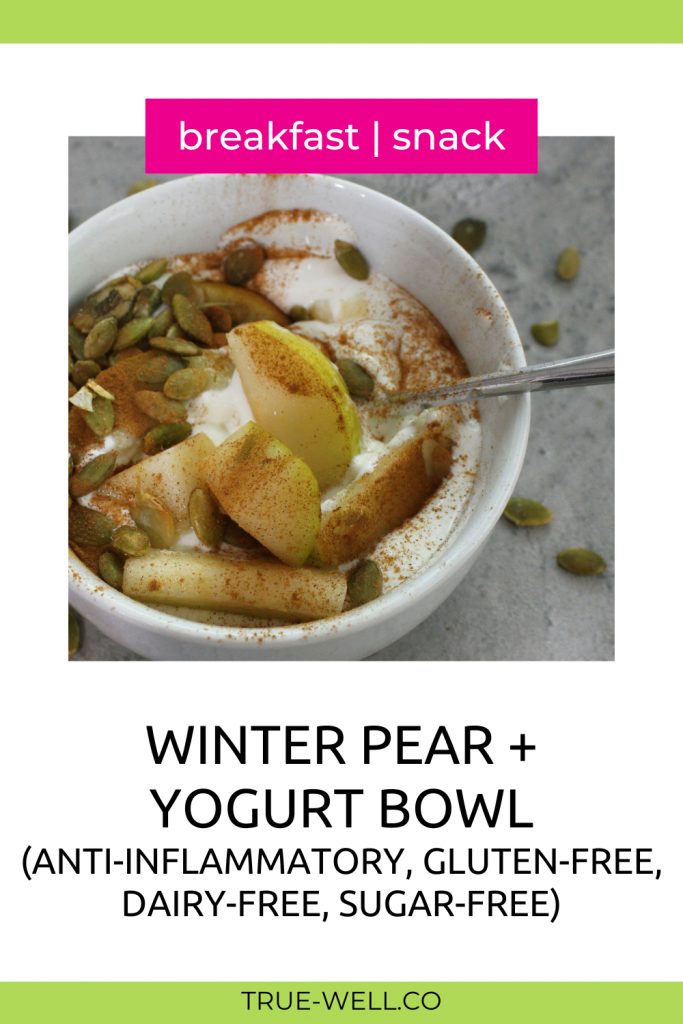
When apples are done for the fall, pears move right on in to take center stage! And this Winter Pear and Yogurt Bowl is super versatile, macro balanced, and oh so yummy!
The thing that’s so great about nourishing yogurt bowls like this is that you can add whatever you feel like adding (like as long as it’s anti-inflammatory and falls in your macros if you’re trying to lose or gain weight.)
And although we used Greek yogurt for this bowl, if you’re dairy-free, you can simply sub that out for coconut or almond yogurt.
Another reason these are so easy is that you can just throw it together in 3 minutes.
But the yogurt mixture can be portioned out, and the toppings can separately be portioned out so you can meal prep them ahead of time for the week. (Win!)
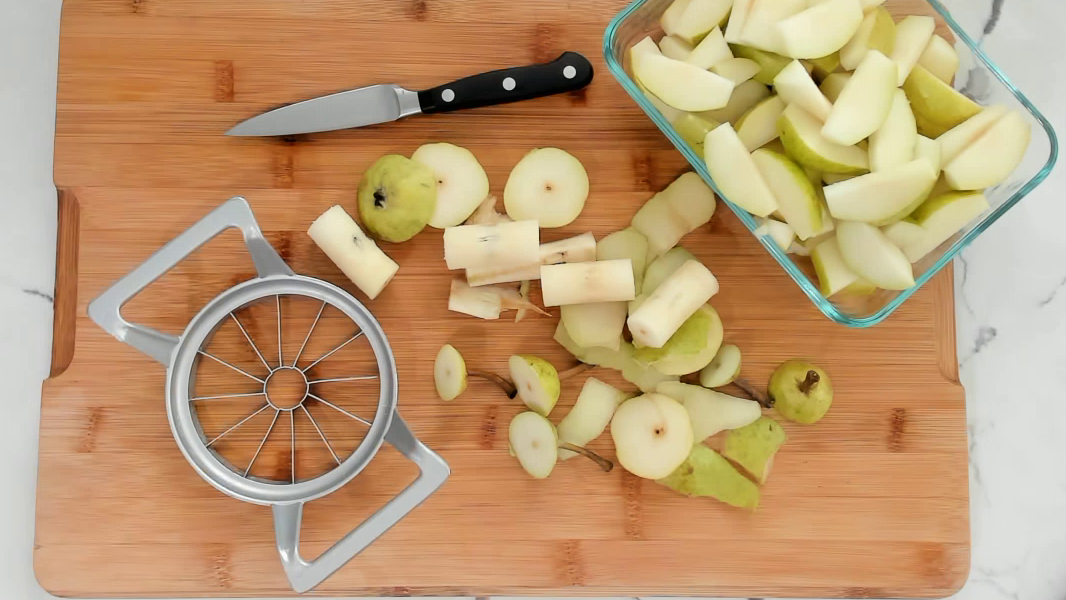
Now, I really used to not like pears that much. Even though we had a pear tree as a kid, they were the variety that big food companies use to can (you know–the ones that sit on the grocery store shelves?) I don’t like the grittiness.
But if you get the winter varieties that are a bit smaller, the skin is actually very soft and the inside texture isn’t gritty. Which is why I now love pears. 🍐
Since I keep the skins on (they’re full of nutrients like apple skins are!) I use a trick to quickly and easily slice and core them.
How to quickly and easily cut and core a pear:
Cut off a thin slice from the bottom of the pear so it sits flat
Cut the top skinny part off
Use an apple corer/slicer the same way you would an apple
Here’s what I put into my creamy and nourishing Winter Pear and Yogurt Bowl:
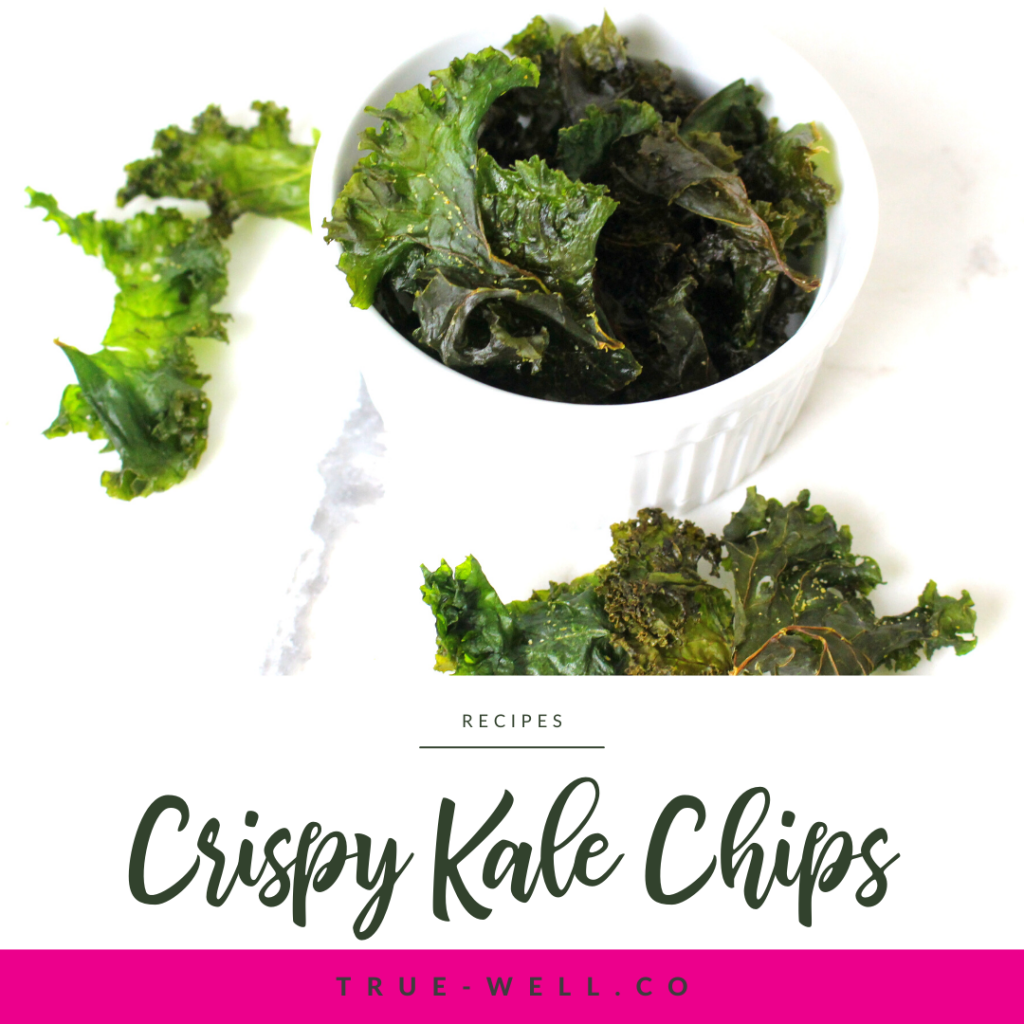
If you’re looking for a super easy and healthy winter snack, Crispy Kale Chips are a super easy choice! They’re the ‘savory cotton candy’ of the snack world. Each bite is lightly crisp but dissolves in each addictive bite.
The other plus is that these Crispy Kale Chips are crazy easy to make.
First of all, opt for organic if you can. Greens easily soak up pesticides, especially since the part you eat isn’t protected by a shell or a pod cover or skin. Pesticides are inflammatory to all bodies, so it’s best to be safe. If that’s not an option, make sure you wash it well when you get home.
Second, I know it can be tempting to grab a bag of the pre-chopped kale, but that’s a huge mistake. The reason is that they don’t remove the stems, and you’ll be left for an hour just trying to trim out all the mini stems.
Instead, get a bundle of whole kale leaves.
Step 2: Trimming kale for kale chips
One method I’ve found to trim kale leaves is to hold the end of the stem, and use a paring knife to sort of scrape the leafy part away from the stem.
You do have to be careful that you don’t cut through the stem, especially if your knife is super sharp.
The other option would be to lay the whole leaf flat and just cut out the stem. Or, you could fold the leaf in half and just make a single cut to remove the stem of the kale.
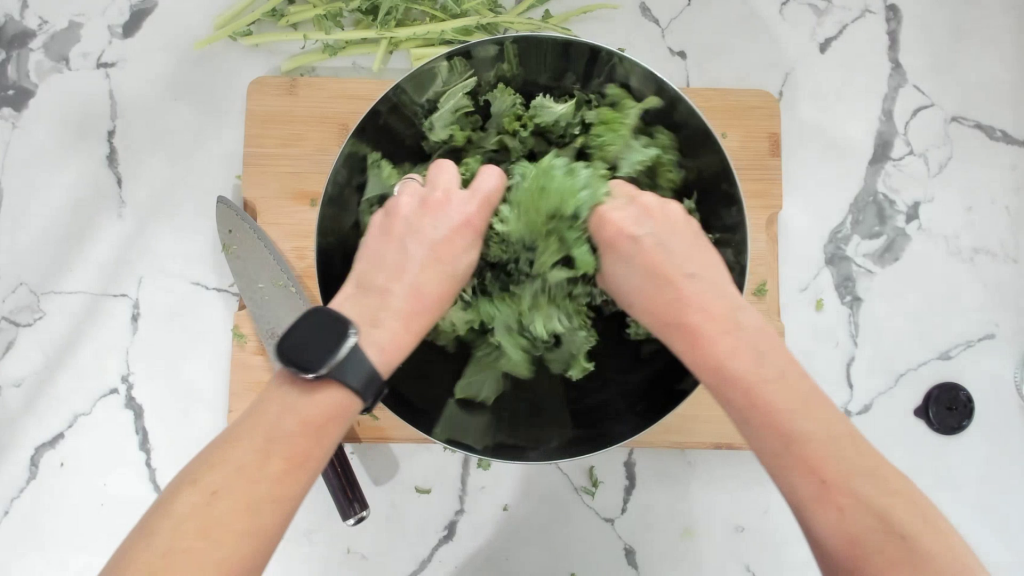
Once the stems are removed, simply tear the pieces in medium to large chunks and place in a bowl.
Step 3: Massaging kale for kale chips
Adding oil is going to help with the crispness, so drizzle some avocado, warmed coconut oil, or MCT oil on the kale leaves in the bowl.
Some people don’t think it’s necessary, but I do like to massage the leaves to loosen the fibers. Also this allows the oil to get evenly distributed.
You’ll literally just stick your hands in, massage the leaves, and turn over chunks as you’re working to get the oil on everything.
*DON’T SEASON YET!
Step 4: Cooking kale for kale chips
Cooking the kale is super easy. You simply place the contents of the bowl on a large baking pan.
Kale cooks at 300 degrees F for about 20 minutes or so. Keep an eye out and make sure they’re getting browned (this is how they get crispy) without getting burned.
Step 5: Cool, season, and enjoy!
Let them cool to finish crisping, and then add sea salt or any other seasonings you wish. It’s best to wait until they’re cooked to season because they shrink and it’s really easy to over-season your kale chips.
Kale Chips flavor options
Some flavor options are:
Ranch (nutritional yeast + lemon juice + salt)
Chili Lime (chili powder + lime juice + salt)
Salt and Vinegar (vinegar + salt)
And enjoy! They can be stored in a baggie or container on the counter for a few days.
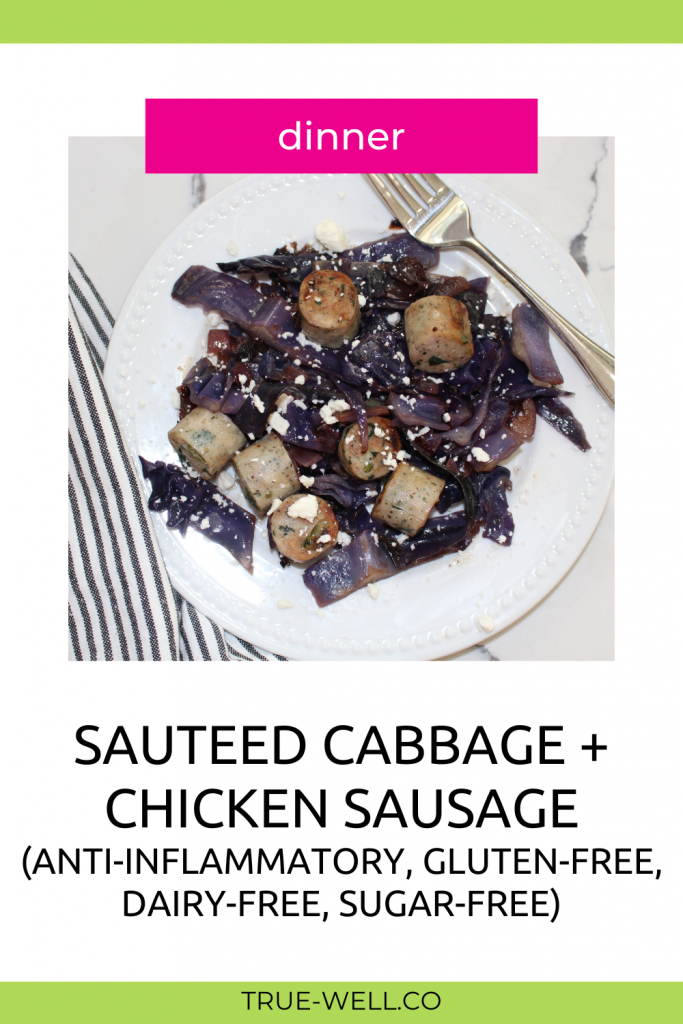
Cold winter nights call for warm and easy one-pan meals like this Sautéed Cabbage and Chicken Sausage.
Even though I’ve been averse to cabbage for a long time (from having my parents and grandparents tell me to eat some cabbage non-stop growing up), I’ve come back around to it.
Mainly because I know it’s chock-full of needed nutrients for winter and has anti-inflammatory properties. But also because when it’s cooked right, it’s actually really delicious. And that’s exactly what this dish is. Delicious. And easy.
Here’s how to make it:
Step 1: Chop the cabbage
Cabbage almost always has dirt on it, even if it looks clean at first. Make sure you peel the outer few layers and wash all the dirt off really good. (Gritty cabbage is unpleasant cabbage.)
Cut the cabbage into slices, then chop the slices into medium to smallish chunks. (This depends on what your preference is.)
*If you’re prepping this for later in the week, store it in a baggie until the night of.
Step 2: Sautee the cabbage
Next, add the avocado oil to a sautee pan and turn the heat to medium warm. Add the cabbage and salt, and sautee it until it’s on the verge of being soft.
Then add the dijon mustard and lemon juice.
Step 3: Add the sausage
Slice the chicken sausage into chunks or rounds and add it to the pan. Keep stirring until the chicken is warmed through.
Plate and enjoy!
Don’t be afraid to add a spinach or kale salad on the side! 🍃
16ozchicken sausage (Make sure there's no cheese inside for dairy-free)
1 head purple cabbage (sliced and chopped)
2 TBSP avocado oil
2 tsp lemon juice
1 tsp dijon mustard
1/4 tsp salt
Instructions
Heat a cast-iron skillet over medium heat. Once hot, add the sausage and cook for six to eight minutes, until cooked through. Then remove and set aside.
Add the cabbage wedges to the skillet and cook until browned and slightly charred on both sides, about five minutes total.
In a small bowl, mix together the olive oil, lemon juice, mustard, and salt. Add the sausage and cabbage to plates. Drizzle the dressing over the cabbage and enjoy!
Notes
Per serving:
Fat: 16g
Carbs: 11 g
Fiber: 3 g
Sugar: 5 g
Protein: 23 g
Nutrition
Calories:279
Like this recipe? Prep it and 5 others with the Winter Anti-Inflammatory Meal Prep Guide! {Click the image below to grab it} 👇
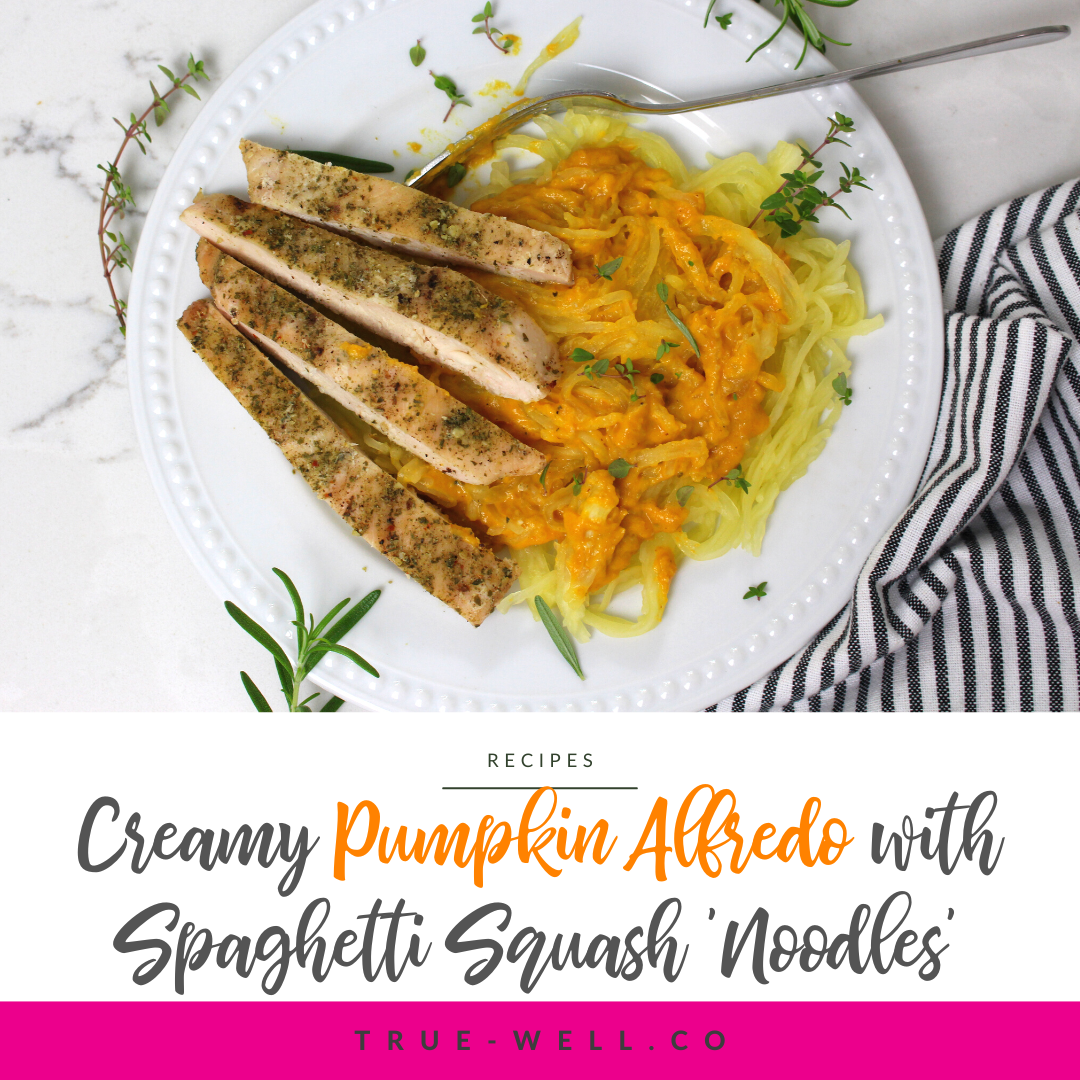
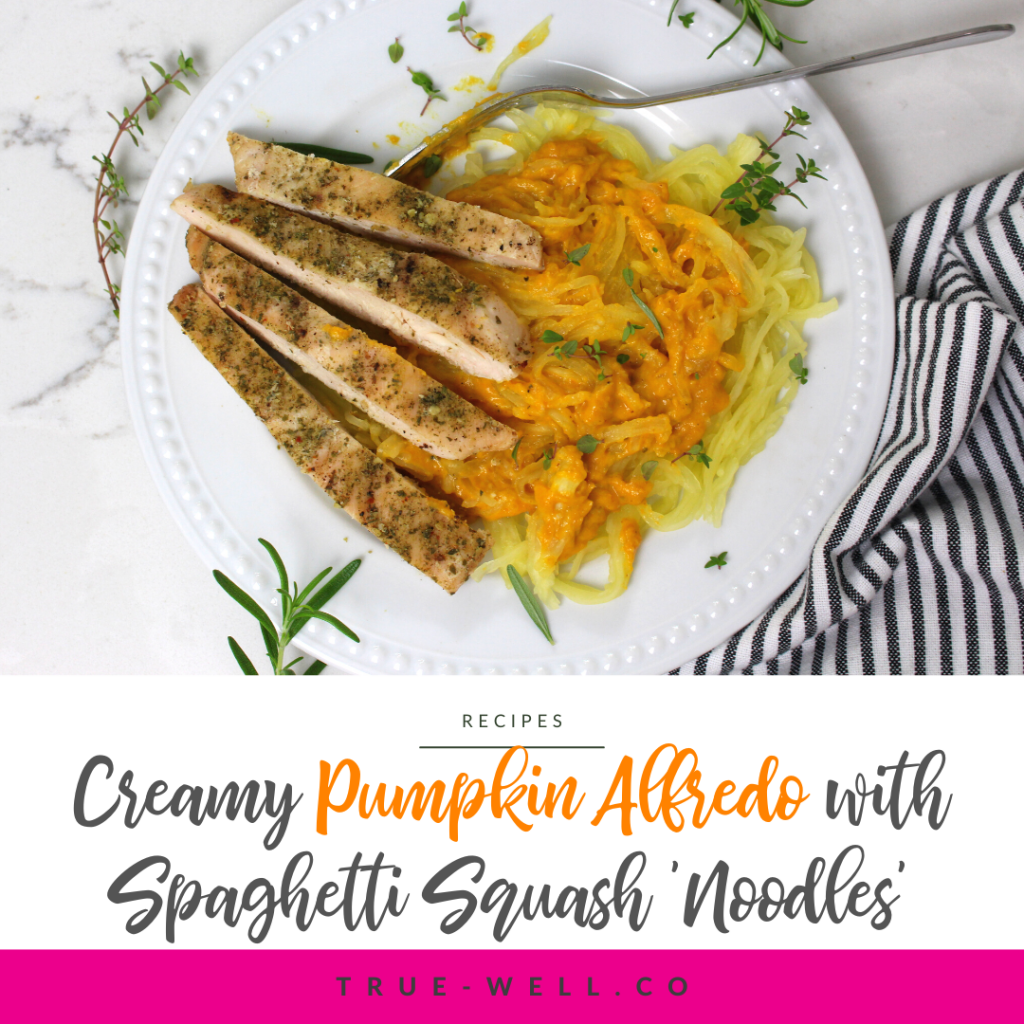
If you like alfredo sauce on anything you’ll LOVE this Creamy Pumpkin Alfredo with Spaghetti Squash Noodles!
Honestly, my kids have made an Olympic sport of turning up their noses at dinners I make, then retracting their comments once they taste it.
This is one of those dinners. They loved it.
The thing that’s cool about this recipe, if you’re worried about the pumpkin taste, is that you actually can’t even taste the pumpkin. It makes the sauce a slightly more orange color, but adds a nutritional boost without even affecting the flavor hardly at all.
We like to use it on top of spaghetti squash because the seasonal winter produce is anti-inflammatory goodness that provides tons of fiber and vitamins like A, B6, and C. (All of which are amazing for cold and flu season!)
The pumpkin in the alfredo sauce gives it an additional boost of those nutrients as well. Plus, the healthy fats in the alfredo sauce base are used to absorb alllll that Vitamin A. (Healthy triple whammy!)
1/2cupparmesan cheese (organic, grated from the block)
Instructions
Preheat the oven to 350 degrees F. Cut the squash in half lengthwise. Place on a pan covered in foil. Roast for 30-40 minutes.
Remove squash from oven and let cool enough to touch.
Flip halves over, then use a fork to scrape the spaghetti 'noodles' out of the middle into a bowl.
For the sauce (don't make ahead of time, you want this to be made immediately before serving): Heat the avocado oil and garlic over medium heat. Add the pumpkin and cream, stirring. Simmer until lightly thickened, then add the parmesan cheese and stir until combined.
Plate the squash noodles, then top with pumpkin alfredo sauce.
This is also great topped with organic crumbled bacon or grilled chicken.
Enjoy!
Like this recipe? Prep it and 5 others with the Winter Anti-Inflammatory Meal Prep Guide! Click the image below to grab it!👇👇👇
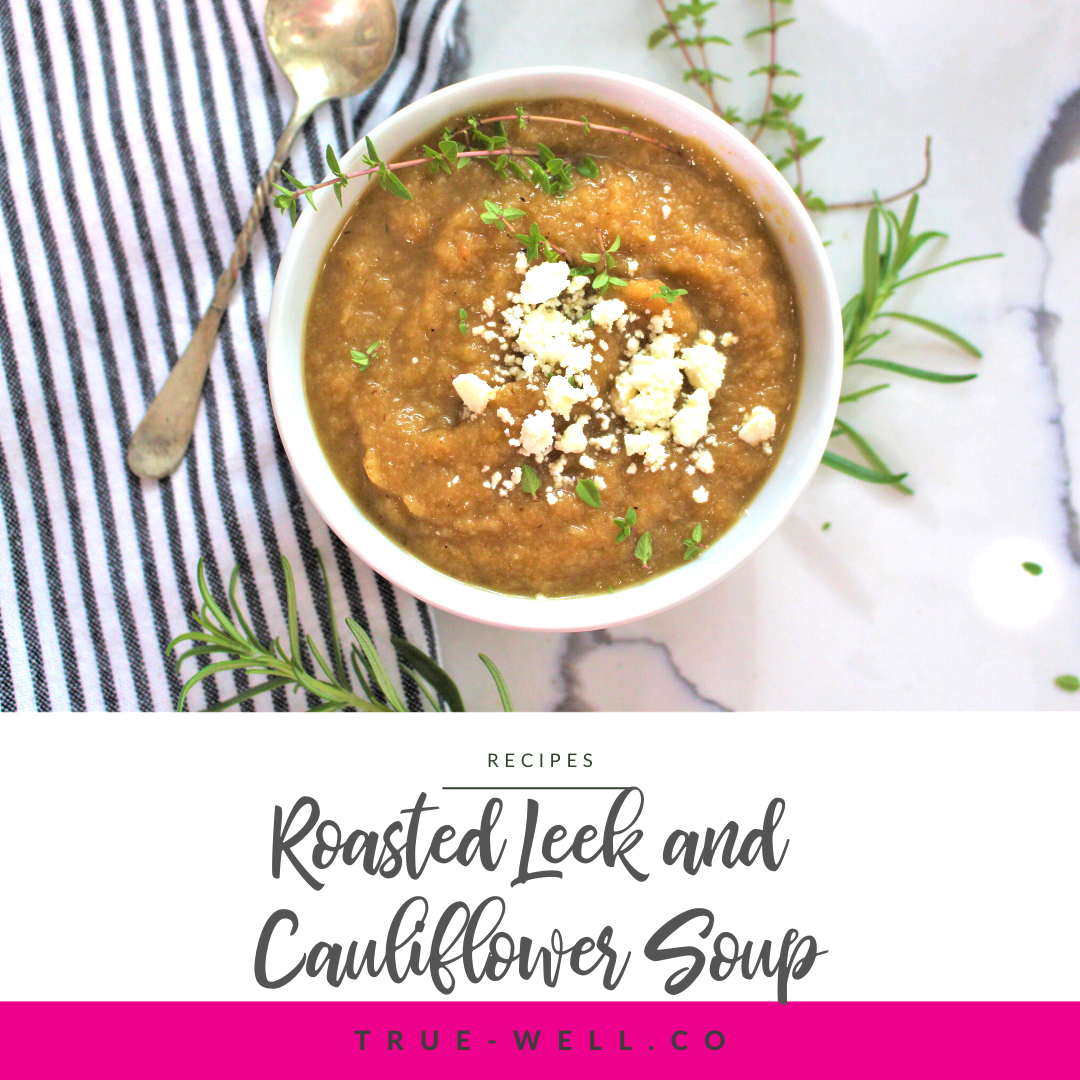
Truthfully, in the past I’d never tried leeks–even in something as yummy as this Roasted Leek and Cauliflower Soup.
I’m embarrassed to admit that every time I thought of leeks, I remembered the scene in Bridget Jones’ Diary where she tried to make leek soup and left the blue rubber band in it and the entire soup was blue. 😝 😹
But thankfully I got over it and now absolutely love the taste of leeks! Which is why this soup is so great. It truly embodies the anti-inflammatory winter produce with a warm, creamy, and filling soup.
Try it out, and don’t forget to top it with organic crumbled bacon or even some sharp cheddar and chives!
Preheat oven to 350 degrees F. Spread the cauliflower florets and leeks on a baking sheet. Drizzle with 1 TBSP avocado oil and lightly season with salt and pepper.
Roast for 25 minutes, turning pan halfway through. Let it get lightly browned but not burned.
Let cool about 5-10 minutes, then, into a high-powered blender add all the roasted vegetables, almond butter, thyme leaves, lemon juice and half the water (1 1/2 cups).
Blend until pureed, then add the remaining ingredients and pulse a few more times.
Pour into a saucepan and let the soup heat until warmed up completely. Adjust seasonings to taste.
You may add more water or even broth if the soup is too thick.
Top with a dollop of sour cream or organic bacon crumbles. Enjoy
Like this recipe? Prep it and 5 others with the Anti-Inflammatory Winter Freestyle Meal Prep Guide! {Click the image to grab it!}👇
One of the best ways to get quality protein in an anti-inflammatory diet is through fish, like this lemon cod recipe. It’s flaky and delicious, and super simple to make dairy-free.
This entire recipe is an anti-inflammatory meal, as we’ve added soft cinnamon-baked sweet potatoes and wilted kale into a perfect fall anti-inflammatory dinner using seasonal ingredients.
Cod is a really light and delicious fish that isn’t overpowering, but is full of healthy fats and protein. Sweet potatoes’ already high nutrient profile gets elevated with cinnamon. And kale rounds out this anti-inflammatory dinner recipe with a punch of vitamins and fiber in a delicious side dish.
1/4 cup unsalted Butter (organic–or sub in avocado oil for dairy-free)
4 Sweet Potatoes (small to medium)
Cinnamon
1 bunch kale
Salt + Pepper
1 tsp Garlic powder
1 TBSP avocado oil
Prep + Instructions
Preheat the oven to 400 F (204 C).
If cod fillets are frozen, thaw them in a bowl of cold water.
Cube the sweet potatoes and place them in a large saucepan or Dutch oven. Add water to the pan until they are covered about 1 inch. Turn the cooktop to medium-high heat until the water is simmering. Reduce the heat so that it’s still simmering and let cook for 9-12 minutes.
While those are cooking…
Pat cod fillets dry with paper towel. Then arrange them on a baking dish lined with foil or a grill mat.
Melt 1/8 cup (half) of the butter, the lemon juice and zest in a microwave or on the cooktop, then brush it onto the fillets.
Sprinkle salt, pepper, and garlic powder on the fillets, and place in the oven for 12-15 minutes depending on thickness. While those are cooking…
Place the kale in a medium to large skillet with 1 TBSP avocado oil on medium heat. Season with salt, pepper, and garlic powder to taste, and stir to coat all the kale.
Place a lid on the skillet and let wilt down while finishing the other parts of the meal.
When the potatoes are tender, drain and return them to the pot. Mash, and add the remaining butter (1/4 cup) and cinnamon, to taste.
Remove the cod from the oven when done and let rest 5 minutes.
Remove the kale from heat once wilted.
Plate all and serve!
Notes + Make it easier
**Any fish is so much better when it’s fresh vs. frozen, but it can be really hard to find fresh fish in many areas. Frozen is fine, just add a few extra minutes to thaw it in a bowl of cold water before cooking.
**Buy the sweet potatoes already cubed.
**If you don’t mind the stems, buy kale already chopped.
1/4cupunsalted Butter (organic–or sub in avocado oil for dairy-free)
4 Sweet Potatoes (small to medium)
Cinnamon
1 bunch kale
Salt + Pepper
1 tsp Garlic powder
1 TBSP avocado oil
Instructions
Preheat the oven to 400 F (204 C).
If cod fillets are frozen, thaw them in a bowl of cold water.
Cube the sweet potatoes and place them in a large saucepan or Dutch oven. Add water to the pan until they are covered about 1 inch. Turn the cooktop to medium-high heat until the water is simmering. Reduce the heat so that it’s still simmering and let cook for 9-12 minutes.
While those are cooking…
Pat cod fillets dry with paper towel. Then arrange them on a baking dish lined with foil or a grill mat.
Melt 1/8 cup (half) of the butter, the lemon juice and zest in a microwave or on the cooktop, then brush it onto the fillets.
Sprinkle salt, pepper, and garlic powder on the fillets, and place in the oven for 12-15 minutes depending on thickness. While those are cooking…
Place the kale in a medium to large skillet with 1 TBSP avocado oil on medium heat. Season with salt, pepper, and garlic powder to taste, and stir to coat all the kale.
Place a lid on the skillet and let wilt down while finishing the other parts of the meal.
When the potatoes are tender, drain and return them to the pot. Mash, and add the remaining butter (1/4 cup) and cinnamon, to taste.
Remove the cod from the oven when done and let rest 5 minutes.
Remove the kale from heat once wilted.
Plate all and serve!
Notes
*Any fish is so much better when it’s fresh vs. frozen, but it can be really hard to find fresh fish in many areas. Frozen is fine, just add a few extra minutes to thaw it in a bowl of cold water before cooking.
*Buy the sweet potatoes already cubed.
*If you don’t mind the stems, buy kale already chopped.
Although these mushroom sage turkey burgers can be eaten with a grain-free bun, they’re absolutely delicious on their own. This turkey burger with home fries and a massaged kale salad always feels like fall 🍂 to me!
Using either a fry-cutter or a large knife, cut the potatoes into fries.
Spread them on a baking sheet lined with foil or a grill mat.
Drizzle the fries with 1 TBSP oil, then season with salt, pepper, and garlic powder.
Put in the oven for 25-30 minutes until golden. (You can stir halfway through if you like.)
Finely chop the sage and add it to a large bowl.
Finely chop the onion and mushrooms (or chop them in a food processor). Place in the bowl with the sage. Add the ground turkey, and salt, pepper, and garlic powder to taste.
Mix the turkey mixture until all is incorporated. Pat into burgers.
Heat a skillet on medium (unless you’re grilling the burgers). Cook burgers until cooked through. Remove from skillet and let rest.
Cut the stems out of the kale leaves, and chop them into small-medium pieces.
Place the kale in a medium bowl. Drizzle with the remaining 1 TBSP avocado oil, then season with salt, pepper, and garlic powder. Massage kale, while folding the oil and seasoning in until the entire bowl has softened and is coated with oil and seasoning.
Remove fries from the oven when done and plate.
Enjoy!
Notes + Make it easier
*Having to cut the fries is an extra step, but I do it because I have yet to find frozen pre-cut fries that weren’t loaded with inflammatory oils and other unnecessary (but inflammatory) ingredients.
*Although fries are typically made from white potatoes, colored potatoes have more polyphenols that snatch up free radicals. The skins have more nutrients as well. 🙂
*If you don’t have an onion, onion flakes will do for flavor, but since turkey can be a bit more dry than other fattier meats, the fresh onion really adds some moisture.
*If you don’t mind the stems being in it, you can buy kale already pre-chopped to save a little time.
👇Grab the free Fall Anti-Inflammatory Meal Prep Guide by clicking the image below!
Using either a fry-cutter or a large knife, cut the potatoes into fries.
Spread them on a baking sheet lined with foil or a grill mat.
Drizzle the fries with 1 TBSP oil, then season with salt, pepper, and garlic powder.
Put in the oven for 25-30 minutes until golden. (You can stir halfway through if you like.)
Finely chop the sage and add it to a large bowl.
Finely chop the onion and mushrooms (or chop them in a food processor). Place in the bowl with the sage. Add the ground turkey, and salt, pepper, and garlic powder to taste.
Mix the turkey mixture until all is incorporated. Pat into burgers.
Heat a skillet on medium (unless you’re grilling the burgers). Cook burgers until cooked through. Remove from skillet and let rest.
Cut the stems out of the kale leaves, and chop them into small-medium pieces.
Place the kale in a medium bowl. Drizzle with the remaining 1 TBSP avocado oil, then season with salt, pepper, and garlic powder. Massage kale, while folding the oil and seasoning in until the entire bowl has softened and is coated with oil and seasoning.
Remove fries from the oven when done and plate
Enjoy!
Notes
*Having to cut the fries is an extra step, but I do it because I have yet to find frozen pre-cut fries that weren’t loaded with inflammatory oils and other unnecessary (but inflammatory) ingredients.
*Although fries are typically made from white potatoes, colored potatoes have more polyphenols that snatch up free radicals. The skins have more nutrients as well. 🙂
*If you don’t have an onion, onion flakes will do for flavor, but since turkey can be a bit more dry than other fattier meats, the fresh onion really adds some moisture.
*If you don’t mind the stems being in it, you can buy kale already pre-chopped to save a little time.
This sugar-free BBQ Chicken Baked Potato with Sage Roasted Mushrooms and Brussels Sprouts is absolutely delicious, easy, and anti-inflammatory!
I have to give props to my husband, who came up with this main recipe. He wanted something different and easy, so he decided on BBQ chicken (shredded) topped on a baked potato. It’s quick, super yummy, and the kids love it!
I added in these perfect fall sides to get our vegetables in: Sage-Roasted Mushrooms and Brussels Sprouts.
Although baked potatoes aren’t low-carb, they can still fit into an anti-inflammatory diet. They’re full of vitamins, minerals, and fiber.
Plus when you cook them (like with meal prep), let them cool in the fridge, then reheat them for dinner, it increases the resistant starches (which are amazing for your gut health!)
Place the chicken on the top rack, veggies on the middle rack. Roast for approximately 25-35 minutes at 350 F.
Once the potatoes are done, let them cool on the counter while either shredding the chicken or cubing it. We shred it in the food processor and add the BBQ sauce right into it.
Wrap the potatoes in foil, coated with oil, salt and pepper.
Bake at 350 F for one hour.
Place the chicken breast in a baking dish and salt + pepper it.
Chop the veggies and sage.
Place mushrooms on one end of a baking sheet that’s covered in foil (or a baking/grilling mat) and Brussels sprouts on the other end.
Drizzle with oil, then lightly salt, pepper, and garlic powder all the veggies.
Sprinkle sage all over the mushrooms.
Place the chicken on the top rack, veggies on the middle rack. Roast for approximately 25-35 minutes at 350 F.
Once the potatoes are done, let them cool on the counter while either shredding the chicken or cubing it. We shred it in the food processor and add the BBQ sauce right into it.
Assemble toppings onto potatoes, and serve the roasted fall vegetables on the side.
Notes
Make it easier:
Buy shredded chicken from the deli (try your hardest for organic!)

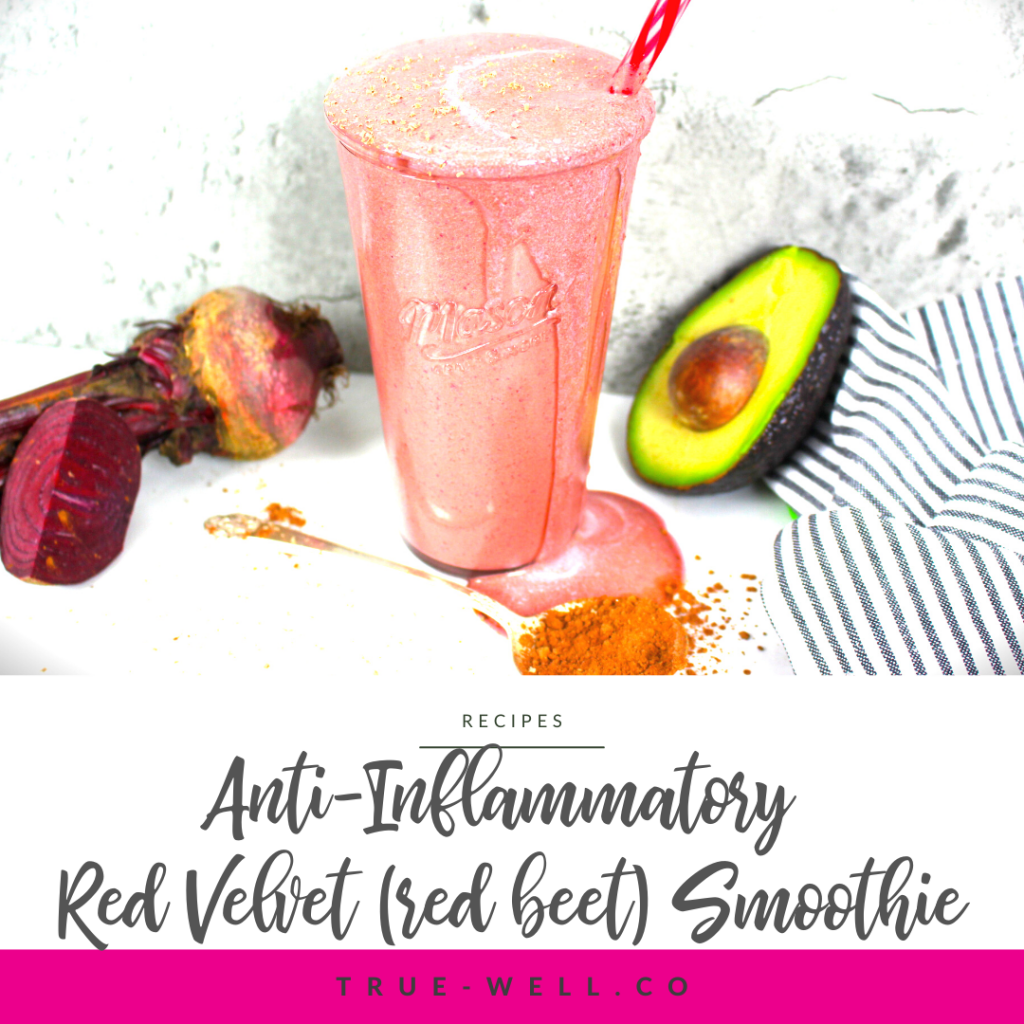
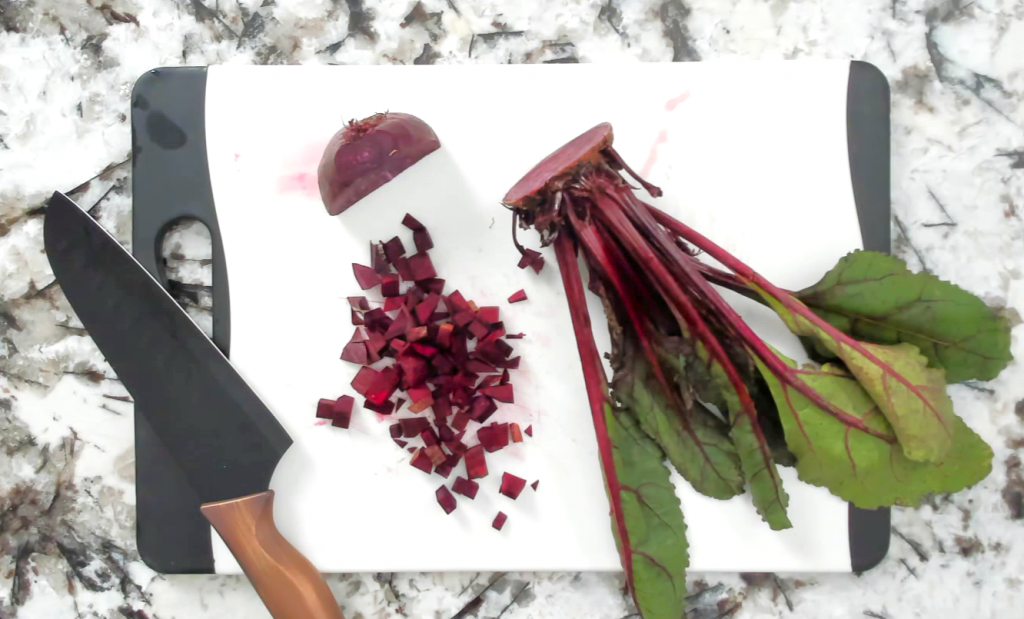


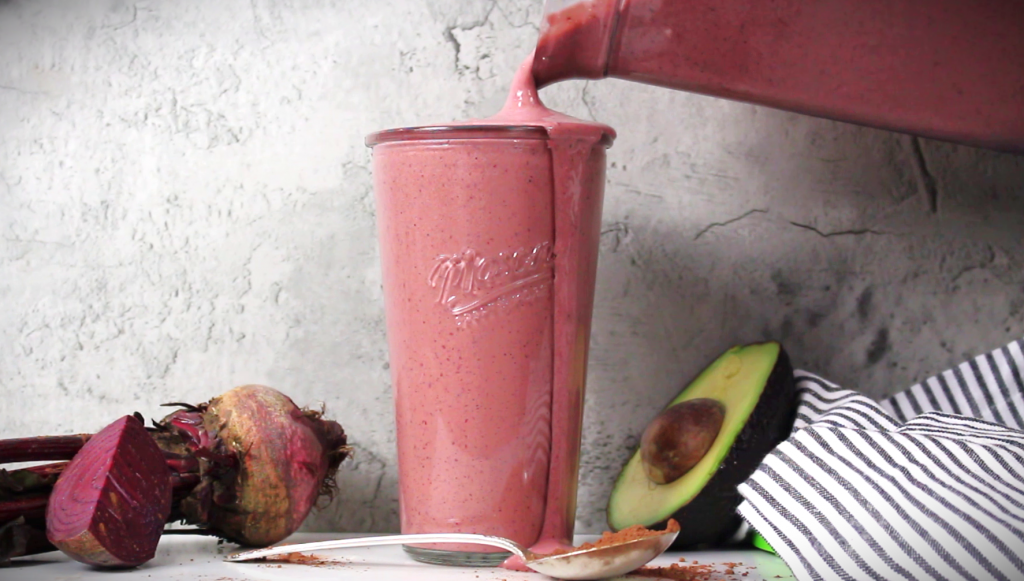


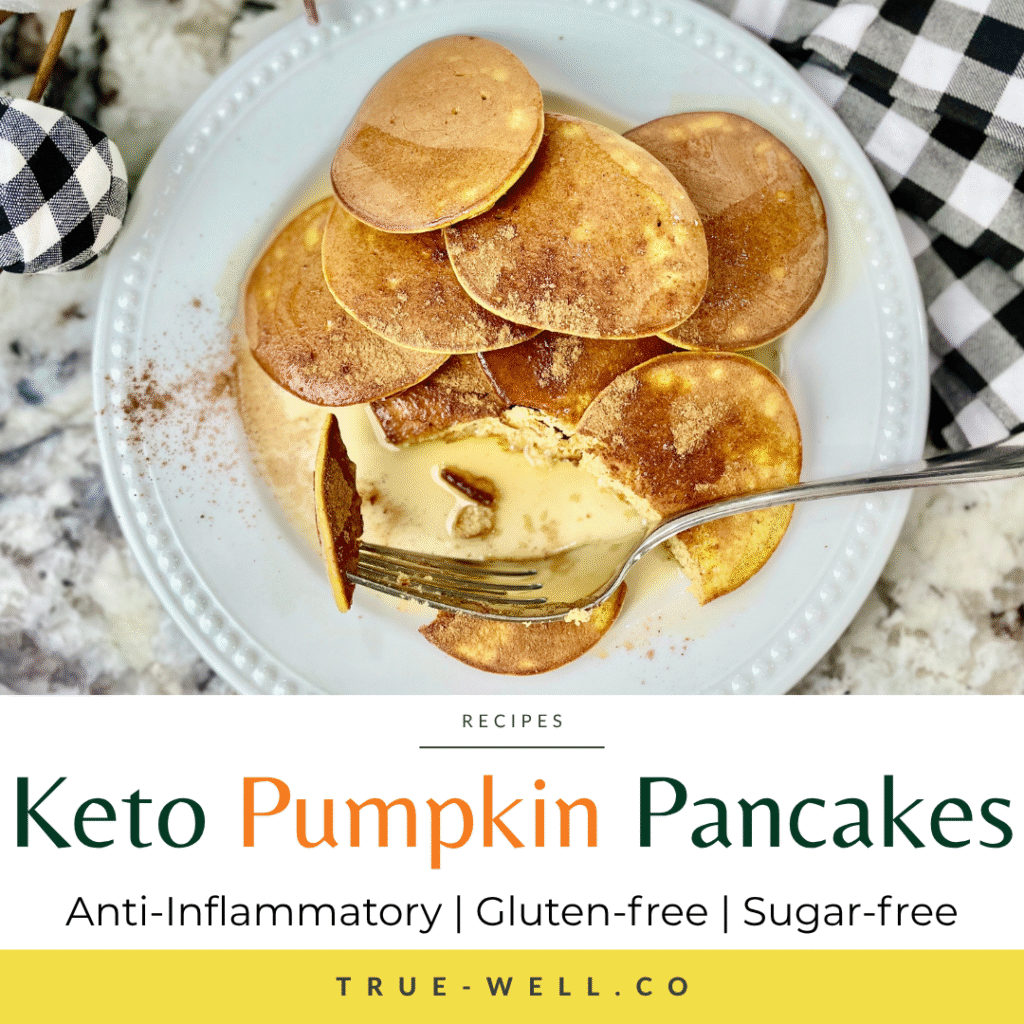
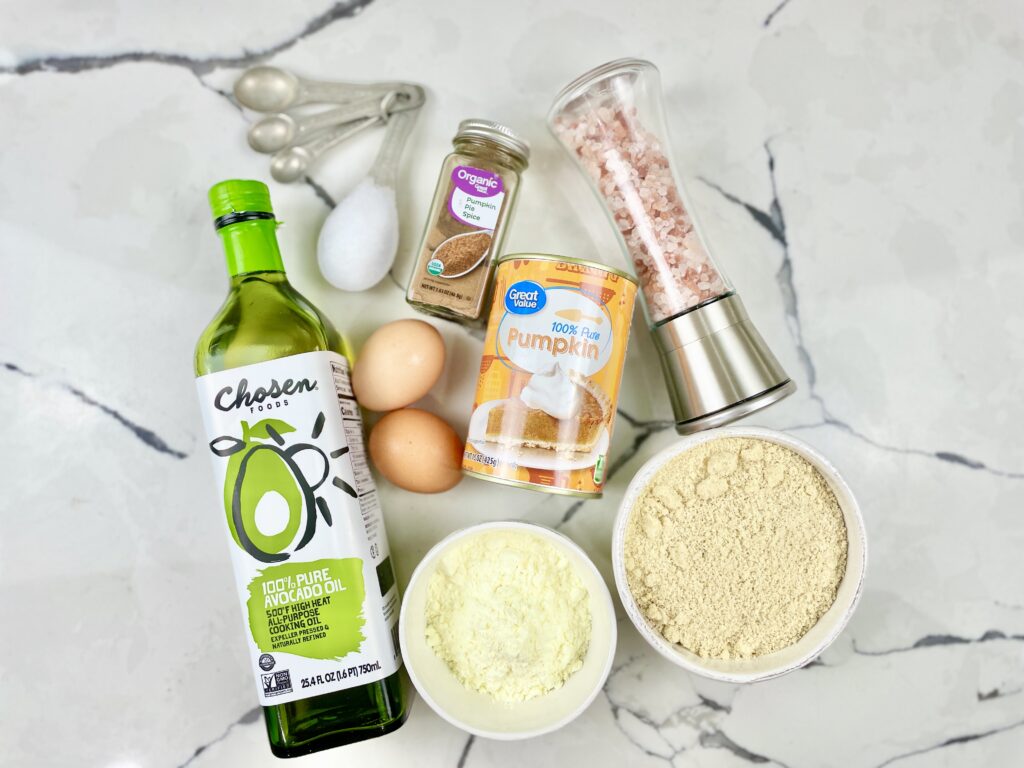
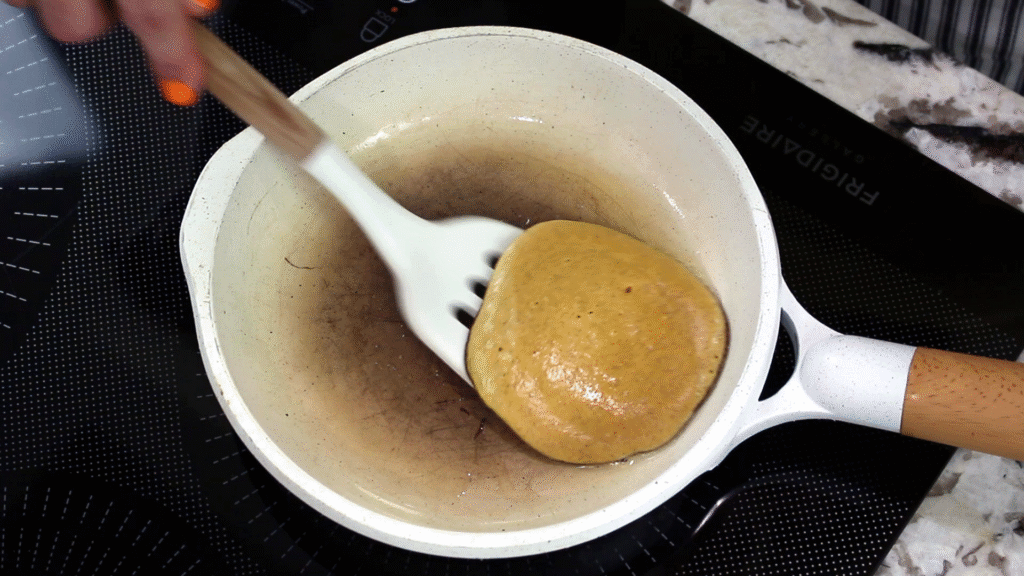


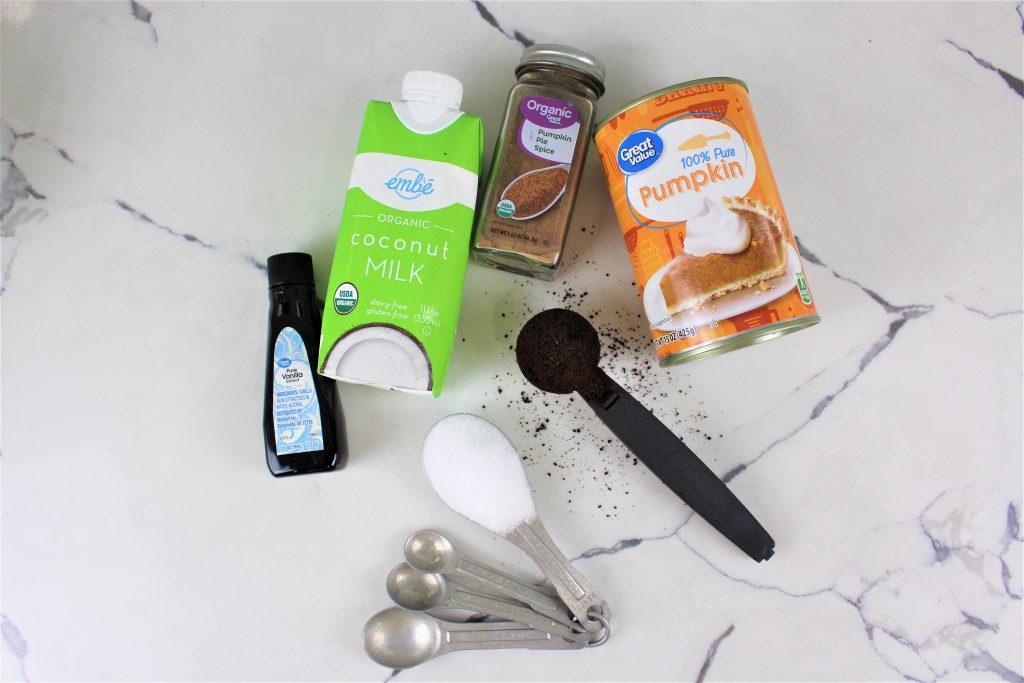
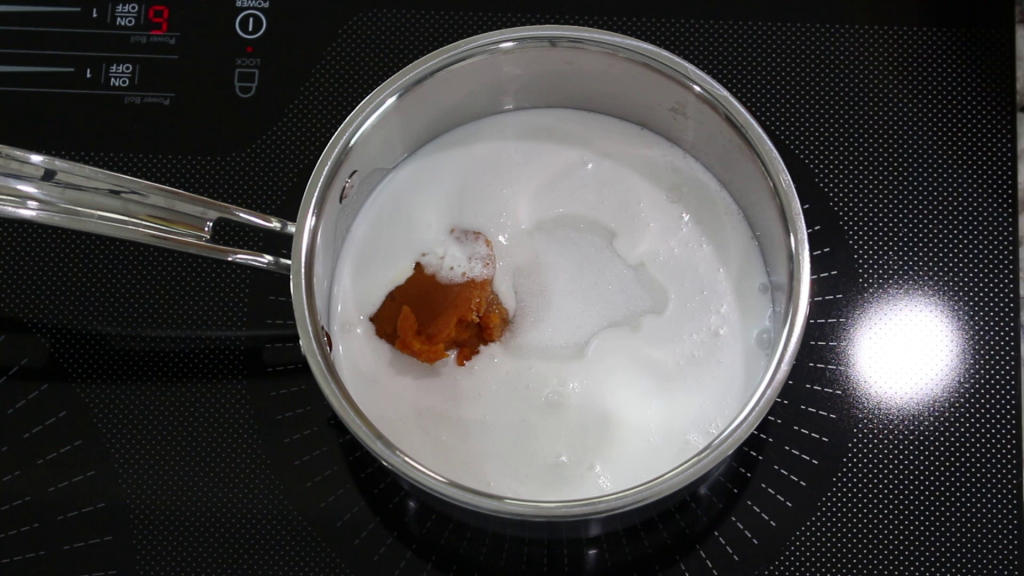


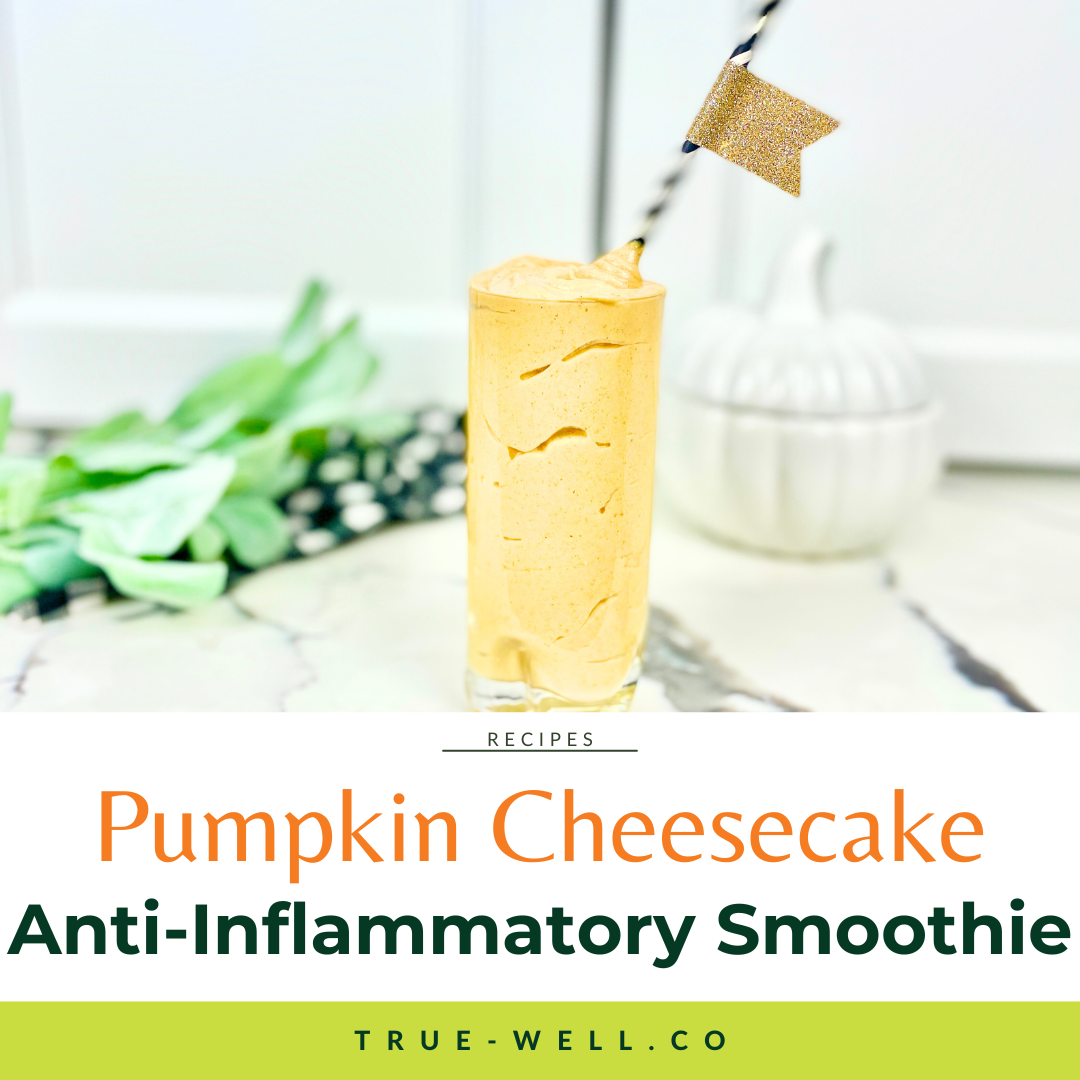
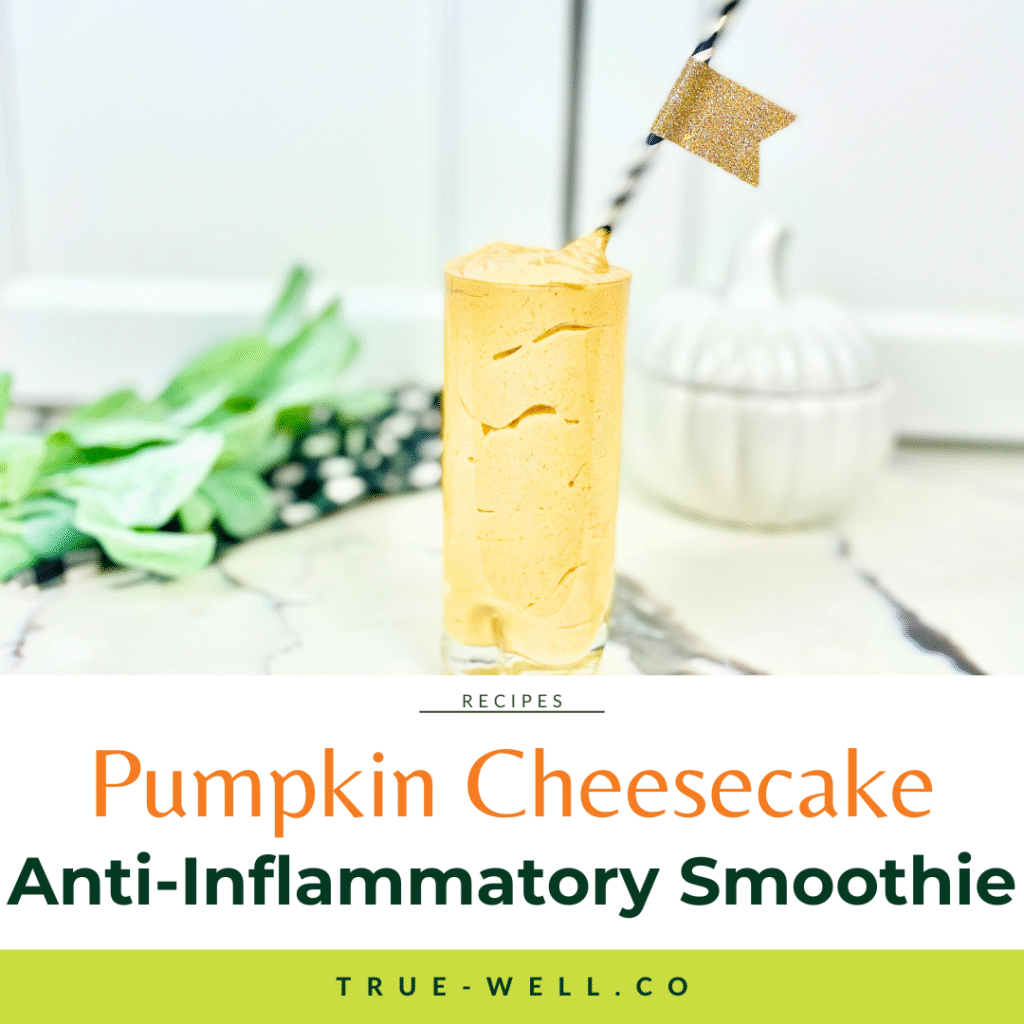


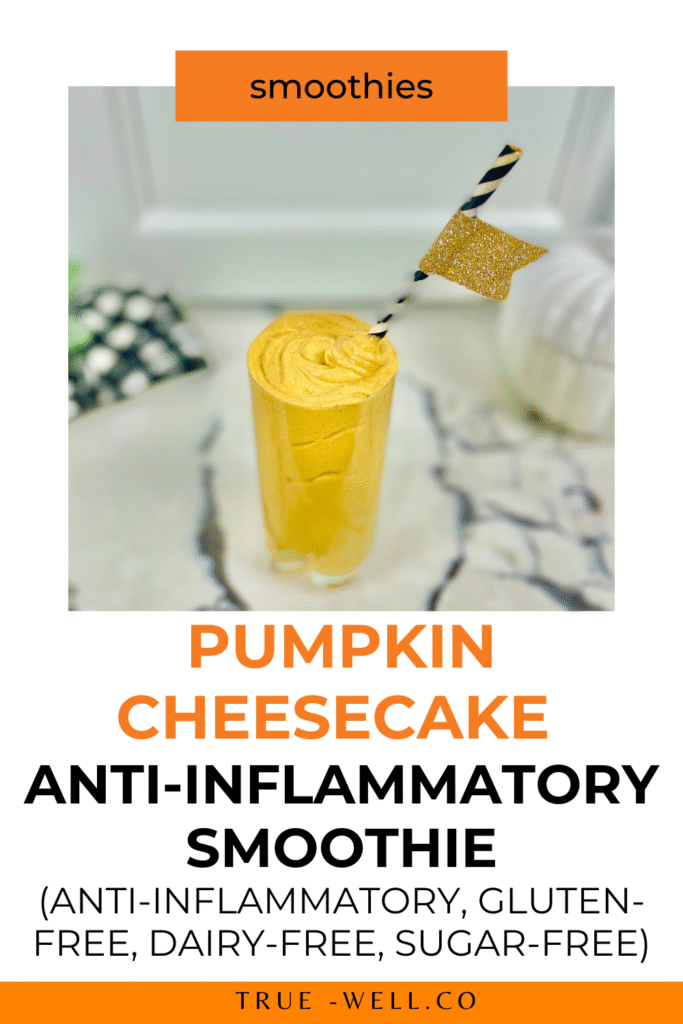
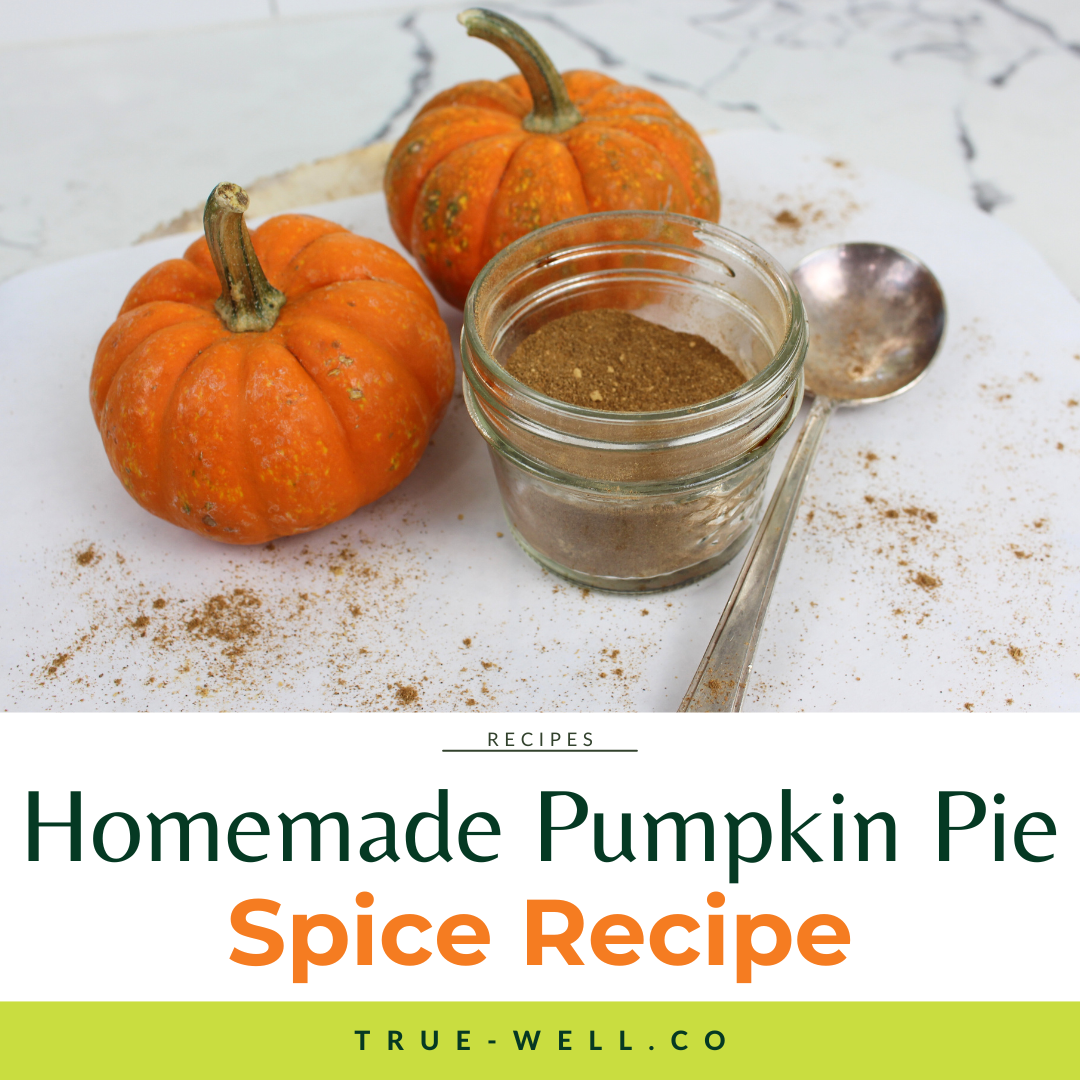
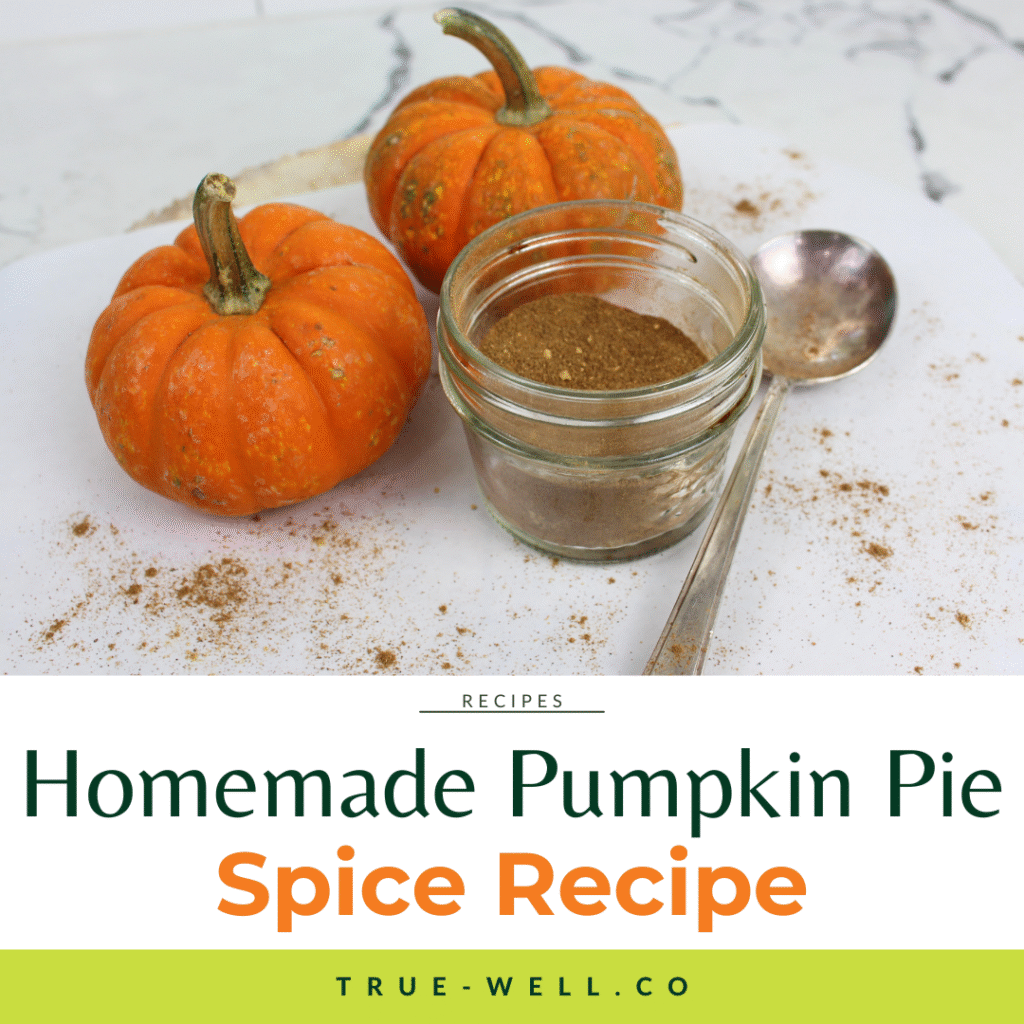
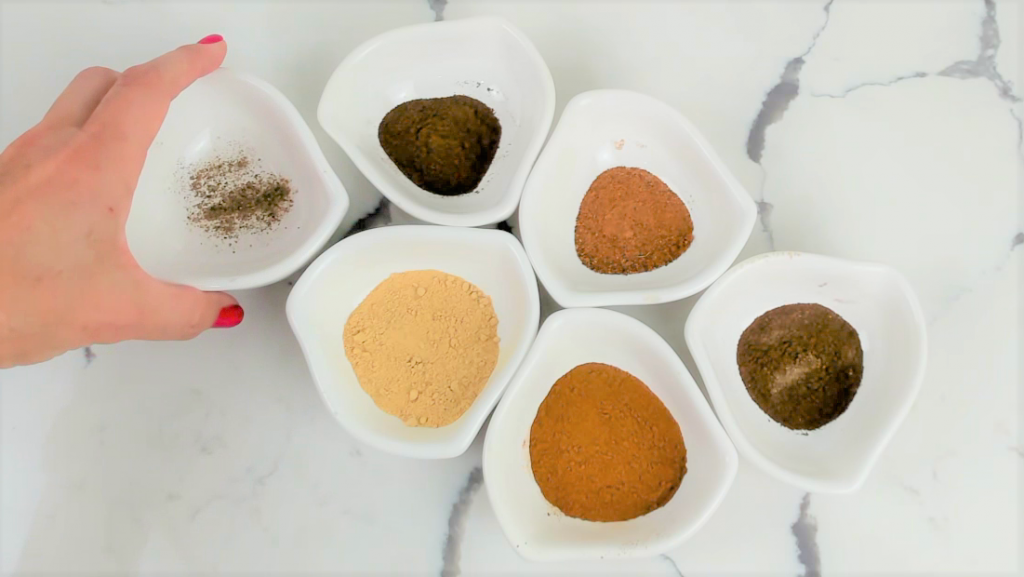


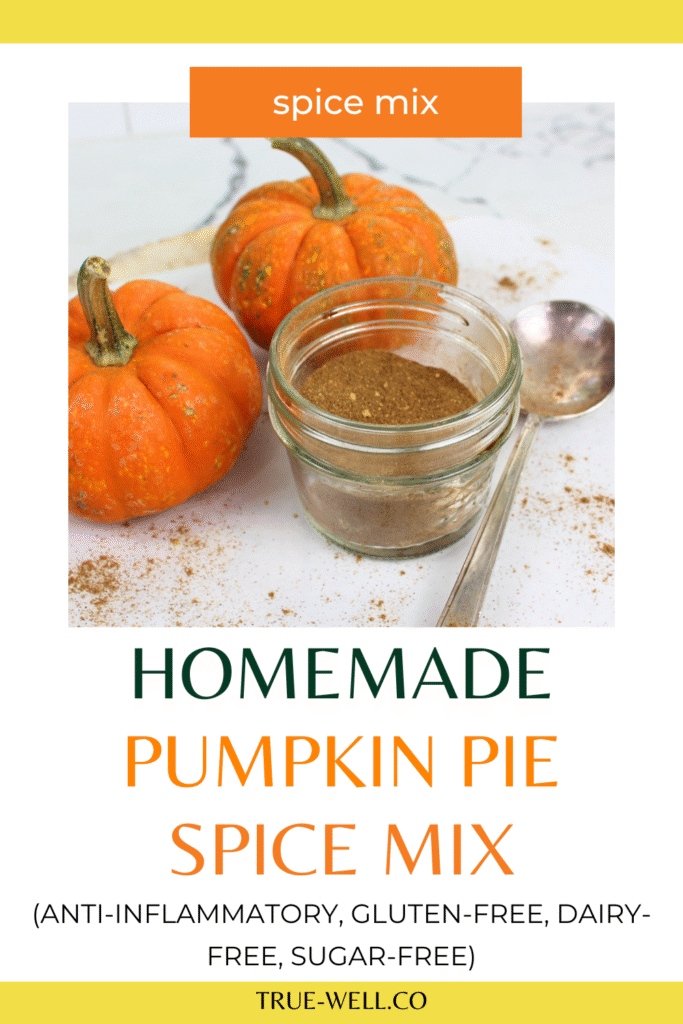

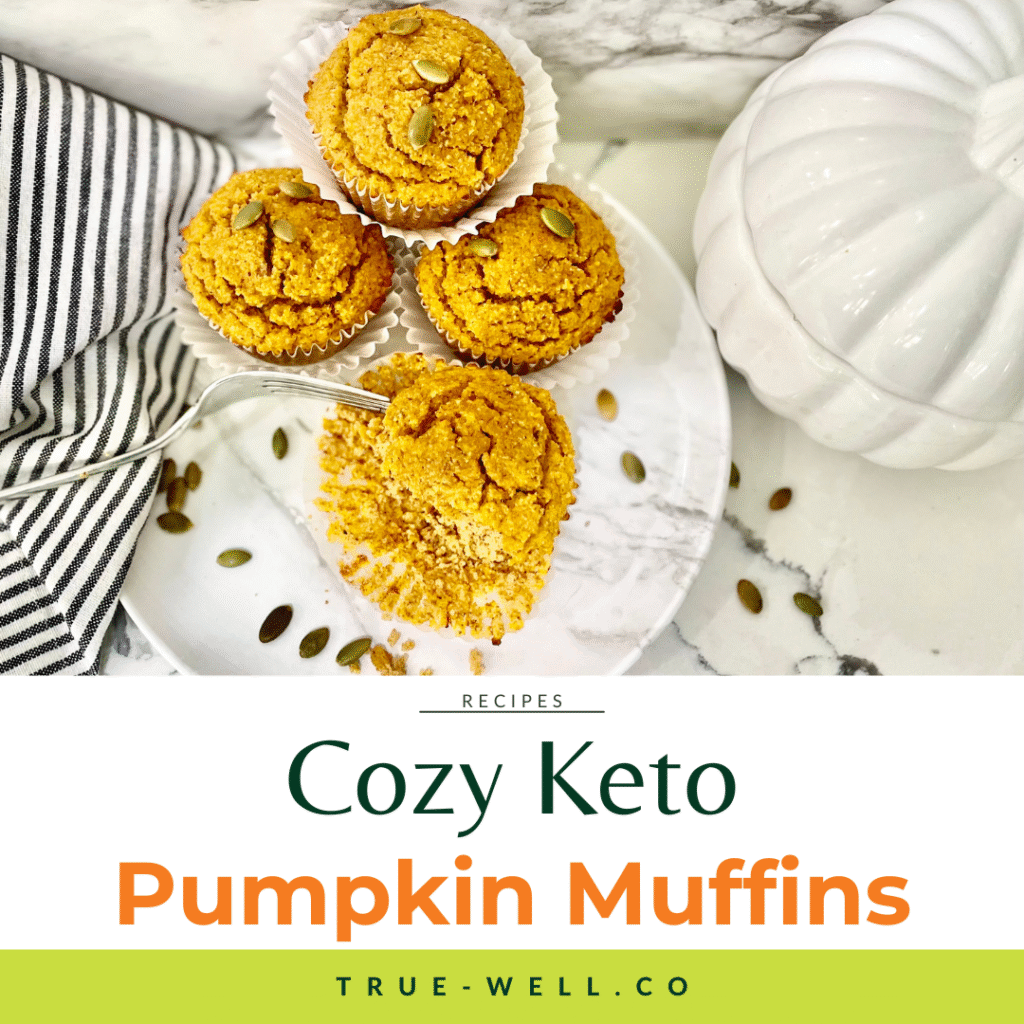


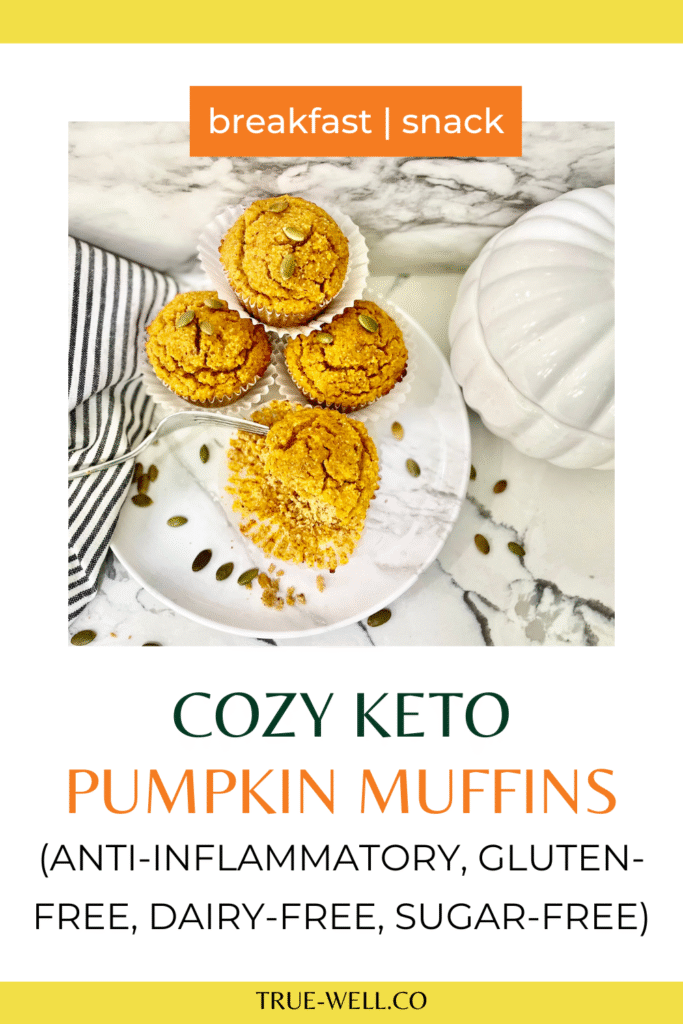
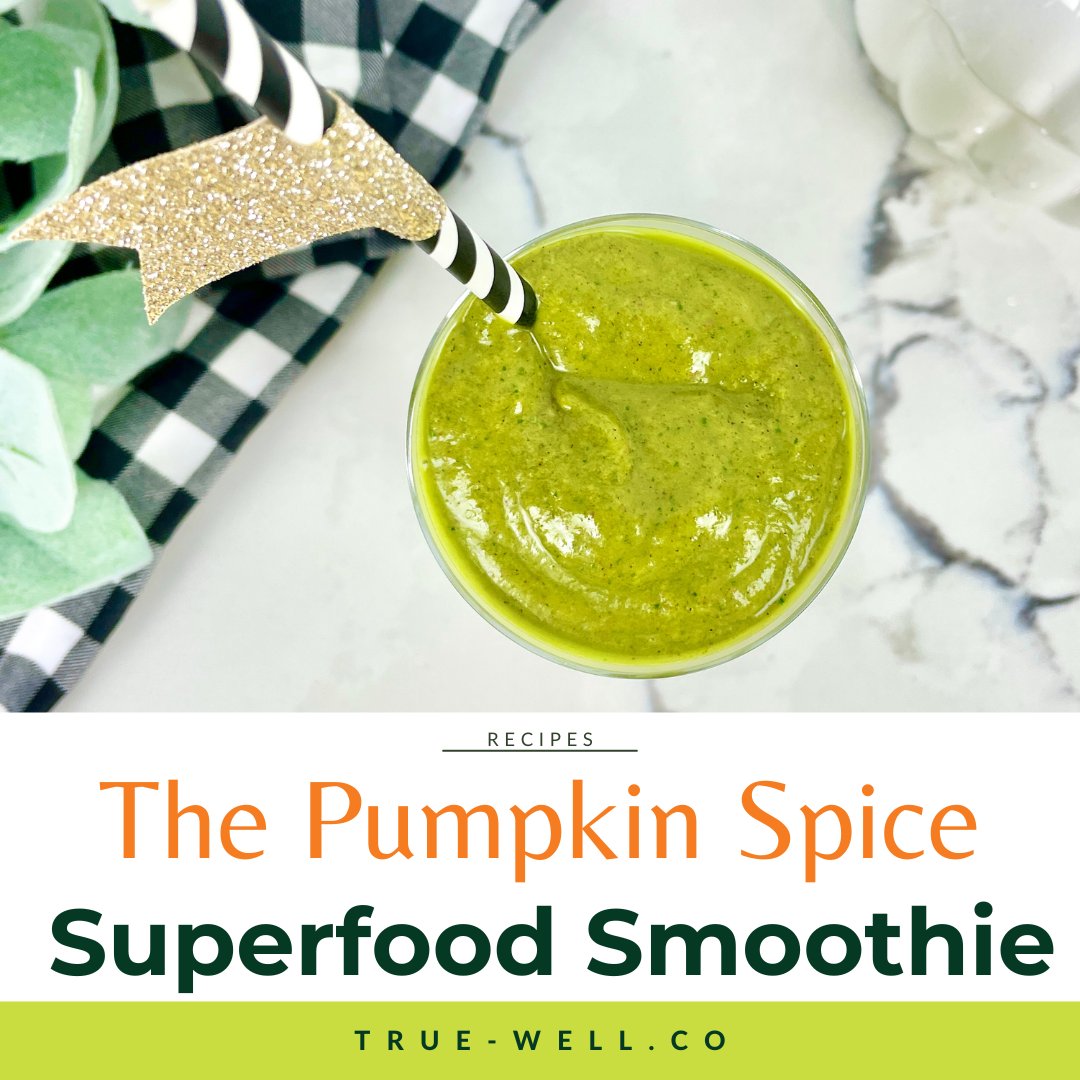

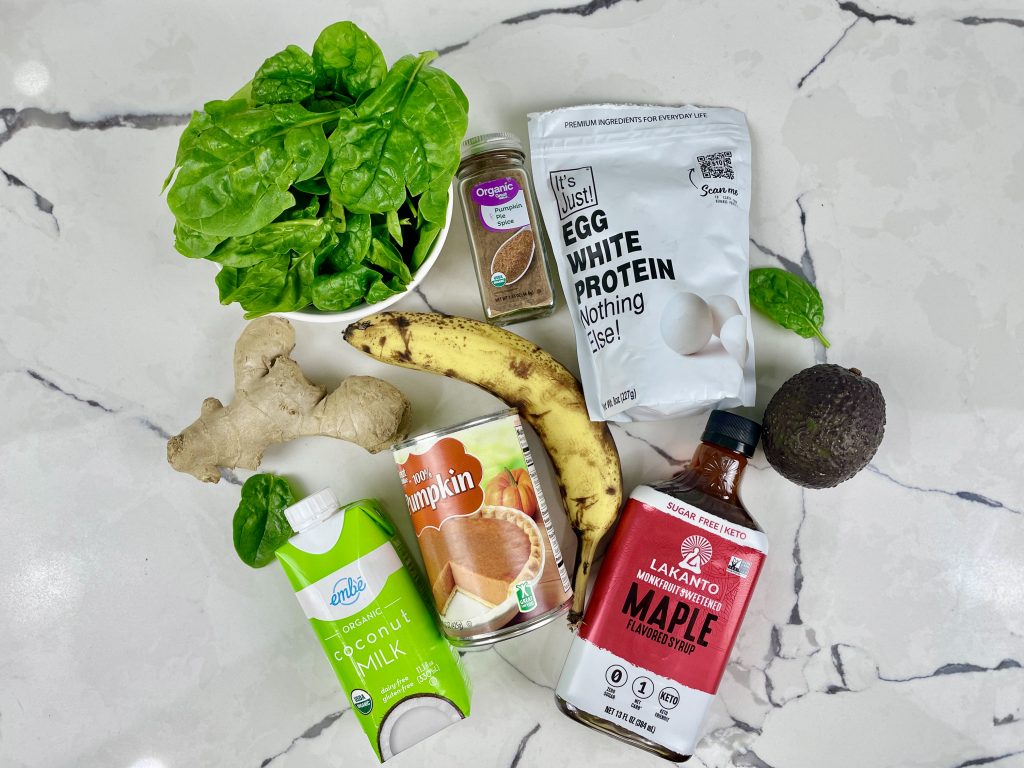

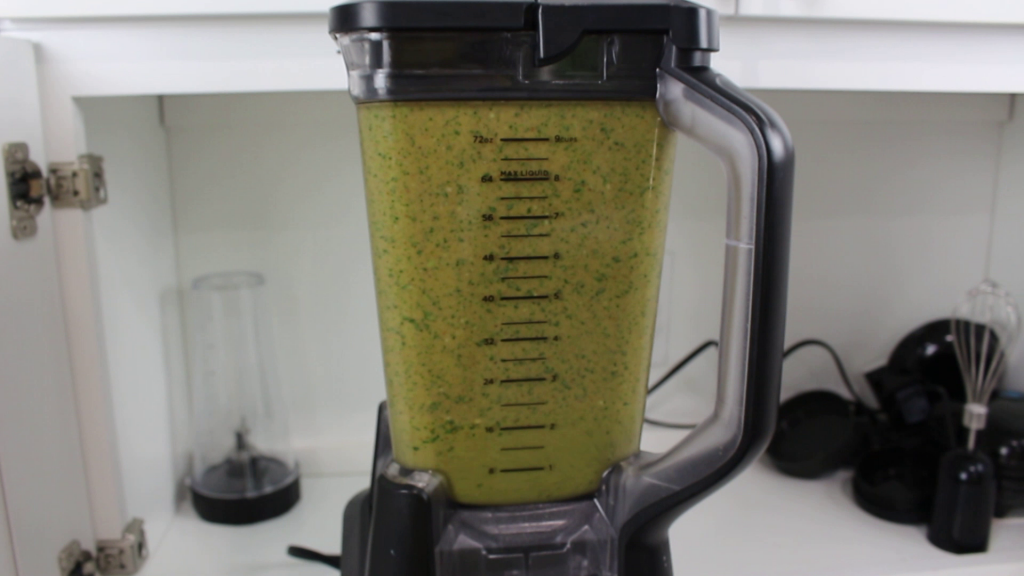
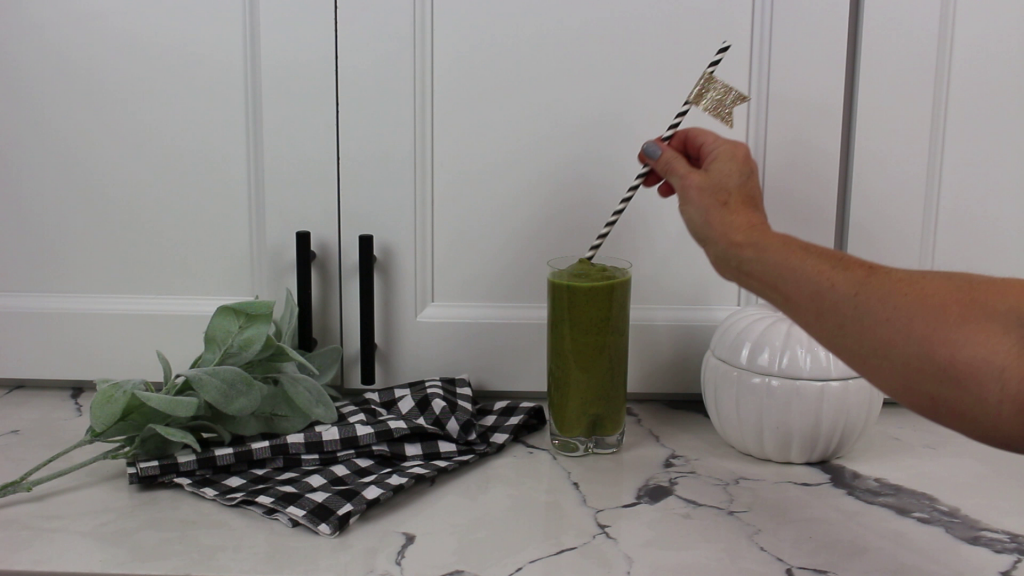
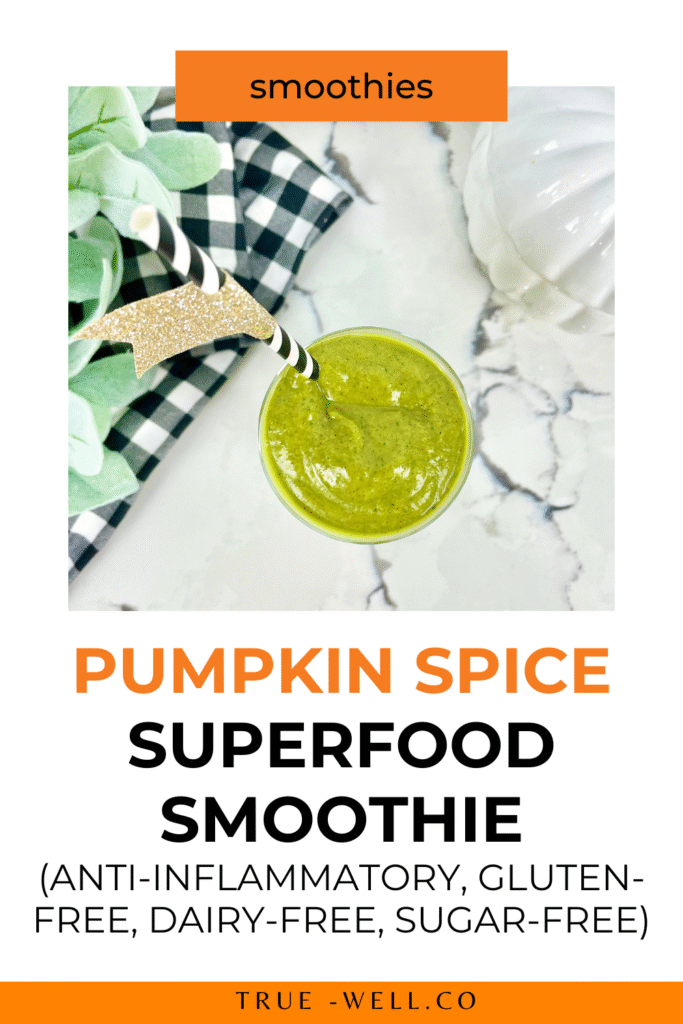


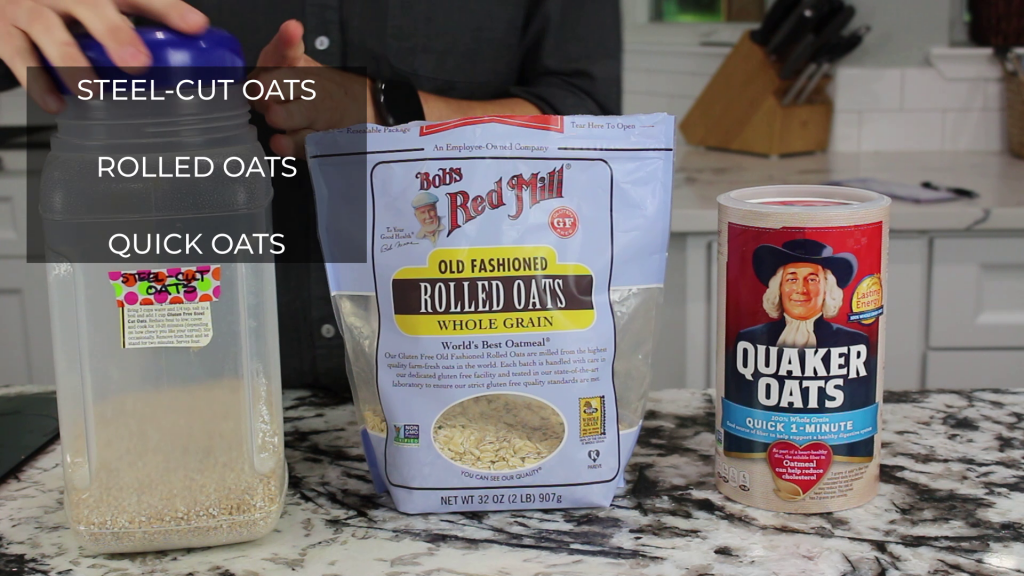

 QUICK-START GUIDE!