This winter anti-inflammatory meal prep isn’t just packed with nutritious and delicous seasonal winter produce– it’s a pretty darn quick and easy meal plan. I started out doing meal prep sort of on the fly by just shopping seasonal produce, and prepping it ahead of time to just make meals on the fly throughout the week. But I do also need a structured meal plan a lot of times as well.

But doing either way is a great way to make sure you’ve got anti-inflammatory meals through the week (especially when you’ve got those chaotic dumpster fire weeks when you need nourishing meals to keep you calm and collected even when nothing else in your life is.)
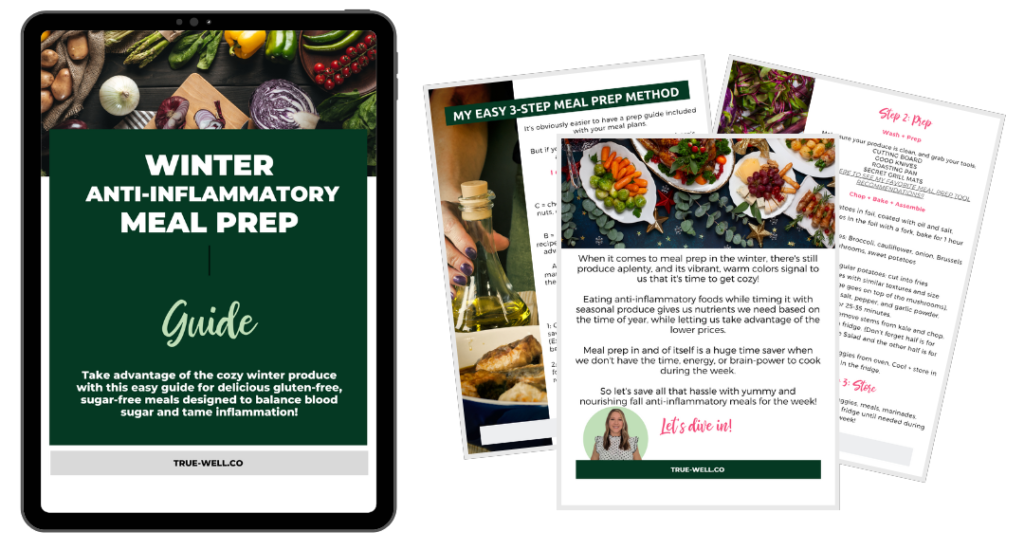
Click the image below to grab the free Winter Anti-Inflammatory Meal Prep Guide! 👇
The basic steps of anti-inflammatory meal prep are:
- Shop
- Chop
- Roast
- Store
- Create meals
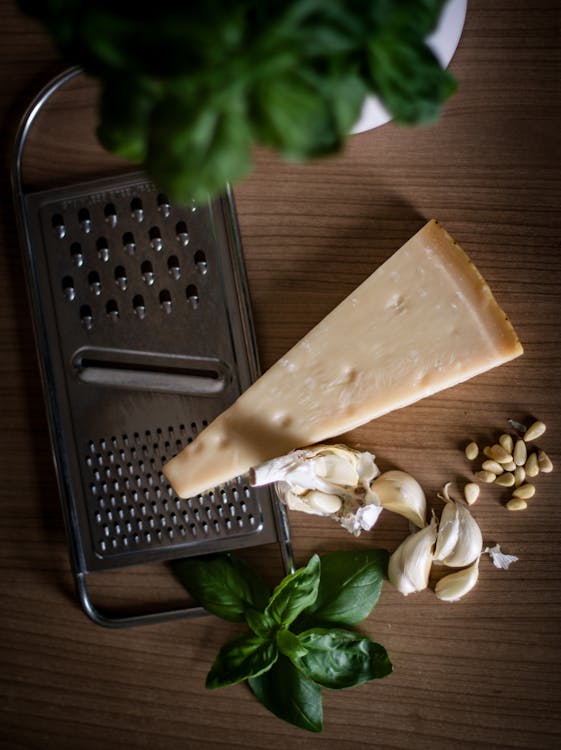
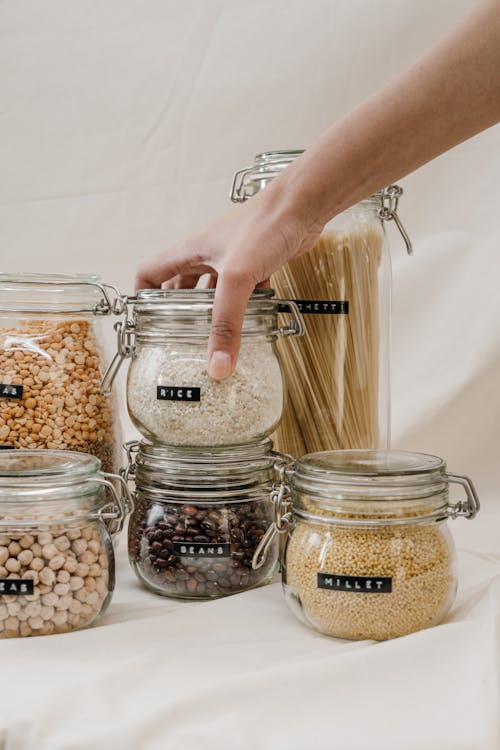
Shopping for your anti-inflammatory meal prep session
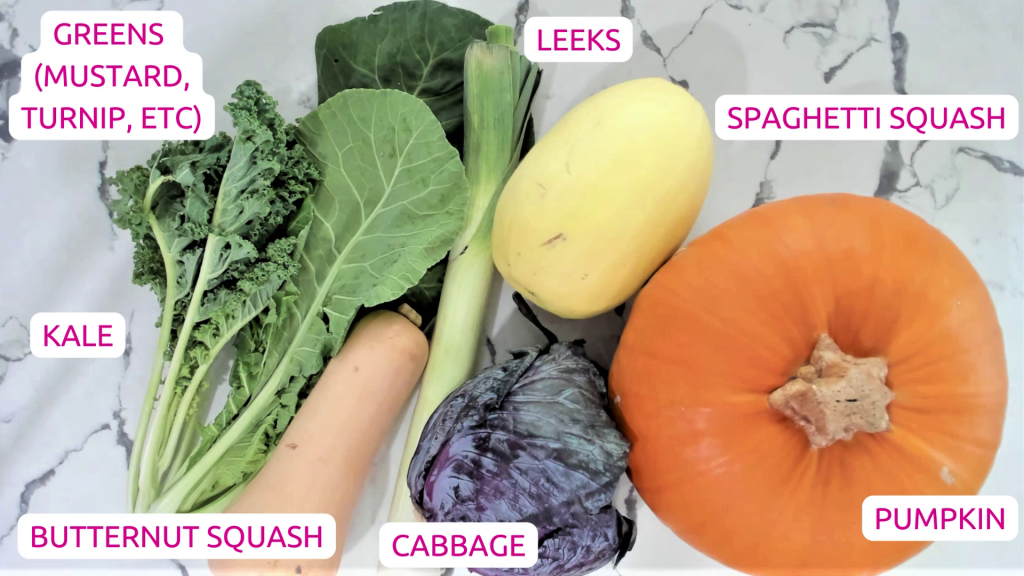
For this winter meal prep session I grabbed a pumpkin, spaghetti squash, butternut squash, purple cabbage, kale, and collard greens.
We promote eating seasonally at TRUEWELL for a few reasons:
- Eating seasonally costs less
- You’re not getting produce that came from halfway around the world (in other words–you’re getting produce more local which means much more flavor, less transport and less chance of it getting harvested before it’s ripe), and
- Studies have shown produce that’s grown IN SEASON actually has substantially greater values of vitamins and phytonutrients than those out of season.
(And just to be clear on why I didn’t roast the pumpkin in my video… my kids freaked out about me roasting the pumpkin–cause they wanted to decorate it, and I had canned pumpkin in the pantry, so I used that for the meal that week…Long story short, kids ruin everything. 😂 Kidding. sort of)
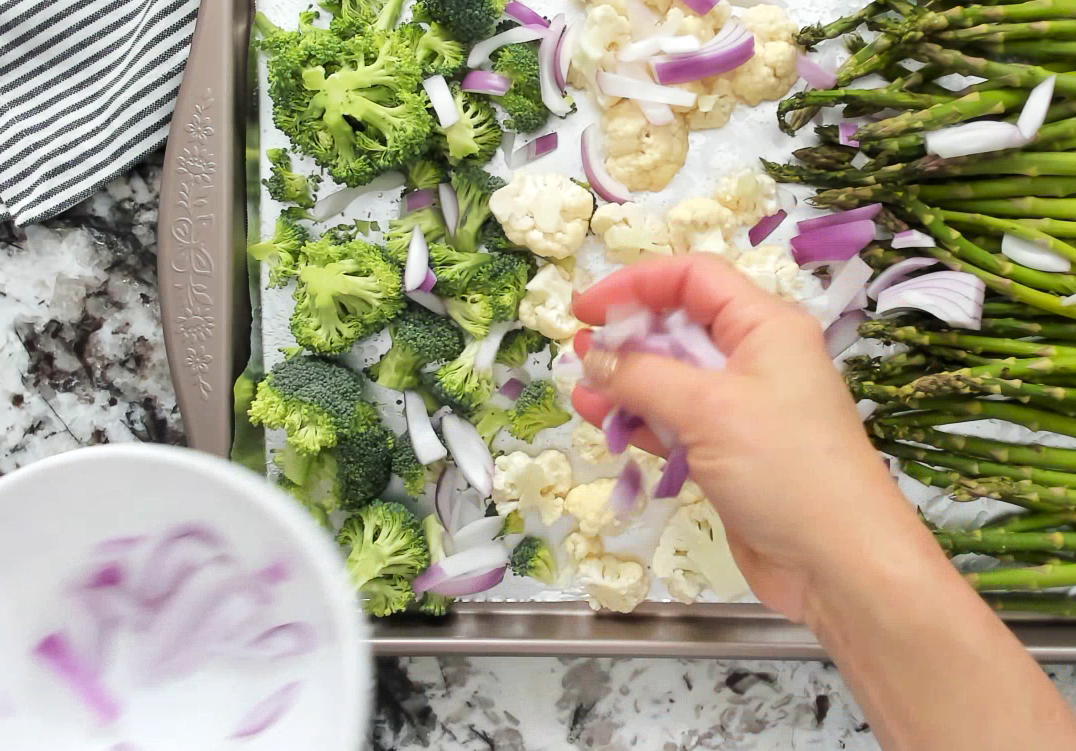
Chopping veggies for your anti-inflammatory meal prep
So I started out with the spaghetti squash because it needs to be roasted, then needs to cool before you can scrape out the insides.

These used to intimidate the heck out of me but they’re actually pretty cool. For this session I cut the squash in half lengthwise, then cut strips; but I think it’s actually easier to just roast the halves and then scrape the insides out from those large pieces.

I have also learned that even scraping the seeds out is much easier when they’ve been roasted first.
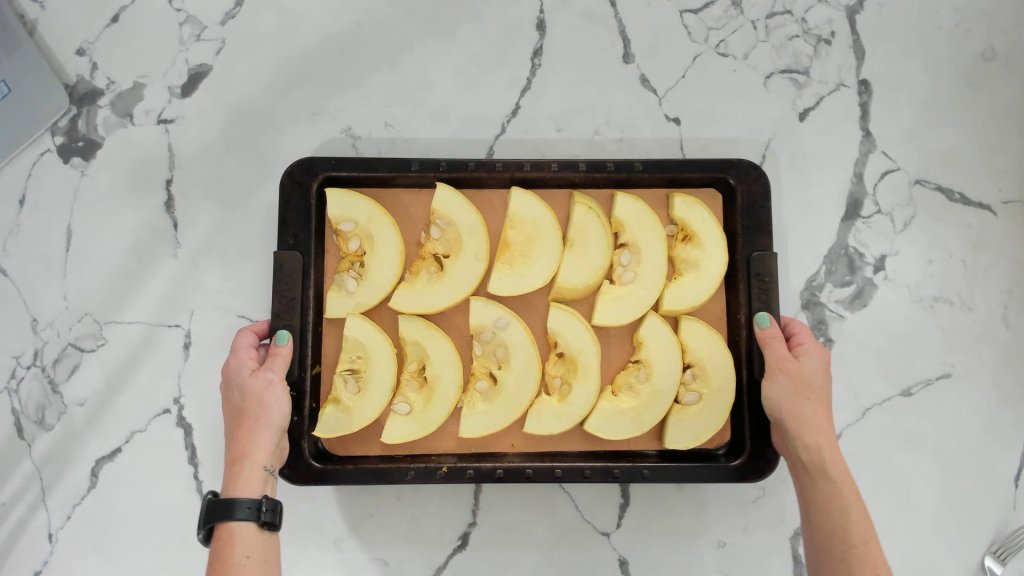
So lay the pieces out evenly on a pan.
I use a BBQ grill mat liner, which I’ve learned is amazing, nothing sticks to it, which you can grab here:
{Some of the links are affiliate links, meaning I earn a small portion of the proceeds if you purchase it, with no additional charge to you.}

BBQ Grill Mats
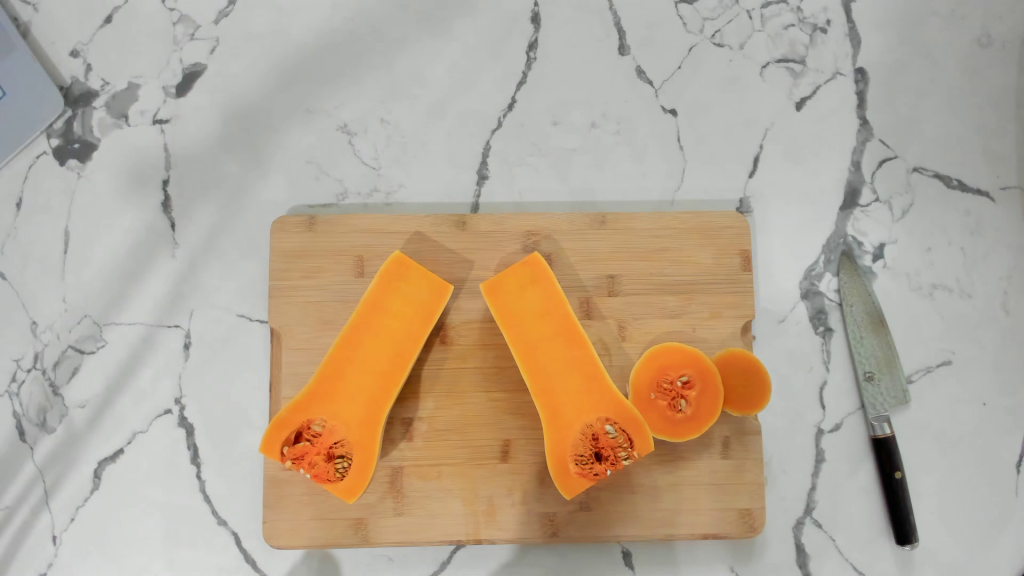
Next I started on the butternut squash. Cut the ends off, then cut it in half vertically.
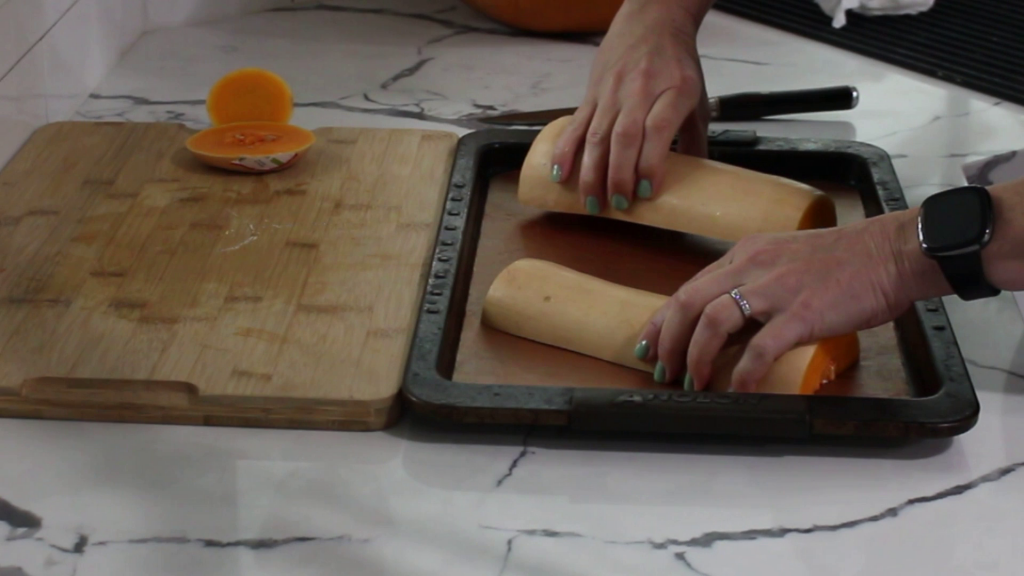
Lay each half on the pan face down.
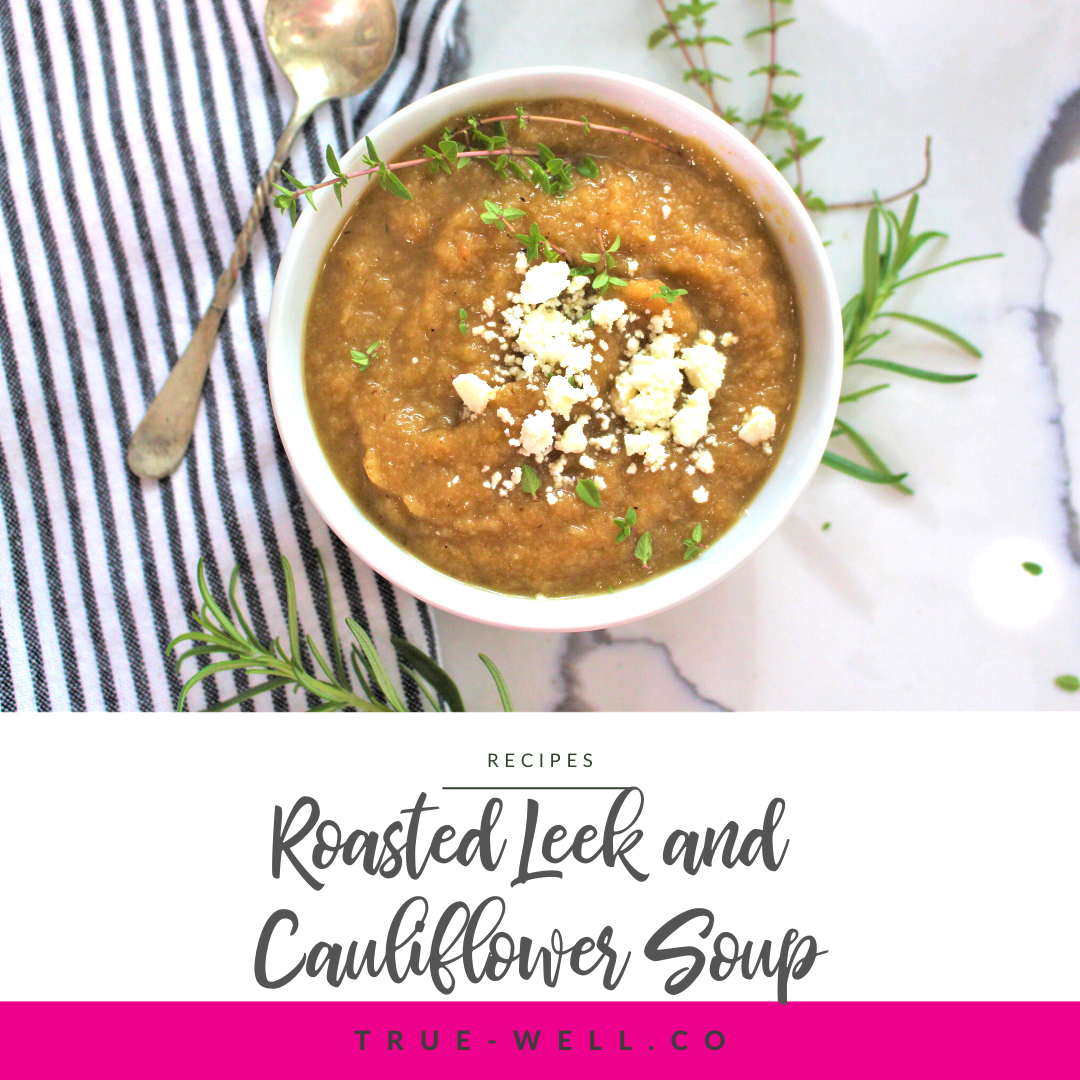
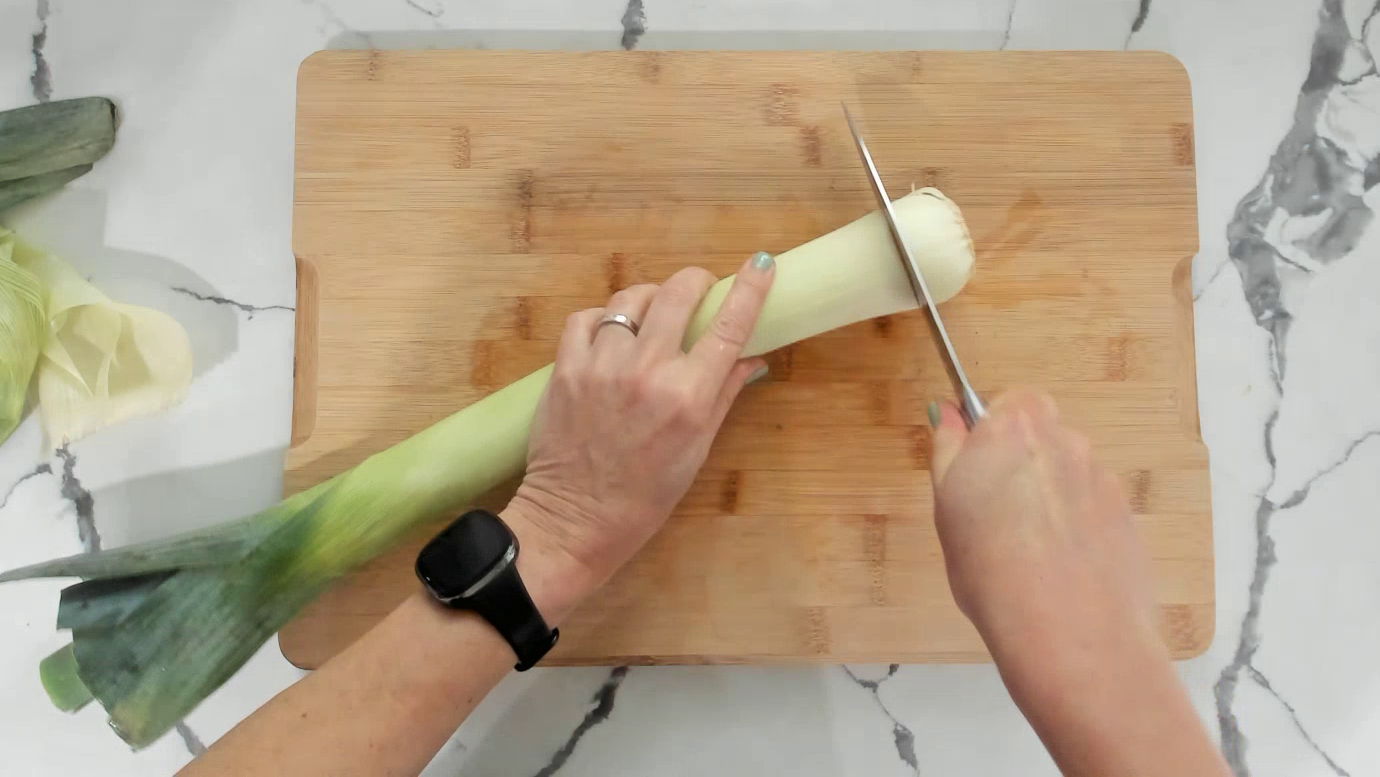
Then I started on the leeks. I peeled a few of the outside leaves, cut the end of the bulb off, then cut a slit down the center before chopping it. The dark green ends usually get pretty tough, so cut the white part and some of the lighter green part, then put it on the pan to roast as well.

Some of this produce is really best cooked right before eaten, as it’s sauteed or put into soups. But the squash always needs to be cooked anyway, and I also knew I wanted to put the leeks into a soup. So for sure these all needed to be roasted.
Roasting vegetables for anti-inflammatory meal prep
My normal base seasoning is salt, pepper, and garlic powder, which you can add or wait until you make your dish—And then roast it at 350 degrees F for about 25-30 minutes.
(For squash, it may take a bit longer to get it soft enough. You want to be able to scoop and scrape easily or else it will take forever…)
Then I got to work on the kale, and I knew I just wanted it for kale chips. You would think the bags of it already chopped would be more convenient, but I’ve found it takes longer to pick out all the stems than to just buy a bunch of it and trim them off myself.

I do a sort of scraping motion with the knife to get the leaves off, but you can also fold it in half and do just one cut to get the stems out.
Once all the leaves are torn and in a bowl, add oil, and massage it to soften the fibers.
For kale chips, don’t salt it until they’re out! They shrink and can turn out way too salty.

Kale chips go in the oven for about 20 minutes at 300 F.

Storing your anti-inflammatory meal prep vegetables
While that was cooking, I started cutting the greens.
I started on the collard greens. I wanted these to go in a soup, so I just washed them, trimmed them up the same way as kale, then store them in a baggie in the fridge until I need them that night.

👉 A method I’ve found useful is using a large 4-cup measuring cup to hold the baggie in place to put food into during meal prep if you don’t have the baggie stands.

The mustard greens got trimmed up the same way, and I wanted to sauté them later in the week, so I just store them in a baggie in the fridge as well.

Then I started on the cabbage. Peel those tough and usually dirty outer leaves, then chop it into slices, then into smaller pieces. I wanted to sauté it later in the week, so it goes into a baggie as well to store in the fridge.
I also grabbed some pears as a last minute add-on.

These can be peeled, but the skins are usually actually less tough than apples, so eating the skins is pretty yummy. Make sure you get the core out, it does have seeds like apples.
I chunked it up because I wanted to add it as a snack on top of Greek yogurt.

One trick is to cut the bottom off so it sits flat, then the top small part, then use an apple corer and slicer to slice it just like you would apples.
If you’re going to pre-cut them, they do also turn brown like apples, so add a bit of lemon juice to keep that from happening and store them in a container in the fridge.

Lastly we take the roasted veggies out of the oven and let them cool.
I put the leeks into a container to go in the fridge.
Then I started on the butternut squash. I’ve found using a grapefruit spoon with a serrated edge make scooping the seeds and flesh out really easy.


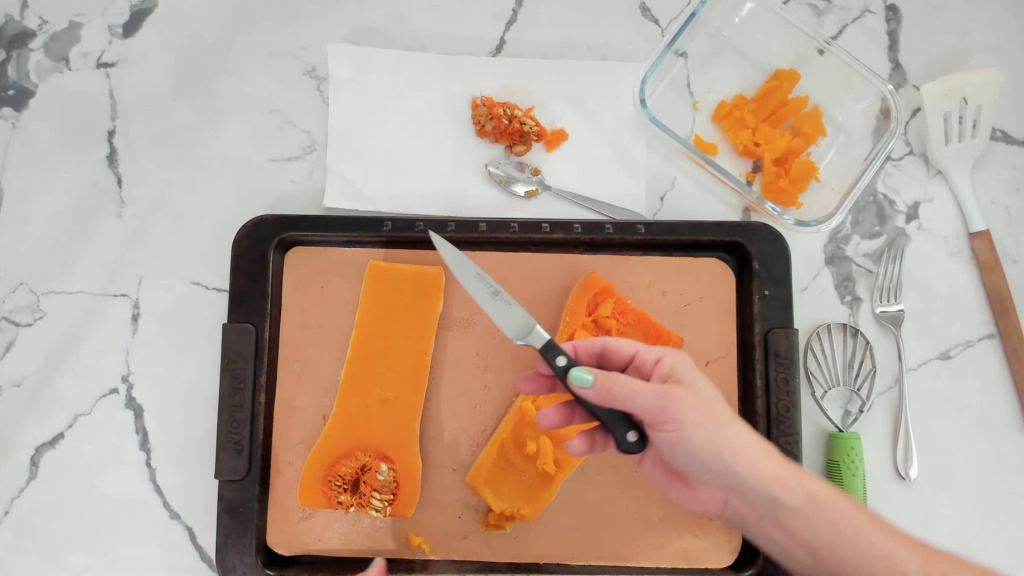
But I also sometimes use an avocado slicer to scoop it out. You can also use a paring knife to slice around the edges before scooping the flesh out.

Serrated Edge Grapefruit Spoons

Avocado Slicer Tool

Henckels Paring Knife
>>> Check out ALL my Best Kitchen Tools for Meal Prep HERE!
I put it all in a container and seal it to store in the fridge.
Spaghetti squash can be a bit tricky. It definitely needs to be soft enough. But you can use a fork to scrape the spaghetti parts out into a container. Then store in the fridge.
And lastly, I pulled the kale chips out. Then I season with garlic and salt so it doesn’t get oversalted before because it shrinks. Scoop them into a container and enjoy as a snack.

Create anti-inflammatory dinners for the week
The meals for this winter anti-inflammatory meal prep session were…

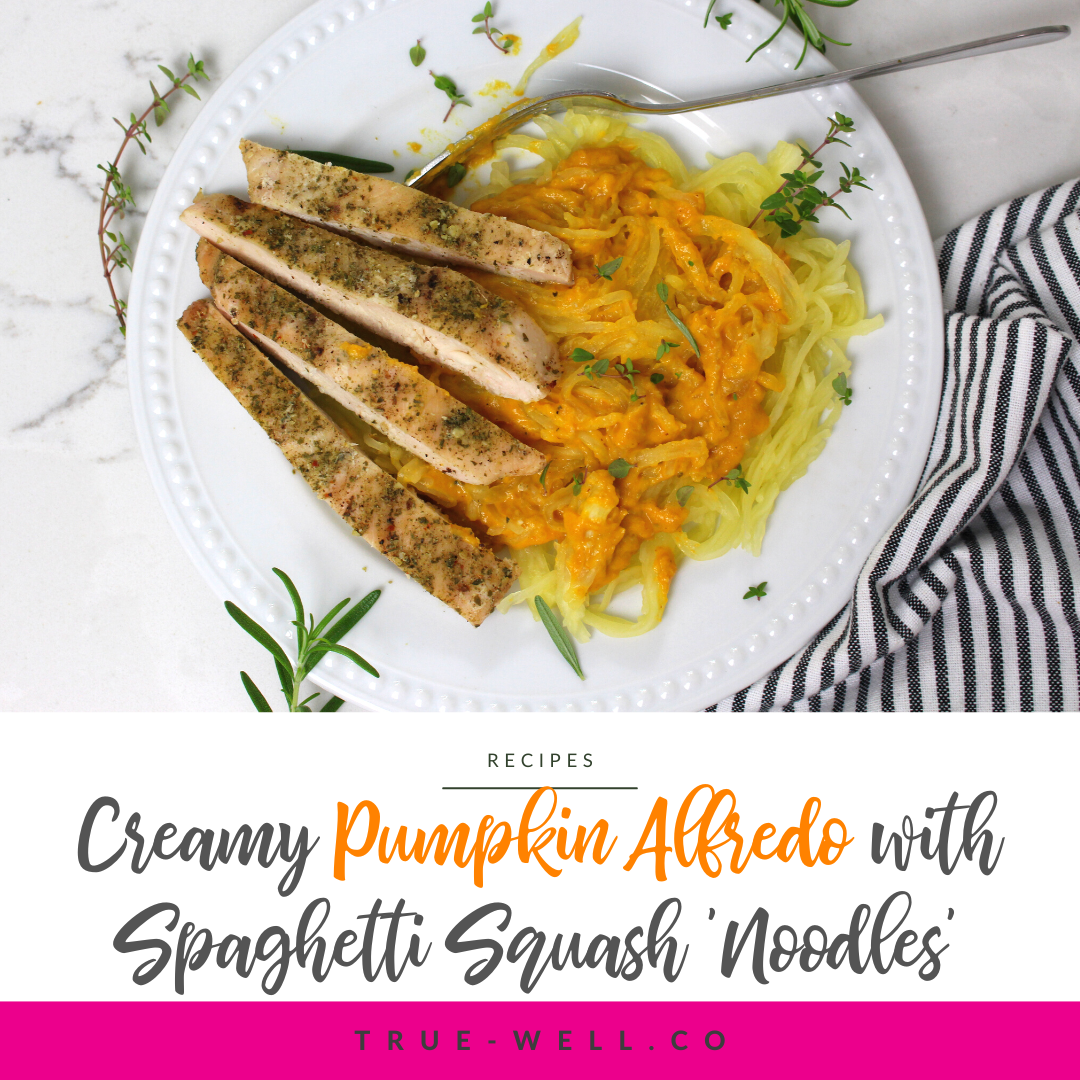
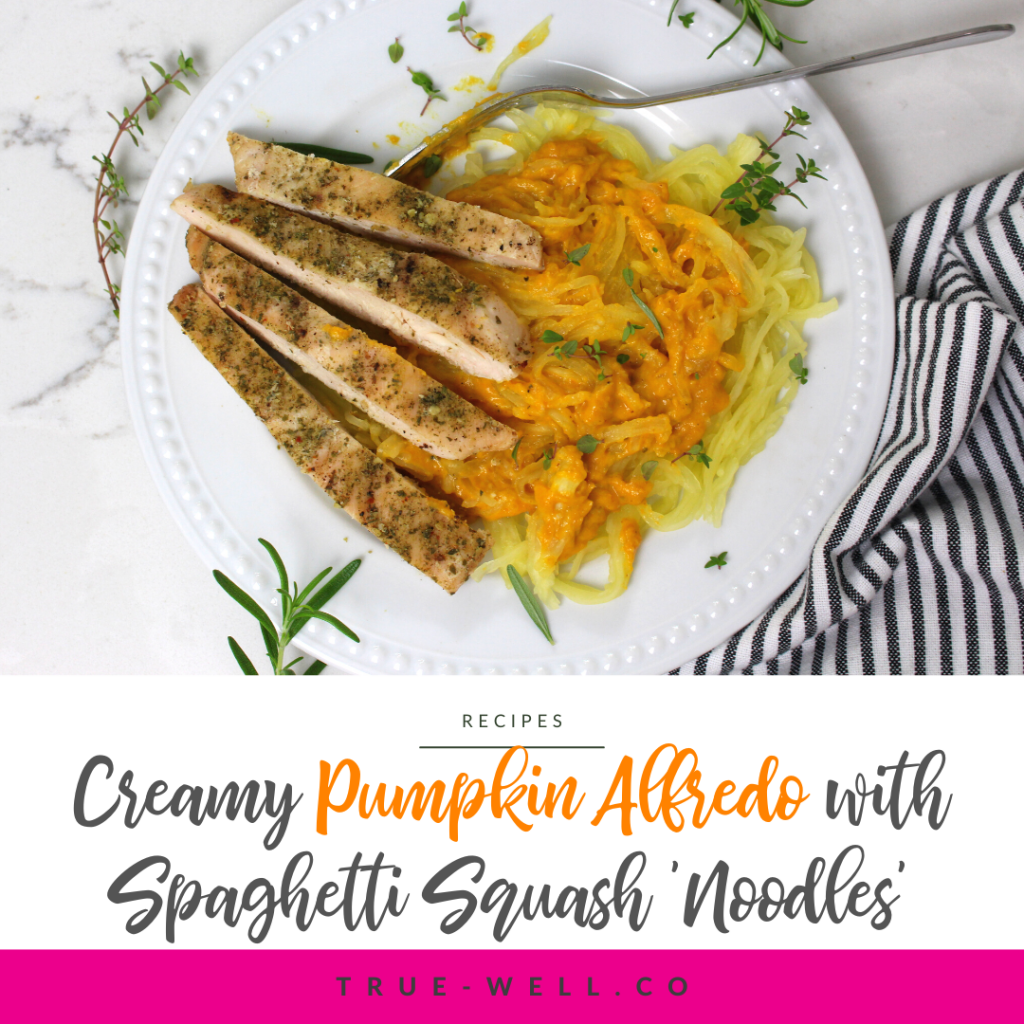
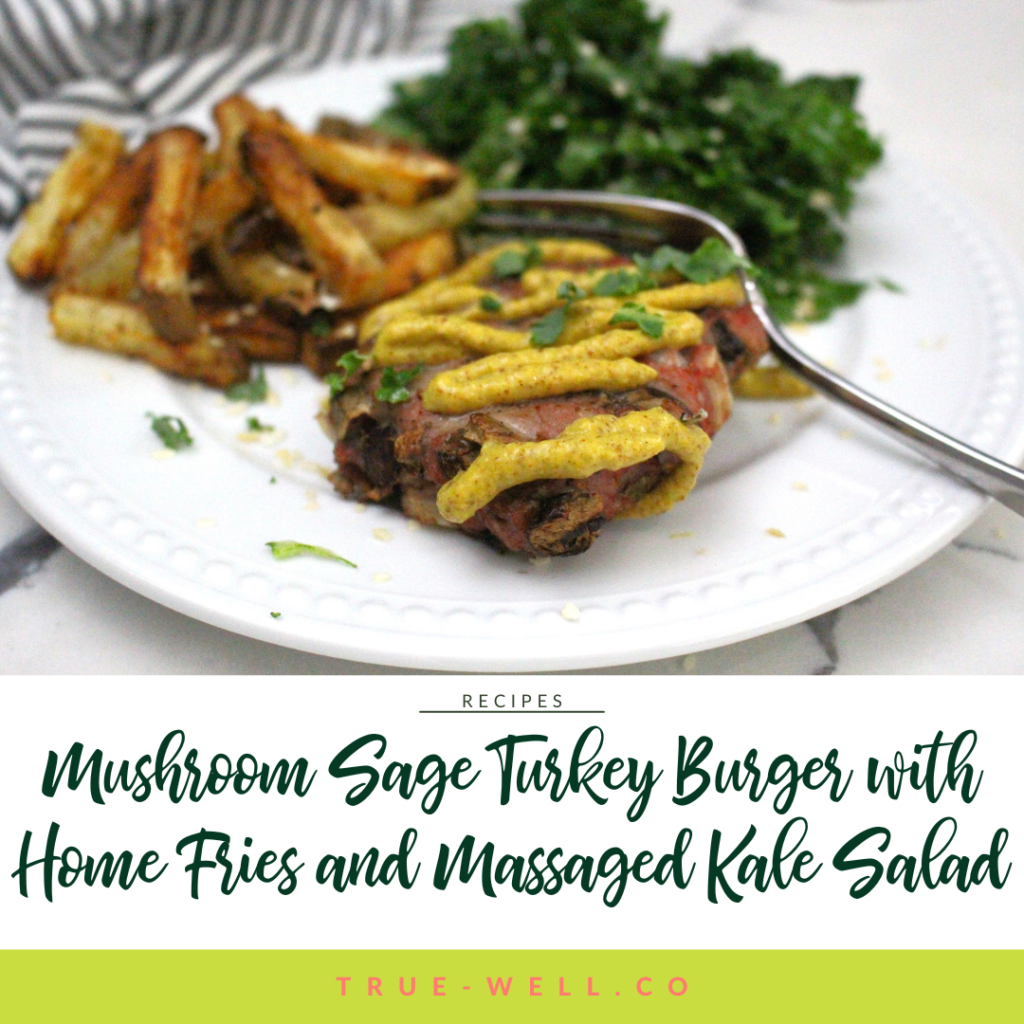
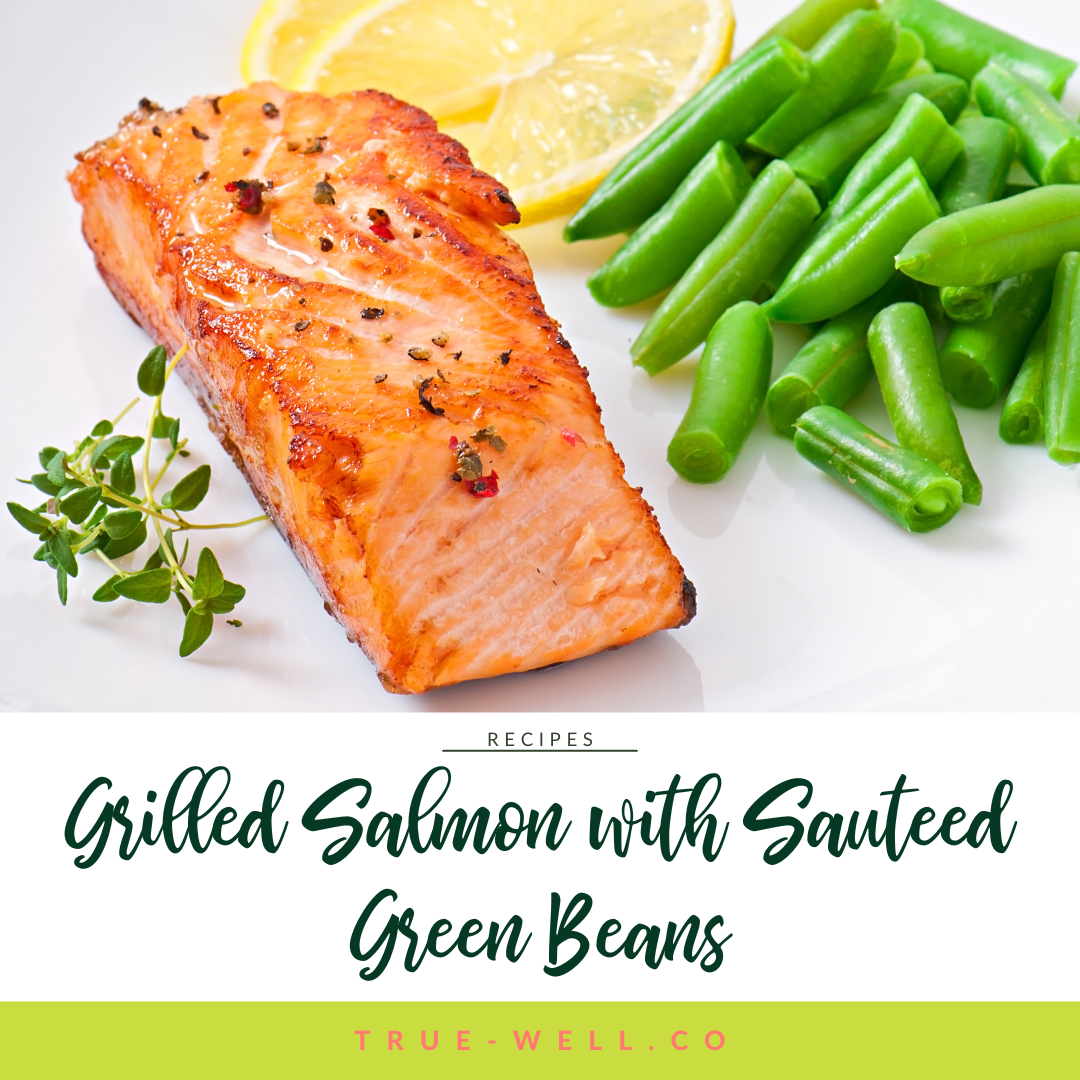
Pumpkin alfredo on spaghetti squash with grilled chicken…

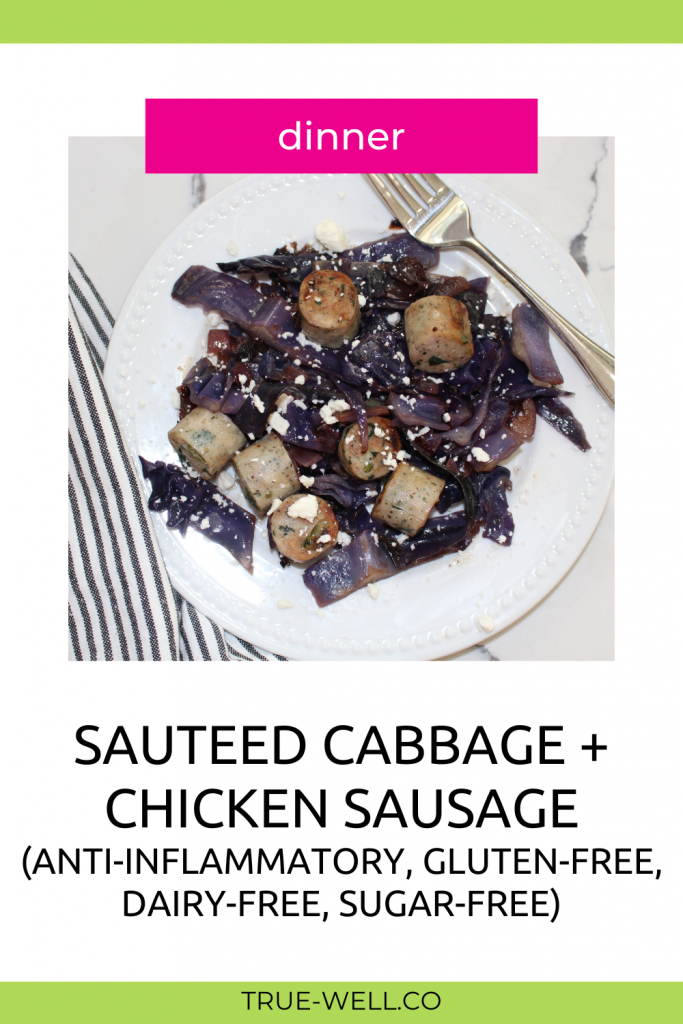
Sauteed chicken sausage and red cabbage…
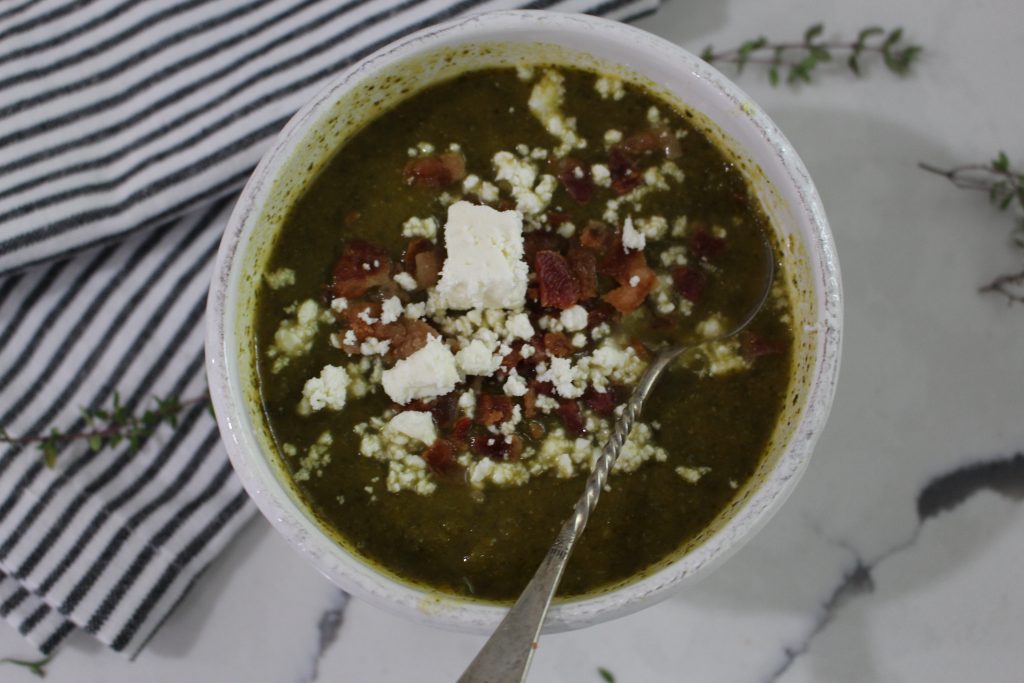
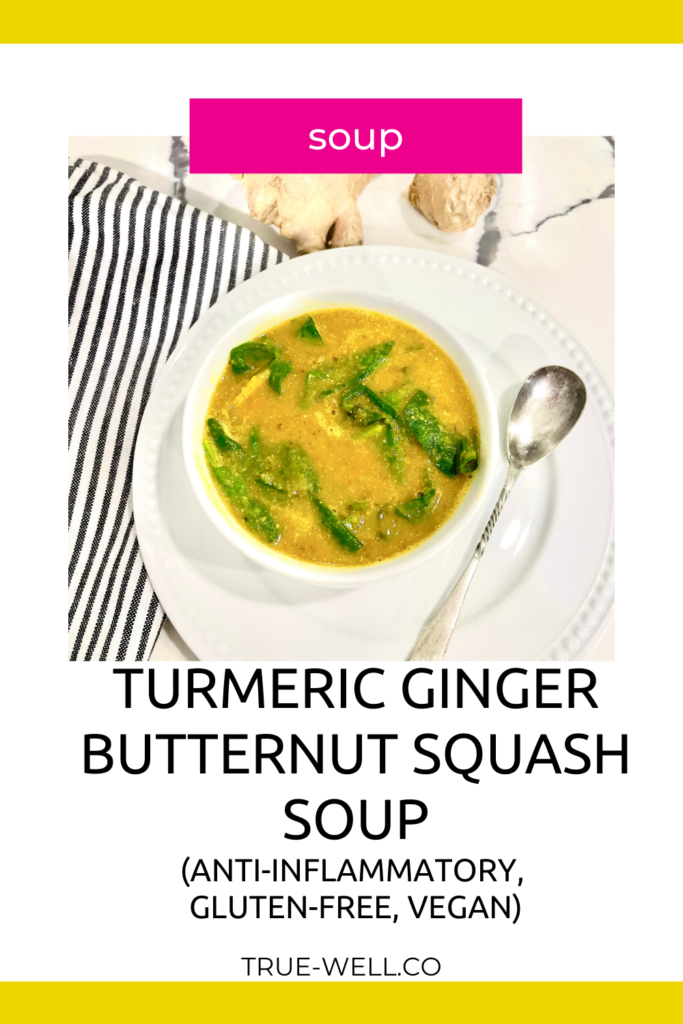
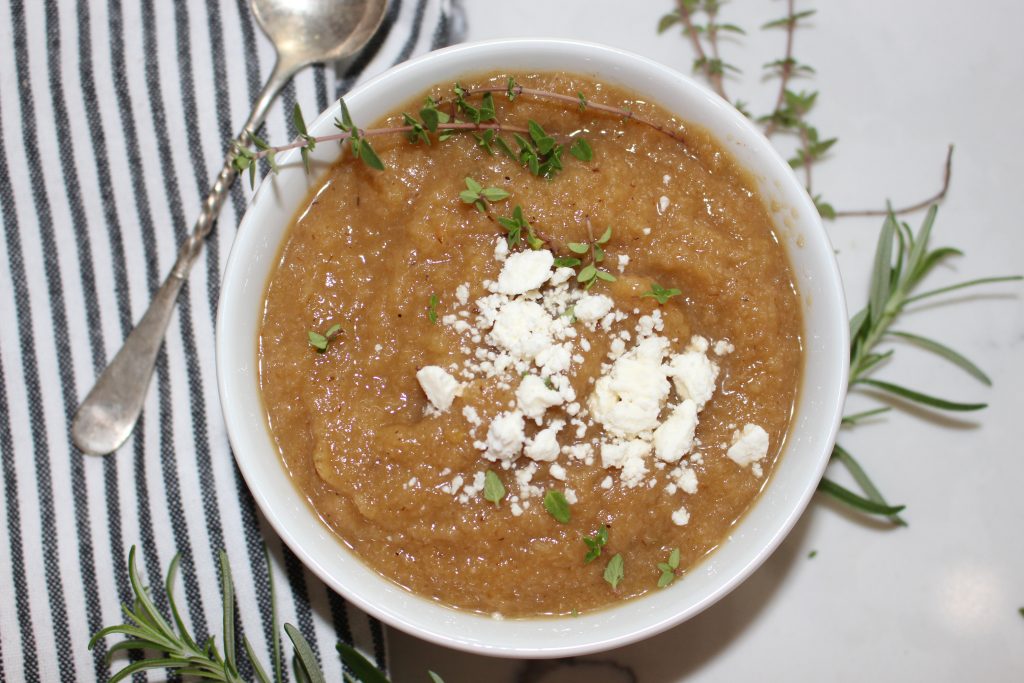
Creamy Collard Greens Soup (with butternut squash)…
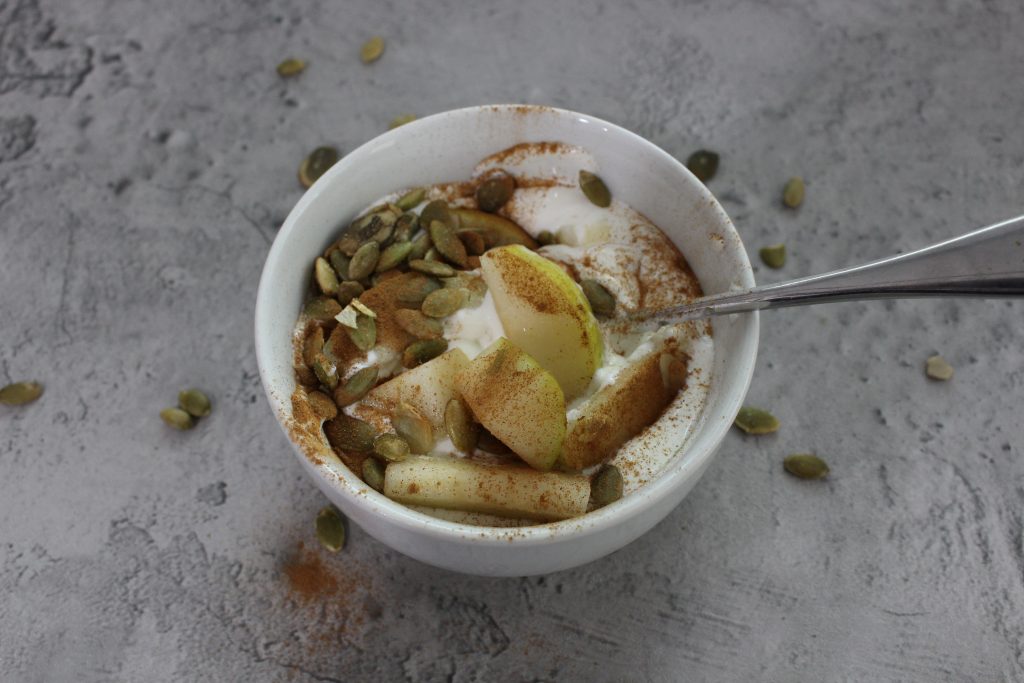
And for a snack I had a Winter Pear and Yogurt Bowl.
And as promised, to grab the FREE Winter Anti-Inflammatory Meal Prep printable guide, just click the image below! 👇
📌 Know someone that would love to learn Anti-Inflammatory Meal Prep? SHARE this post or PIN IT for LATER! 💖