Why is sugar bad for you? It’s one of the most searched questions on the internet—and for good reason.
Some people say it’s no big deal in moderation. Others swear it’s the root of every health problem. Meanwhile, you’re just trying to figure out if giving up your sweet tooth is actually worth the effort.
Here’s the real talk:
Sugar is sneaky. It’s in almost everything, it messes with your energy, mood, sleep, skin, hormones—and yep, it can quietly fuel inflammation in your body. And while it might sound dramatic, the benefits of quitting sugar? Way more dramatic (in a good way).
I would know. I’m what I call a ‘recovered sugar addict’ and was hooked on sugar and refined carbs since I was a kid. It fueled hormone, skin, and mood problems from adolescence through adulthood, and it took me committing to an anti-inflammatory diet that cuts sugar and refined carbs to be completely amazed by the benefits of quitting sugar altogether.
In this article, we’ll cover:
- Why sugar is unhealthy—even the “natural” kinds
- What happens when you quit eating sugar
- The surprising reasons quitting sugar benefits way more than just your waistline
- And yes, how to quit sugar without losing your mind
This isn’t about fear or food guilt. It’s about giving you the science (and strategy) to decide what works best for you—not the influencer pushing fruit juice cleanses.
The constant dispute has revolved around sugar and carbohydrates and whether or not they’re bad for us.
So first and foremost– sugar is a carbohydrate. Our bodies get energy from carbohydrates. There are MANY carbohydrates, however, and the ones that are refined (ie, table sugar, the various millions of ‘hidden sugars’ put on packaged food labels–including fruit juice, and refined flours) are the key ones that are dangerous.
So let’s start with the #1 question asked first:
Why is sugar bad for you?
Let’s get right to it: why is sugar bad for you—really?
The short answer? It wreaks havoc on your blood sugar, inflames your body, messes with your mood, drains your energy, and puts you on a rollercoaster of cravings you never meant to get on.
The longer answer? It’s complicated by years of bad science, food industry cover-ups, and well-meaning advice that got twisted in translation.
For decades, we were told fat was the enemy. Meanwhile, sugar skated by in our breakfast cereals, salad dressings, “low fat” snacks, and even foods that seemed healthy. Turns out, much of that guidance was based on flawed studies (some even funded by the sugar industry itself).
But now? We know better. Study after study confirms that excess sugar intake contributes to inflammation, insulin resistance, hormone imbalances, digestive issues, and even mental health concerns like anxiety and depression.
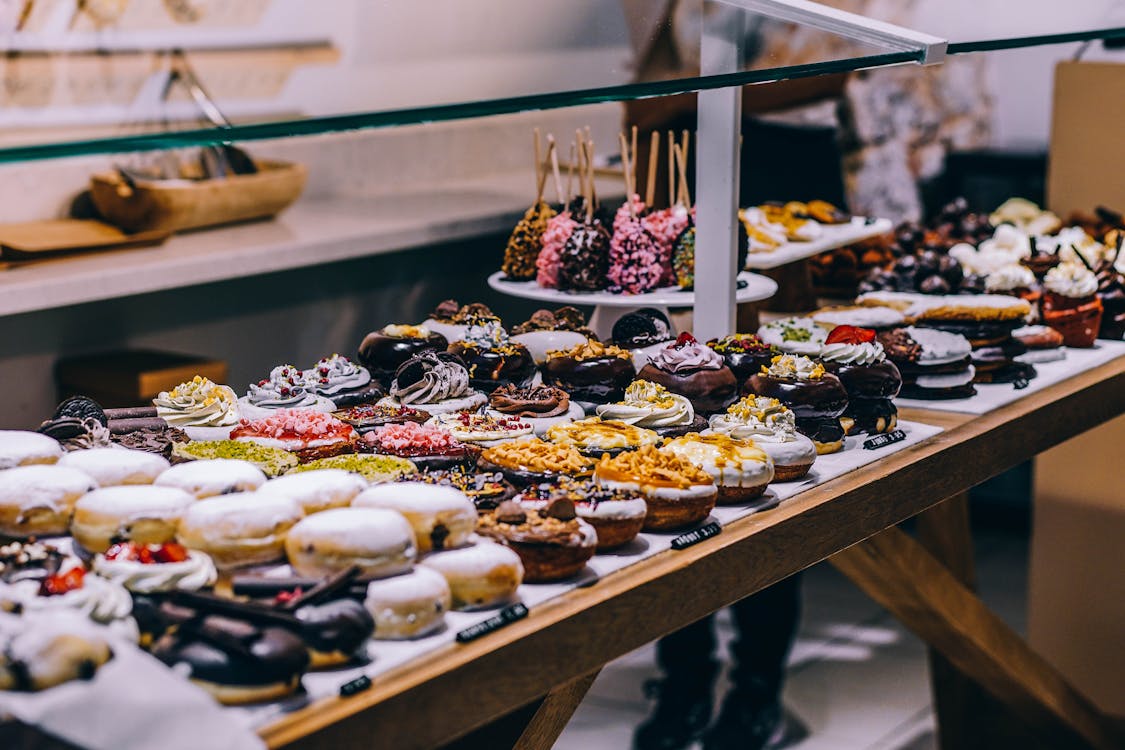
And it’s not just about sweets and desserts. Sugar shows up in everything from sandwich bread to spaghetti sauce—and when it becomes a daily norm, it can quietly fuel a host of chronic symptoms and conditions without you even realizing it.
Is Sugar Always Unhealthy?
So back to whether sugar is bad… My nutrition practice is rooted in anti-inflammatory nutrition and lifestyle. And from the hundreds of studies I’ve read through, the evidence is pretty conclusive that sugar is inflammatory. Not only that, it affects the brain (which I’ll touch on in a minute.)
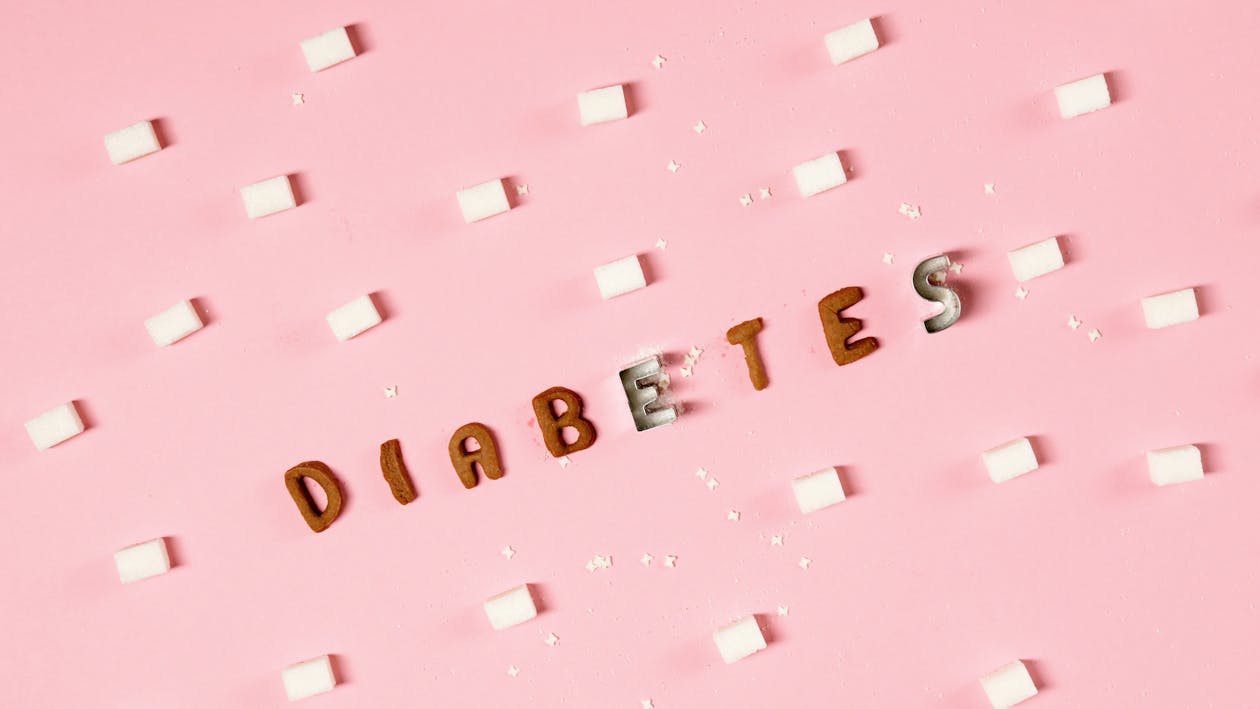
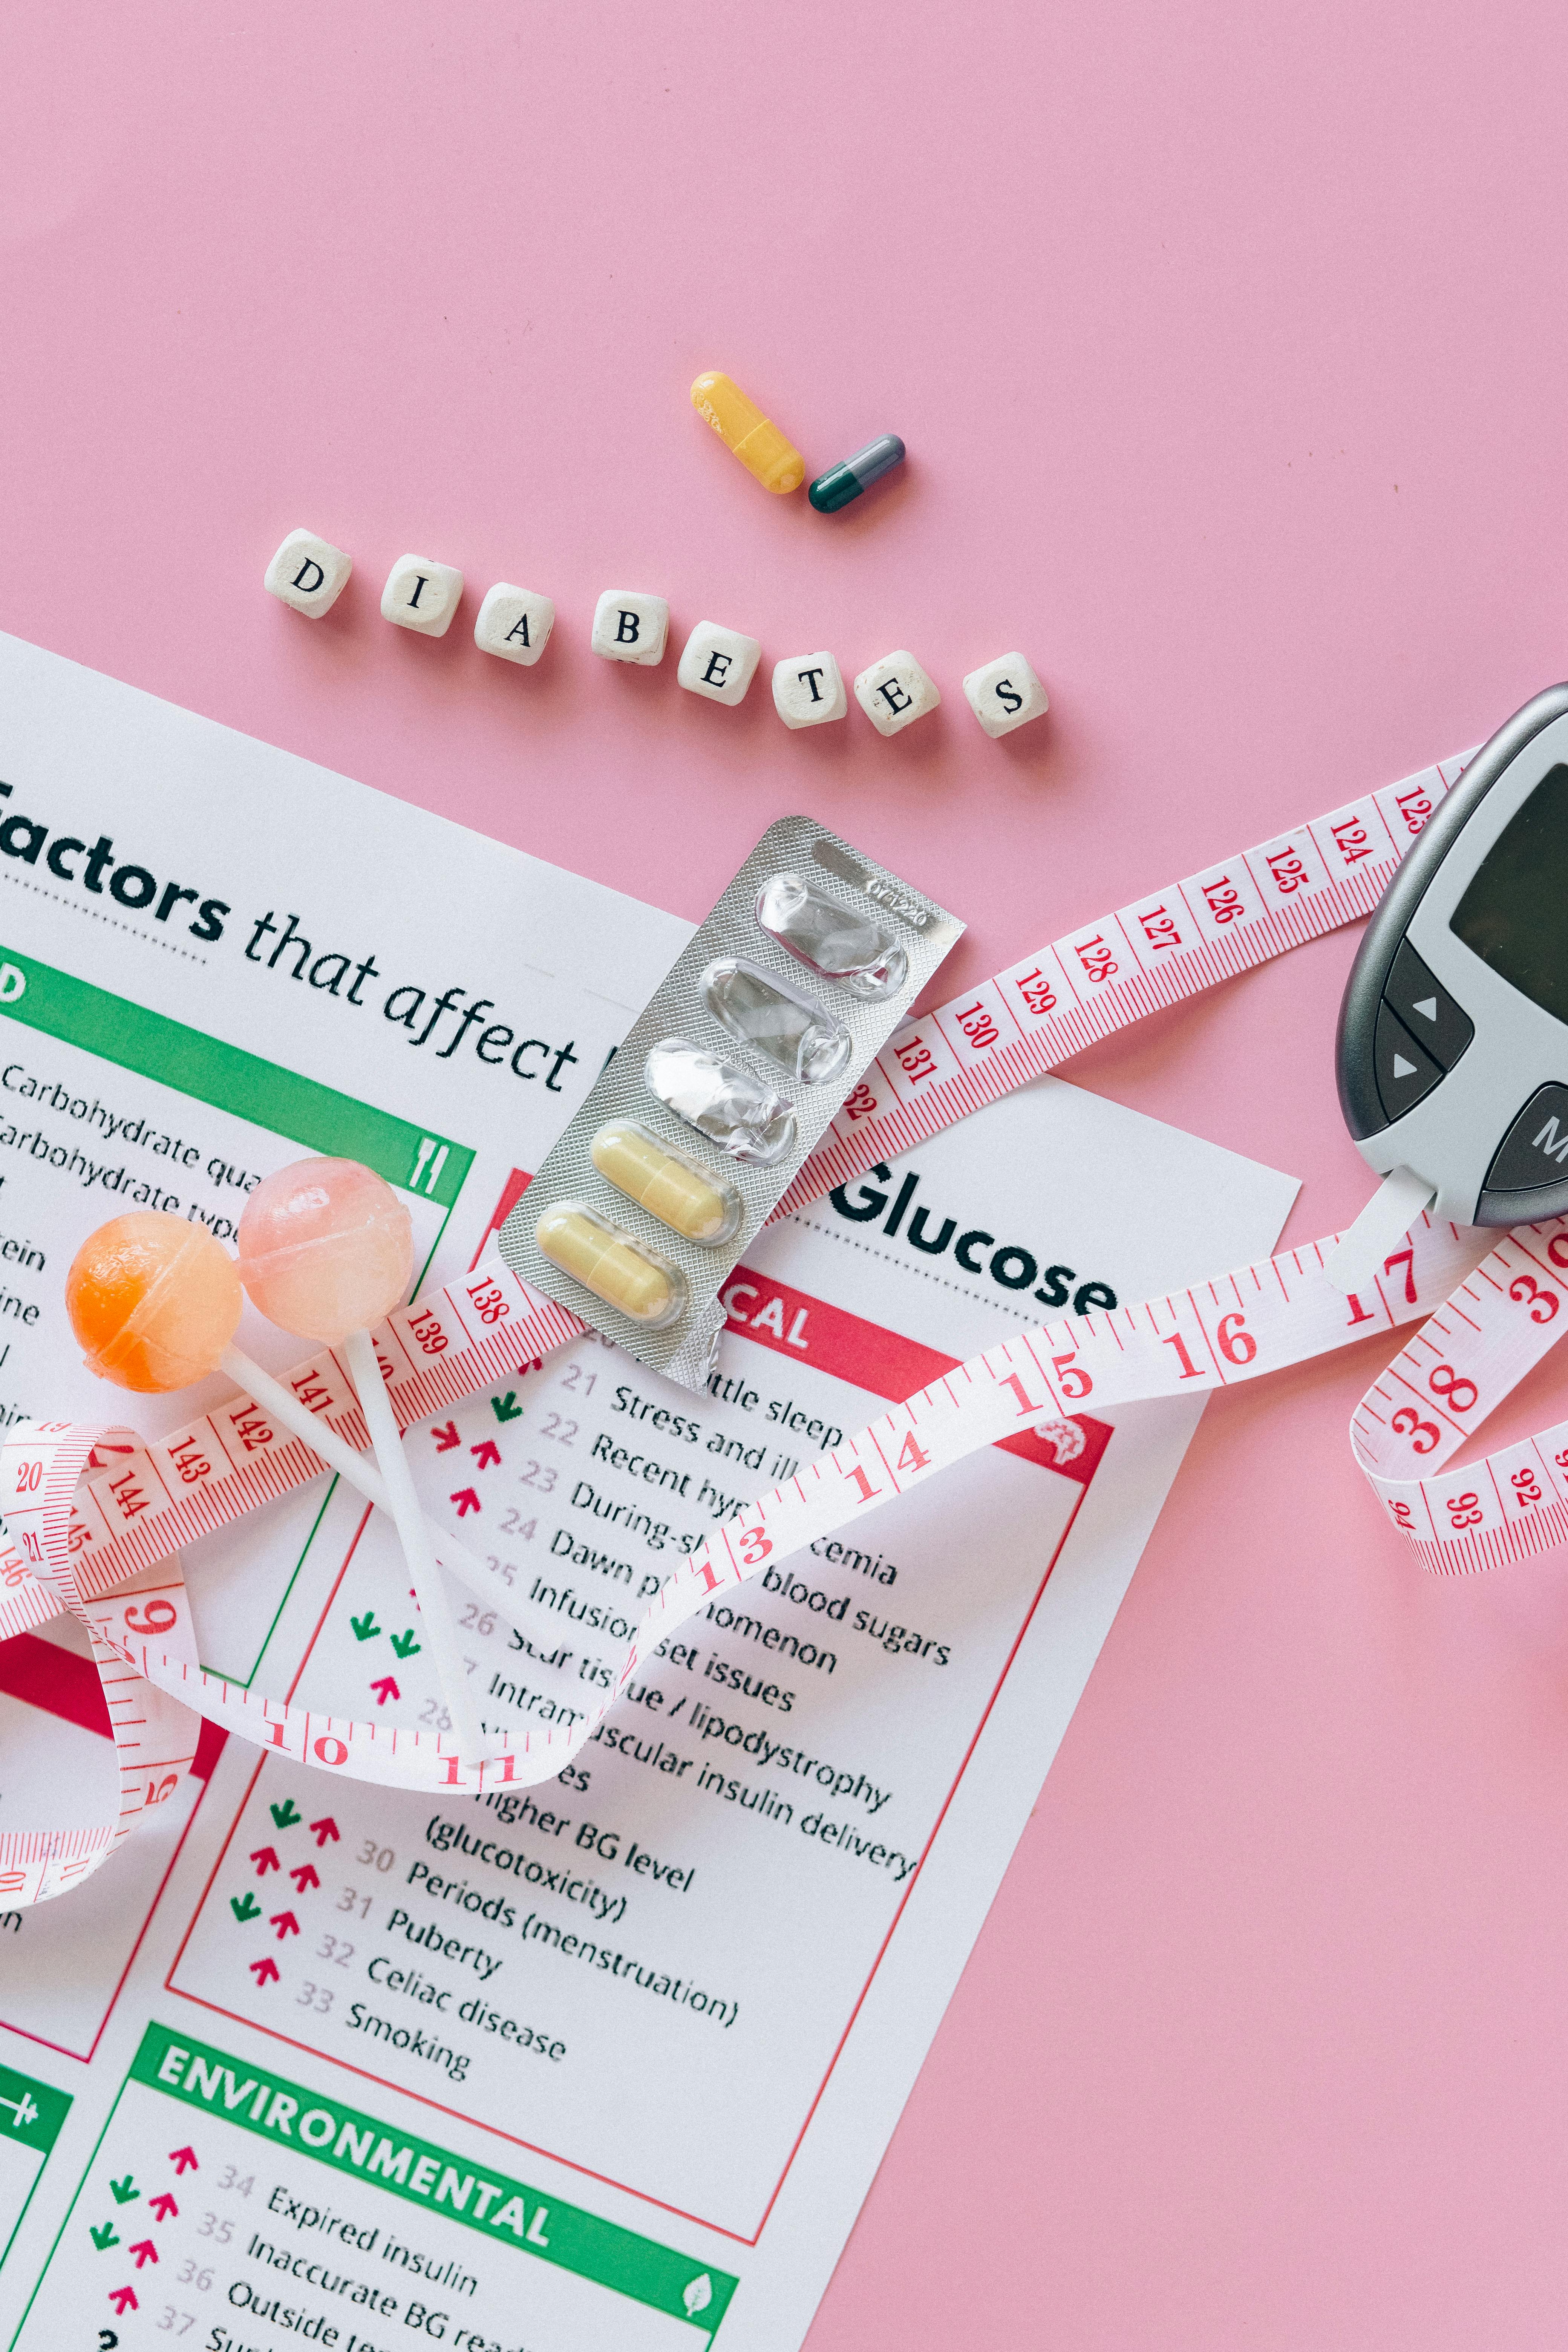
Since inflammation is the root of (and sometimes caused by) chronic conditions and diseases including type 2 diabetes and heart disease, my professional opinion is yes, sugar is bad for you.
I realize this is a controversial topic because, ya know… candy, and cake, and all the things. But also because a huge trend lately is to quit the diet culture.
I think lumping sugar intake into this can be really dangerous because sugar has addictive properties, and the more you eat ‘in moderation’, the more you want.
Ask anyone who has cried themselves to sleep because they feel like sugar controls their life and they’ll confirm that for them, there is no ‘moderation’.
The second reason I disagree with being so lax about it is that kids watch everything you do. And they also believe everything in the media. (Mine increasingly believe that Tiktok is gospel, but I digress…)
Kids don’t understand what ‘in moderation’ means. If I’d let mine, they’d have sugary drinks at literally every meal, sugar coated everything for every meal, and then add on sugar for dessert. They don’t know any better.
And programming their brains–especially when they’re not even done developing– to need sugary foods or sugar sweetened beverages for a pick-me-up, or to get some energy is a recipe for disaster once they’re adults. (Not to mention the damage that’s being done to the gut and neurotransmitters during adolescence when they’re flailing around in hormones.)
Kids with high sugar diets also have a higher risk of developing type 2 diabetes and cardiovascular disease. As of 2020, 36.3% of adolescents had prediabetes. That’s triple what it was before 1999. If these stats don’t alarm you–they should.
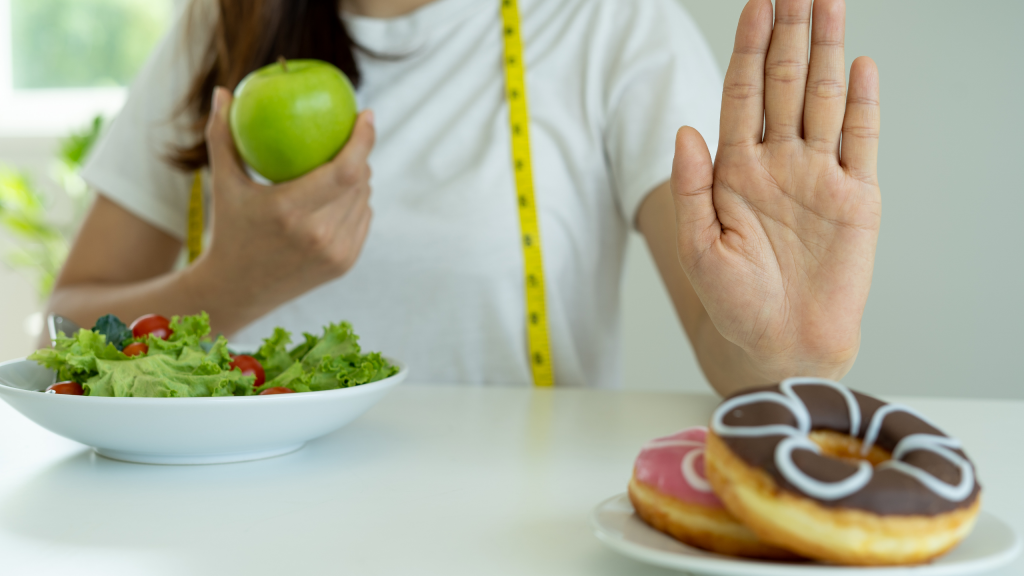
It’s easy to lump all sugar into one big “bad” bucket—but the truth is, not all sugar affects the body the same way.
Yes, sugar can be unhealthy—especially when it’s added sugar, refined, or ultra-processed. But does that mean every gram of sugar is a villain? Not exactly.
Let’s break it down.
Sugar is a type of carbohydrate, and carbohydrates are your body’s preferred source of quick energy. The issue isn’t sugar itself—it’s the form it comes in and how much you’re getting.
Here’s the difference:
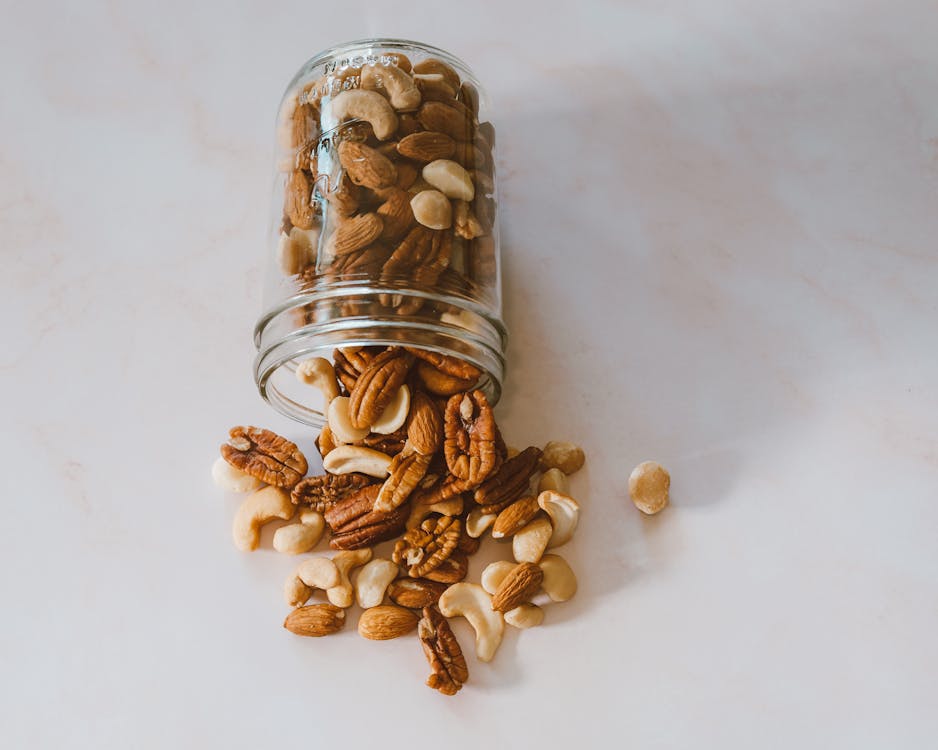
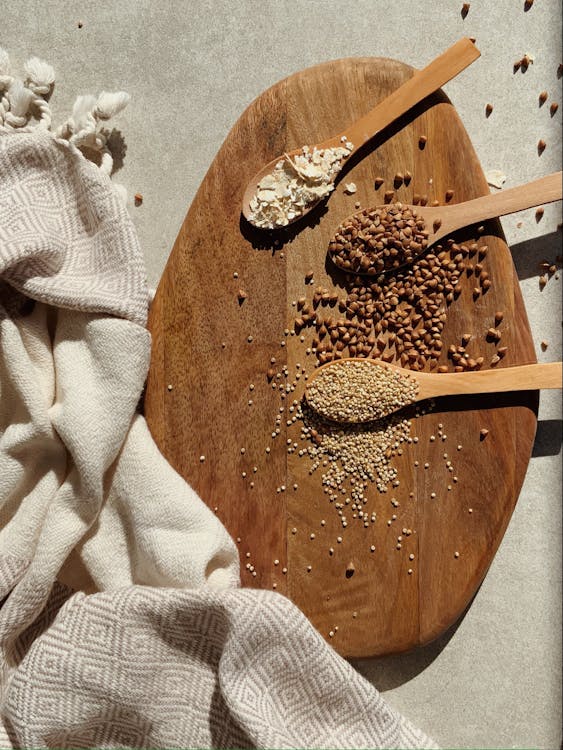
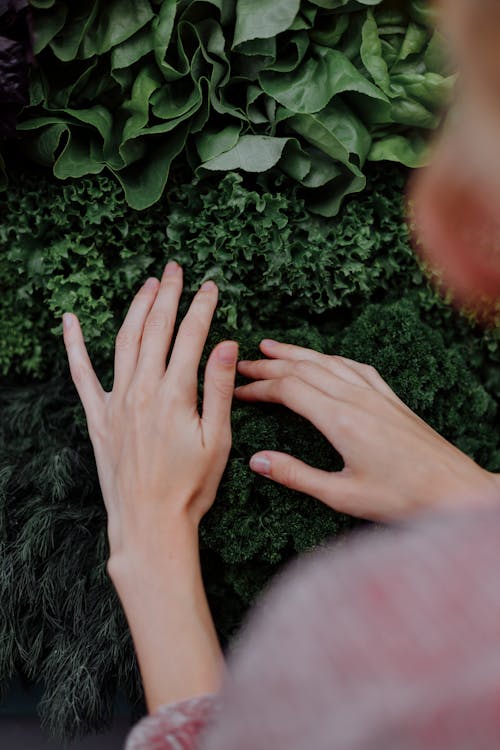
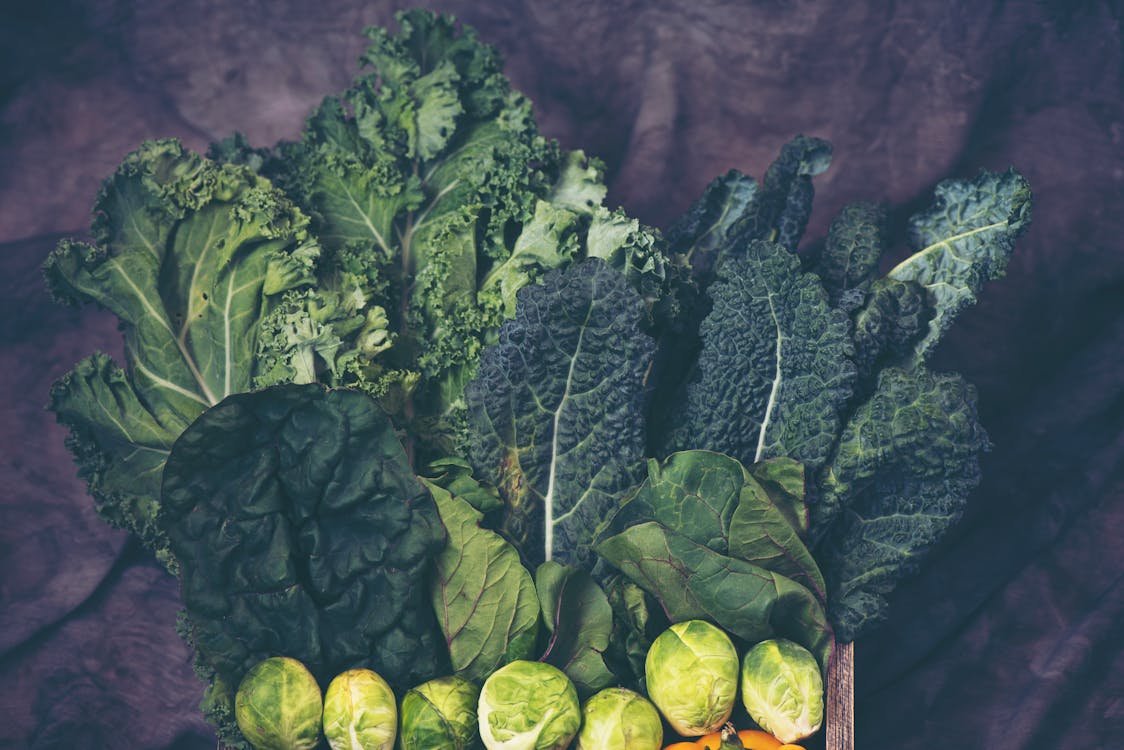
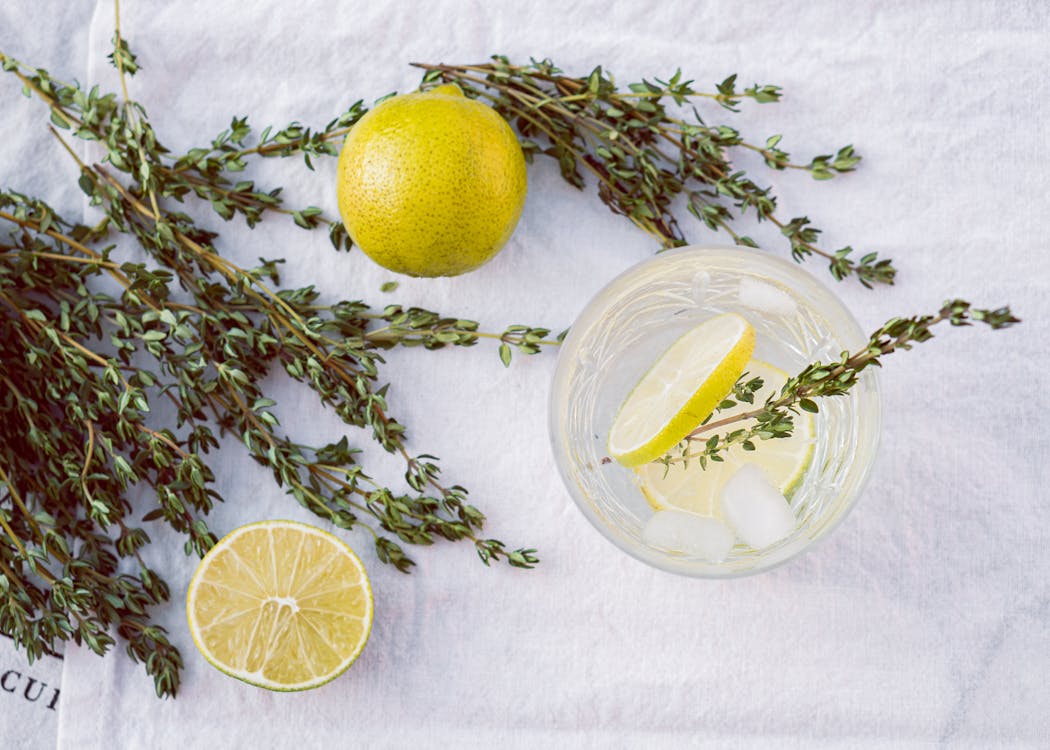
- Whole-food sugars (like those found in fruits (NOT fruit juice), sweet potatoes, and some dairy) come packaged with fiber, water, and nutrients. These slow digestion and keep blood sugar levels more stable.
- Added sugars (like those in soda, granola bars, flavored yogurts, and sauces) are stripped of fiber and nutrients, spike your blood sugar quickly, and trigger a dopamine response in the brain that can keep you coming back for more.
That’s why most people asking “why is sugar unhealthy for you?” are really referring to added or refined sugar—the kind that leads to inflammation, crashes, cravings, and long-term health issues.
And here’s the kicker: most of us are consuming way more of it than we think. Between hidden sugars in everyday foods and sweetened beverages, it’s easy to exceed your body’s ability to handle sugar without even trying.
Sugar and Processed Foods
The first point I always make as a nutritionist is that when foods have sugar, fructose, or the thousand-and-one various ‘new names for sugar’ created by food companies, they will also invariably lack fiber.
Fiber is the thing in fruits and vegetables that prevent our body’s sugar-management system from going into overdrive.
Fiber helps blunt the impact of sugars, which is why eating whole fruits and vegetables, as well as whole grains (NOT whole-grain flour), is healthy, whereas eating refined sugars and refined grains (flours) is not.
What I mean is that the lack of fiber in processed foods, with the addition of extra (added) sugars, normally go hand in hand.
How Sugar Affects Your Body (From the Inside Out)
Now that we’ve covered why sugar is bad for you and when it’s most harmful, let’s get into the nitty-gritty: what sugar actually does inside your body.
Spoiler: it’s not just about weight gain.
Sugar touches nearly every system—your immune system, hormones, skin, brain, gut, mood, metabolism, and more. And most of these effects aren’t noticeable… until they’ve been happening for years.
Let’s break it down by system so you can see the full picture:
Sugar and Inflammation
Sugar is a major driver of chronic, low-grade inflammation—the kind that simmers under the surface and quietly contributes to disease. While some inflammation is natural (like when you cut your finger), chronic inflammation is linked to nearly every modern health issue, including:
- Type 2 diabetes
- Heart disease
- Autoimmune conditions
- Joint pain
- Cognitive decline
Even natural sugars, when overconsumed, can spike inflammatory markers in the body.
Sugar and Hormones
Sugar can mess with insulin (your blood sugar regulator), cortisol (your stress hormone), and even sex hormones like estrogen and progesterone. This is especially true for women with conditions like PCOS, where sugar worsens insulin resistance and throws hormones further out of balance.
Bottom line: if you’re struggling with irregular periods, mood swings, fertility challenges, or fatigue—sugar might be playing a bigger role than you think.
Sugar and Skin
As a teen, I was told peanut butter could be contributing to my acne, only to read a year or so later that foods don’t affect your skin. As a nutritionist, I now know this couldn’t be further from the truth.
What you put in your body determines how your body functions. And since your skin is the body’s largest organ, this especially holds true for your skin.
Sugar impacts your skin more than most people realize.
When you eat sugar, it forms something called Advanced Glycation End Products (AGEs) in your bloodstream. These AGEs attach to collagen and elastin (the stuff that keeps your skin plump and youthful) and break them down faster.
Translation? More wrinkles, dullness, and breakouts. It’s one of the fastest ways to speed up skin aging from the inside out.
Sugar and aging
Just as sugar produces advanced aging mechanisms for the skin, it also accelerates the same process in all other tissues in the body. This means that your skin will begin to reflect what’s happening to everything inside your body as a result of eating high sugar foods.
Sugar and insulin resistance
Yet another thing that added sugars causes is metabolic syndrome, which leads to type 2 diabetes. Metabolic syndrome includes hypertension, dyslipidaemia, insulin resistance, and usually obesity.
Sugar and heart disease
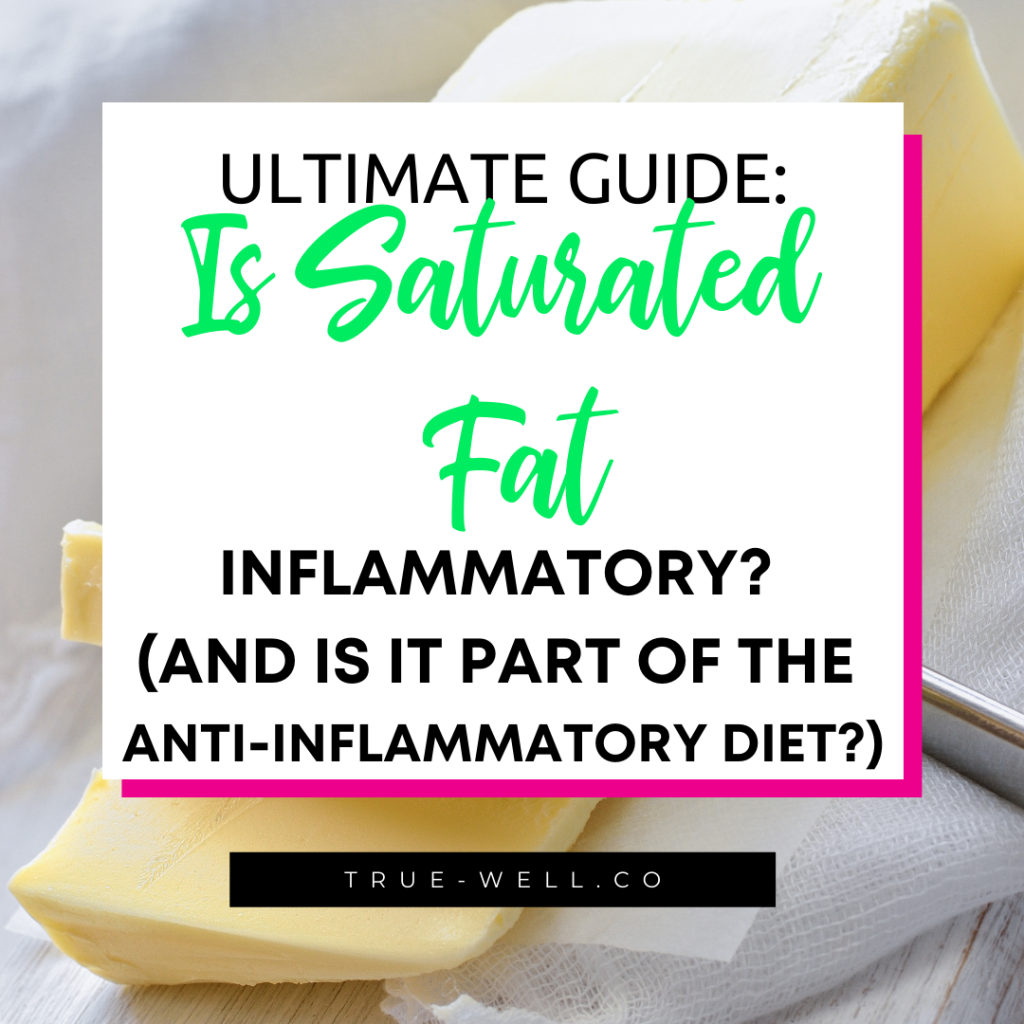
Although dietary saturated fat has been traditionally thought to cause heart disease, studies have shown that sugar is actually a major contributor. This can also be attributed to the relationship with metabolic syndrome, as stated above.
Sugar and high blood pressure
High blood pressure is yet another condition traditionally blamed on excess sodium. It has been found, however, that sugar plays an equal role in high blood pressure.
Sugar and sleep
Although a generally less-researched field, the connection with a high-sugar diet and sleep are steadily mounting. Many don’t realize that there is a connection with your insulin and circadian rhythm. The fluctuations in cortisol and melatonin affect how your body processes insulin while you sleep (much less effectively) which creates a higher blood sugar level during sleep.
If you’re diabetic you probably already pay attention to this as you check your fasting blood sugar levels upon waking. But people that aren’t diagnosed with diabetes or prediabetes should be conscientious of this as well.
High blood sugar levels throughout the day will carry over into our sleep time, creating higher blood sugar while we sleep–even for people that do not have diabetes.
Higher blood sugar levels during sleep have been shown to create less quality sleep and shorter sleep. And the reverse is true as well, less quality and time sleeping creates worse insulin sensitivity in the body–which becomes a vicious cycle.
Sugar and weight gain
Added sugar doesn’t just add extra calories—it interferes with your hunger hormones and makes it harder to stop eating. It also encourages fat storage, particularly around the midsection (visceral fat), which is more metabolically harmful than fat in other areas.
Even if you’re not overeating, sugary foods are calorie-dense and nutrient-poor, meaning you’re getting less nourishment and more triggers for inflammation and fat storage.
Sugar and the energy rollercoaster
Aside from the conditions listed above, keeping added sugars out of the diet helps keep you on a steady energy plane all day.
This is because when you consistently have too much sugar in your diet, your body will consistently try to balance your blood sugar while using what it can for immediate energy, but will store the rest (either in the liver or as fat–or both).
But when the body gets used to the added sugar as its primary fuel, you get blood sugar spikes, and then crashes a little while later. This is because normally, sugary foods displace complex carbohydrates, and there’s nothing left for energy.
So essentially those meals high in added sugar are causing an energy rollercoaster all day long.
This is, unfortunately, how many of us get sucked into the caffeine habit that can include loads of added sugar in the form of fancy coffee-shop drinks (cough-Starbucks-cough).
Staying on an energy rollercoaster sets the stage for anxiety, depression, and a vicious cycle of loading up on unhealthy foods that give a temporary energy hit just to crash later and go back to the same foods for another boost just to get through the day.
Sugar and depression and anxiety
The connection with sugar intake and depression and anxiety is really two-fold:
- 1: Sugar causes an imbalance of good and bad gut bacteria, which has an affect on mental health. This is because serotonin (the feel good neurotransmitter) is primarily generated in the gut. But it needs appropriate bacteria to help do that. When that bacteria is too low, we don’t get the serotonin we need to feel good and manage anxiety. When the condition stays chronically low, we begin to fall into the realm of depression and anxiety attacks.
- 2: Sugar also affects blood sugar ups and downs (as stated previously in reference to energy levels). But when blood sugar crashes, we get feelings of anxiety and depression as well. This usually triggers a major stress response, causing a nasty cycle of going straight to more sugar to feel better.
What’s Your Best Strategy for Eliminating Emotional Eating–for Good?
↓ Take the quiz and find out! ↓
👀 Take the quiz to discover your emotional eating profile and get your personalized strategy—designed to match your current habits, root triggers, and readiness for change.
Sugar and Gut Health
Sugar feeds the bad bacteria in your gut, creating an imbalance that can lead to:
- Bloating
- Digestive issues
- Food sensitivities
- Increased cravings
- Lowered immunity
A healthy gut needs diverse, fiber-loving bacteria—not a constant flow of added sugar.
Sugar and Your Brain
Not only is sugar terrible for your body and overall health, but your brain can also be altered by being on sugar as well. The same reward centers in the brain light up in response to sugar and breads that light up in response to drugs like cocaine and heroin. This is from the exaggerated dopamine hit that happens.
Next the brain will create a craving for this type of hit the next time you’re sad, mad, depressed, angry, exhausted, bored, or completely overwhelmed. And as soon as you give in to the craving, the brain records this as the reward that gets you out of the funk you were in. This creates the reward cycle in the brain, and the next time you’re in another funk, it’ll send you to the same sugar and breads over and over again.
The problem is–not only the mega amounts of sugar, bread, and junk that your cravings are calling out for, but also that these are causing damaging rewiring in those brain centers where neurotransmitters operate.
In fact, studies show that pregnant women on a high-fat, high-sugar diet cause the unborn baby to have their brain’s architecture affected so that their neurotransmitters aren’t operating correctly at birth.
Sugar and Heart Health
Forget the old myth that fat causes heart disease—sugar is a major contributor. High sugar intake has been linked to:
- Higher blood pressure
- Increased triglycerides
- Higher risk of heart attacks
- Chronic inflammation in blood vessels
All of this makes sugar a key player in cardiovascular risk—not just a “calorie issue.”
What Happens When You Quit Sugar?
Quitting sugar isn’t just a diet change—it’s a full-body recalibration.
If you’ve ever wondered what happens when you quit eating sugar, the short answer is: a lot. The long answer? You might go through withdrawal symptoms at first, but on the other side, your body begins to thrive.
In the First Few Days:
- You may feel tired, irritable, or foggy (especially if sugar has been your emotional go-to)
- Cravings might spike before they calm down
- Your body starts to release stored water weight (goodbye, bloat)
After 1–2 Weeks:
- Your blood sugar stabilizes
- Cravings begin to fade
- You sleep better and wake up clearer
- Your energy levels feel more stable throughout the day
After 3–4 Weeks and Beyond:
- Inflammation markers begin to drop
- Mental clarity and focus increase
- Mood improves significantly (less crashing, more calm)
- Skin starts to glow and digestion improves
And for many, there’s a subtle but powerful shift: you no longer feel like sugar is in control.
Is Sugar Really the Problem… or Is It a Coping Mechanism?
🧠 If you’ve tried quitting sugar before and always end up back in the same cycle—there might be something deeper going on.
Sugar is often part of an emotional eating pattern that gets wired into the brain.
💬 Take the Emotional Eating Probability Quiz to find out whether your cravings are more about emotions than appetite—and get your next best step to break the cycle for good.
The Benefits of Quitting Sugar (It’s More Than Weight Loss)
Let’s be honest—most people start cutting back on sugar for one main reason: weight.
And sure, quitting sugar can absolutely help with weight loss, but that’s just the beginning.
The real magic happens when you realize how many other areas of your health are being quietly drained by sugar—and how much lighter, clearer, and more energized you feel without it.
Here are just a few of the surprising benefits of quitting sugar:
💡 Better Blood Sugar = More Stable Energy
No more energy spikes and crashes. When your blood sugar evens out, your energy becomes steady and predictable—without needing constant snacks or coffee refills to stay awake.
😌 Fewer Mood Swings + Less Anxiety
Stable blood sugar means better emotional regulation. Plus, your brain isn’t riding the dopamine rollercoaster anymore, so you’re less likely to feel on-edge, irritable, or down without knowing why.
😴 Deeper, Higher-Quality Sleep
Removing sugar helps regulate cortisol and melatonin—the two hormones that control your sleep/wake cycles. Many people report falling asleep faster and waking up feeling truly rested.
✨ Glowing Skin
When inflammation drops and blood sugar stabilizes, your skin gets clearer, brighter, and more even. Some even see a noticeable reduction in acne and eczema flare-ups.
🔥 Less Inflammation = Less Pain
Whether it’s joint stiffness, bloating, or brain fog, these symptoms often decrease dramatically within weeks of removing added sugars and refined carbs.
🧠 Clearer Thinking
No more fuzzy thinking at 3 p.m. With fewer blood sugar dips, your brain functions more efficiently—improving focus, memory, and decision-making.
🎯 Bonus: You’ll Feel in Control
One of the most underrated benefits? You stop feeling like sugar is running the show. You’re not constantly negotiating with yourself over cravings. You just… eat, feel good, and move on with your day.
What types of sugar should I avoid?
Cutting sugar cold turkey sounds great… until you’re staring down a jar of peanut butter with sugar in the ingredient list. (Been there.)
Instead of trying to eliminate everything all at once, let’s start with the worst offenders: refined and added sugars. These are the ones most strongly linked to inflammation, cravings, and metabolic issues.
Here’s where to focus your energy first:
❌ Refined Sugars to Ditch ASAP:
- White sugar (granulated, powdered, brown)
- High fructose corn syrup (HFCS)
- Corn syrup, cane sugar, invert sugar, beet sugar
- “Syrups” like agave syrup, rice syrup, malt syrup
📝 Pro tip: Just because it says “organic” or “raw” doesn’t mean it’s less inflammatory. Sugar is sugar to your blood sugar.
Sneaky Sugar Bombs:
These are often overlooked, but pack a huge sugar punch:
- Flavored yogurts
- Granola bars
- Salad dressings and condiments
- Ketchup, BBQ sauce, pasta sauce
- Coffee shop drinks
- Smoothie chains and “wellness” juices
- Sweetened nut butters or milk alternatives
🛑 If it has a label, flip it over. Sugar hides under 60+ names.
Label Reading Tips:
- Look at the “Added Sugars” line under carbohydrates
- Ingredients ending in “-ose” are usually sugars (glucose, sucrose, fructose)
- Syrups and concentrates are almost always highly processed sugars
- Less than 5g of added sugar per serving = ideal
- 0g added sugar = 👏👏👏
What types of sugar are ok?
Let’s get one thing clear: added sugar is added sugar—even if it comes from something that sounds natural, raw, or organic.
Whether it’s honey from your local beekeeper or maple syrup tapped from a Vermont tree, your body still processes it as sugar. It still spikes blood sugar. It still feeds inflammation. And it still keeps that dopamine-reward loop in your brain going strong.
So when you’re working to reduce inflammation, balance your blood sugar, or step off the emotional eating rollercoaster—these natural sweeteners aren’t “better,” they’re just branded differently.
❌ Natural Sugars to Avoid (Yes, Even These):
- Raw or organic honey
- Maple syrup
- Agave nectar (despite the health halo, it’s high in fructose)
- Coconut sugar
- Date syrup, molasses, or brown rice syrup
They may be less processed than white sugar, but the impact on your body is nearly identical. If your goal is to feel better—not just check a label—these still fall into the “limit or avoid” category.
So when you’re trying to live an anti-inflammatory lifestyle, just know that sugar will exacerbate any inflammation.
Artificial sweeteners
Artificial sweeteners are not a good choice when it comes to alternatives for sweetness. Studies have shown that they wreck gut bacteria, they have an effect on blood sugar levels, and they trigger food cravings.
These are primarily found in diet sodas and foods listed as ‘low sugar’, ‘sugar free’, and some keto-type packaged foods.
Non-Calorie Natural sweeteners
The non-calorie natural sweeteners that are recommended are stevia, monk fruit, allulose, and sugar alcohols like erythritol (if you can tolerate them–sometimes they’re hard on the stomach).
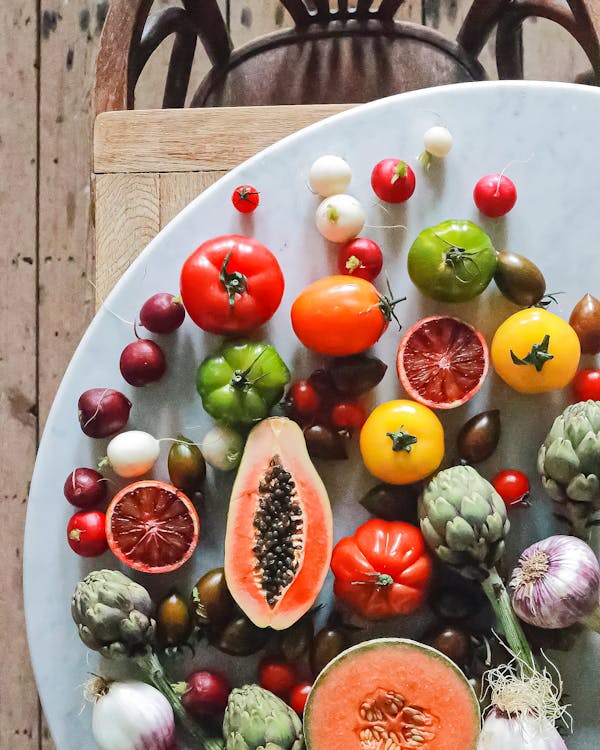
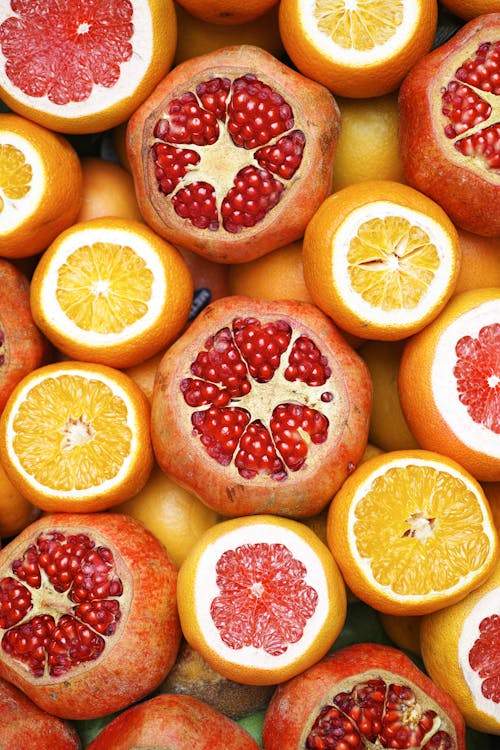
Fruit
Fruit is always a confusing topic when it comes to eliminating added sugar since sugars found naturally in fruit aren’t inherently bad. But it depends on the format. Here’s how to know what’s what:
- Fresh fruit is ok, as is frozen whole fruit (you should still aim for a much higher ratio of vegetables to fruit) as it contains lots of fiber and is on the list of resistant starchy foods. Examples are fresh berries and other low-glycemic fruits.
- Cooked fruit isn’t as good an option as the heat starts breaking down those starches into sugars.
- Fruit juice should be avoided. All fiber and resistant starches have been removed, and what’s left is straight fructose. (Fruit juice is in many juice drinks, and often the ‘cocktail’ version of fruit juices has even more sugar added into the final product.)
- Avoid dried fruit (for the most part). Dried fruit concentrates down the sugars, whereas fresh or frozen still has the hydration that helps fill you up in a reasonable amount of time for your brain to register. Also, typically dried fruit is coated in sugar. So if you’re looking for dried fruit, read the label.
Safe Sugar Substitutes (Natural + Non-Caloric)
If you’re transitioning off sugar and need a little help retraining your taste buds, these are your best options for sugar substitutes:
- Stevia (pure extract, not blended)
- Monk fruit (sometimes paired with erythritol)
- Erythritol (sugar alcohol—not for everyone, but well-tolerated by many)
🚫 Avoid:
- Aspartame, sucralose, saccharin (aka the pink, blue, and yellow packets)
- Most sugar-free, low-carb packaged snacks—they often have gut-disrupting ingredients
Final Thoughts: Why Quitting Sugar Might Be the Best Thing You Ever Do
We’ve covered a lot—from the science behind why sugar is bad for you, to how it affects everything from your skin and sleep to your hormones and brain.
And if you’ve made it this far? You’re clearly someone who wants to take your health into your own hands—and that matters.
But maybe you’re also realizing this goes deeper than just “eating better.”
If sugar has been your reward, your escape, your emotional release… cutting it out might feel harder than it should. That doesn’t mean you’re weak. It means your brain learned a pattern—and there’s a way to gently break it.
One More Step Before You Go…
🎯 If quitting sugar has always felt harder than it should be, take the Emotional Eating Probability Quiz.
You’ll discover whether your cravings are emotionally rooted—and what kind of sugar-free strategy will actually work for you.
You’re not meant to fight your body. You’re meant to work with it.
🤝More Support Inside the Cut the Sugar Hub
Struggling with sugar cravings, emotional eating patterns, or just want to feel more in control around food?
📖The Cut the Sugar Hub is your go-to library of expert-backed articles, practical tools, and science-made-simple guides.
Whether you’re detoxing, breaking the binge cycle, or learning to balance blood sugar the right way—it’s all here.