If you’re looking for an easy way to pack in yummy and healthy seasonal anti-inflammatory meals, this Spring Anti-Inflammatory Meal Prep Plan and Guide is for you!

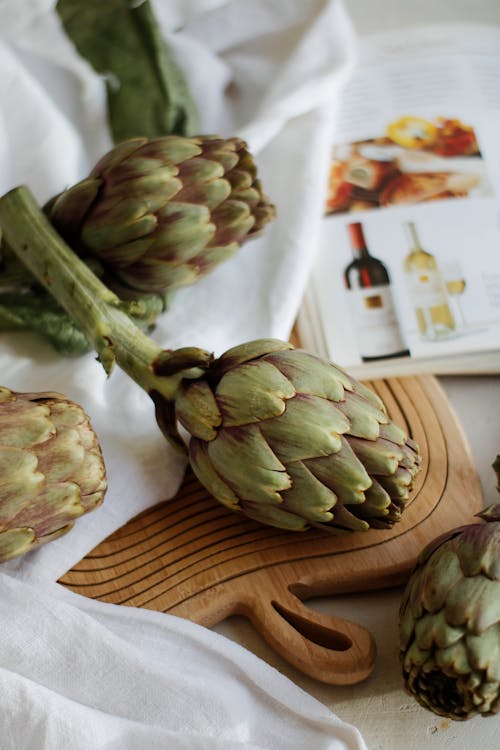
I really love to eat seasonally, I think mother nature provides us specific nutrients we need for each season, but also—it costs less to buy produce that’s in season.
Now I love to prep ingredients to be able to throw together, but I also know that weeks are CRAZY so it’s also important to have recipes that you’ve prepped for so you have as little as possible to think about during the week.
So this spring meal prep does both of those things –
And I’ve created a PDF with instructions and links to the recipes so you can do this meal prep at home.
Get the (free) Spring Anti-Inflammatory
Meal Prep Guide!

Spring into feeling fabulous with this 1-week gluten-free, sugar-free meal plan and prep guide! Featuring delicious anti-inflammatory recipes from fresh spring produce!
Spring Meal Prep Recipes
So today we’re meal prepping :
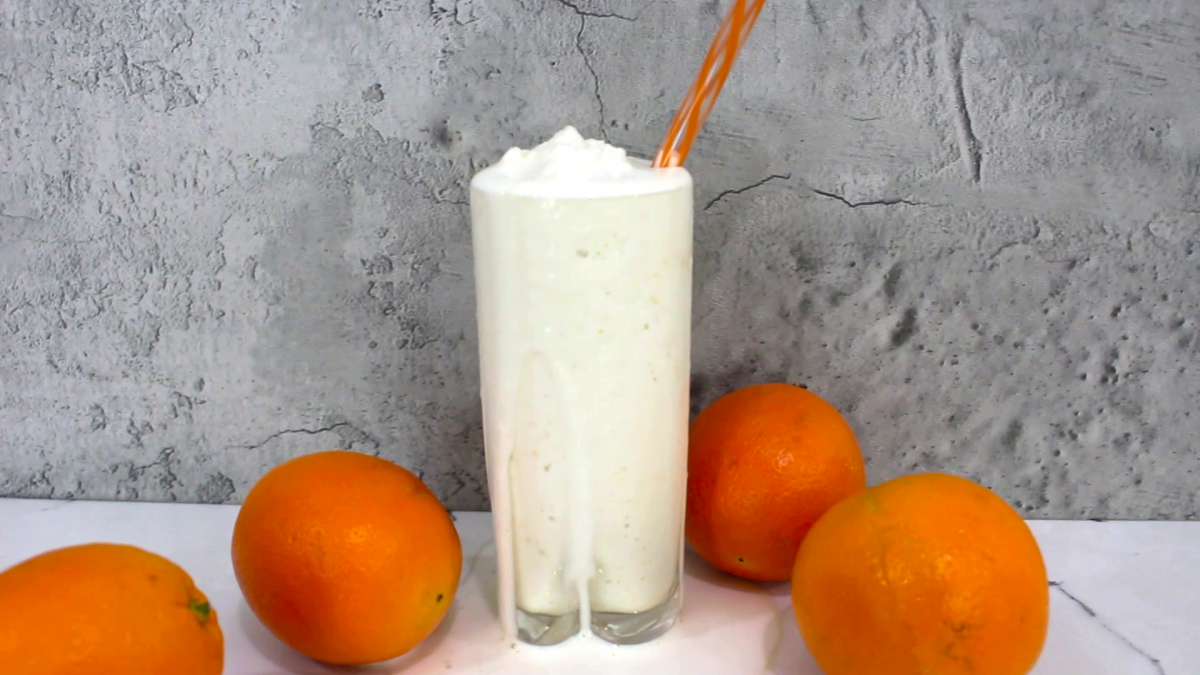
- 2 Orange creamsicle smoothie packs
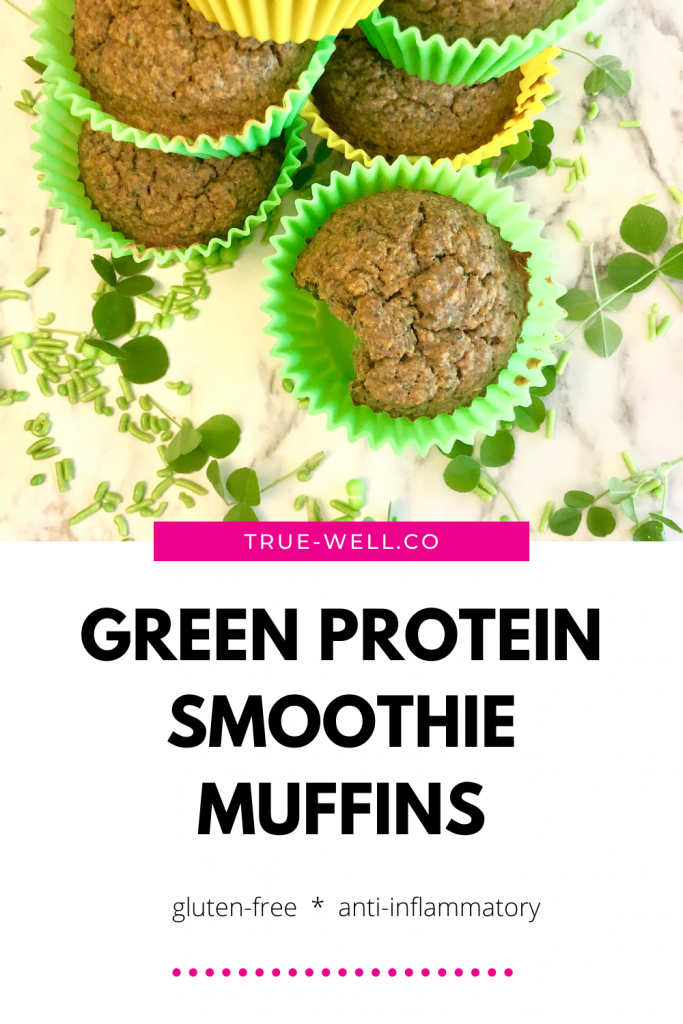
- A batch of Paleo strawberry muffins
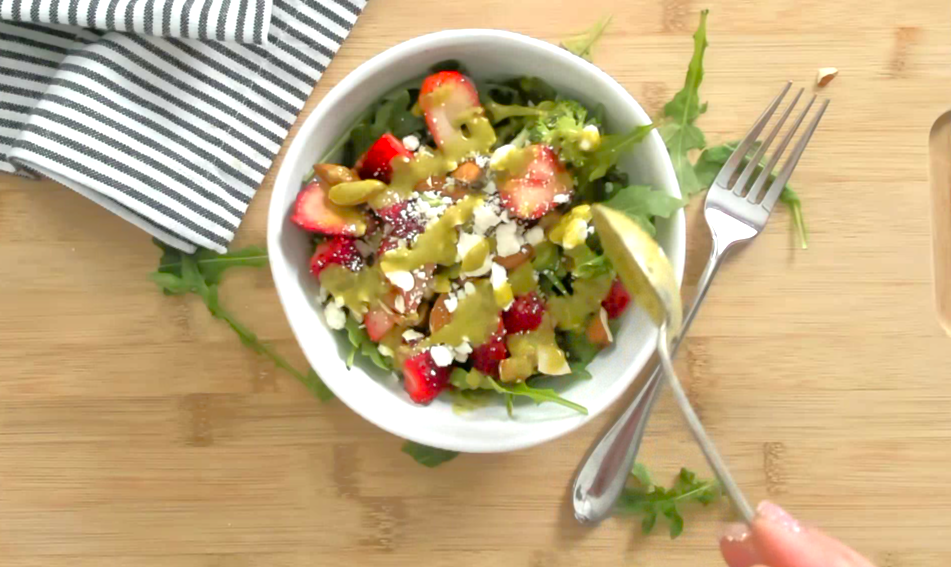
- A large Broccoli Strawberry salad
- A pan of roasted spring veggies to use whenever and however through the week;
- And 4 dinners which are:
- Greek Lemon Chicken and Potatoes
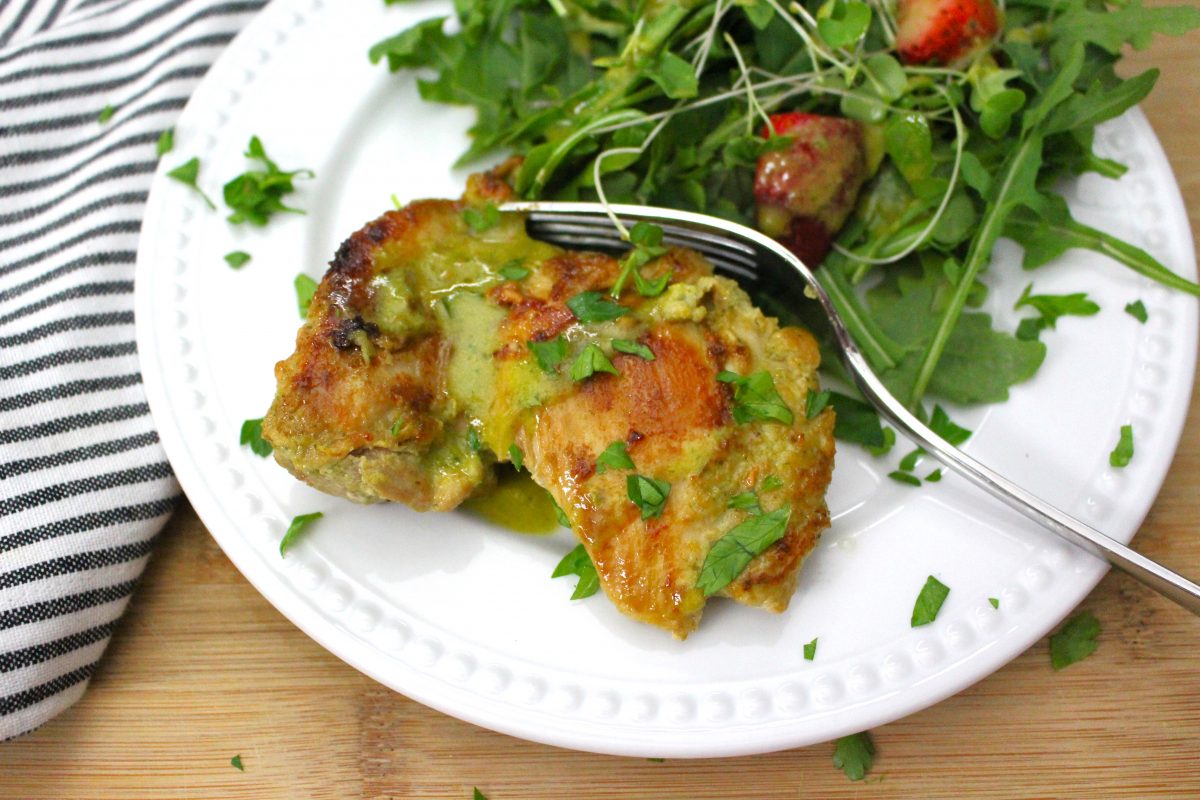
- Green Goddess Chicken
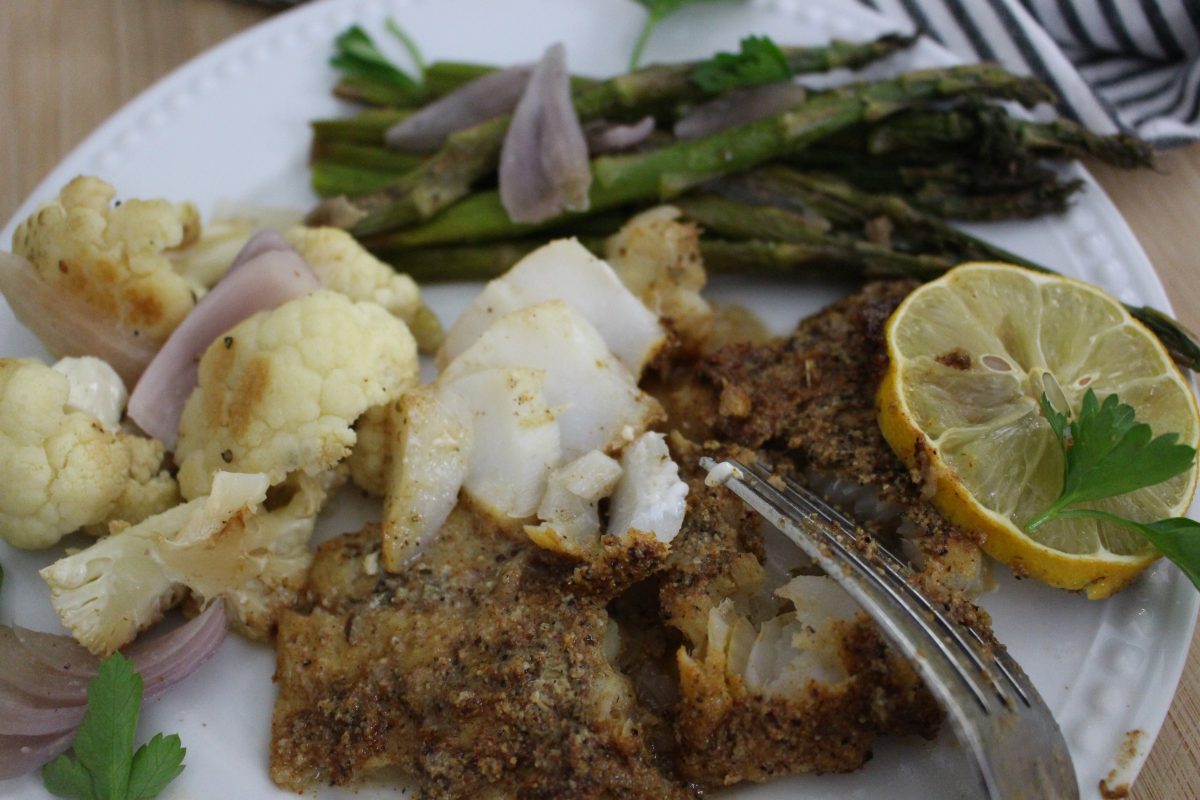
- Flaky Lemon-Pepper Fish
- And Salmon Burgers with Lemon Dill Sauce
So let’s get started prepping!
Instructions
The order I like to do my prepping is to:
- Chop all the vegetables, herbs, and fruit,
- Mix and bake anything that needs to go in the oven,
- And then while that’s cooking or baking, put together marinades and dips to store in the fridge until you need them during the week.
So let’s start with chopping everything.
Chopping
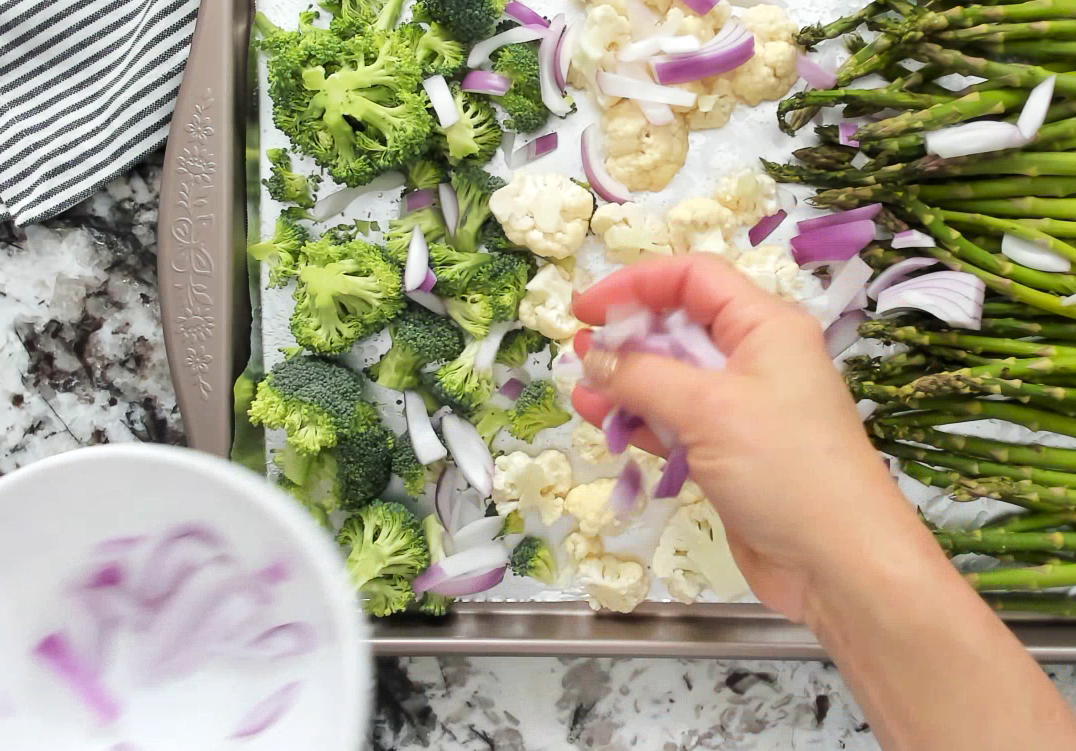
For this spring anti inflammatory meal prep session and meal plan, I started out chopping the vegetables – which were broccoli, cauliflower, asparagus, and onion.

Baking + Cooking
There are more veggies that I need to chop, but we can just go ahead and put that in the oven at 350 F for about 25-30 minutes and work on other stuff while that’s roasting.

While those are cooking, we’re gonna finish chopping fruits so we can get our smoothie packs, salad, and marinades put together, as well as get the muffins ready to go in the oven.
The spring fruits we’re using this week are oranges, strawberries, and lemons.
- The orange needs to be zested, sliced in half, and then juiced.
- The strawberries just need to be washed and then the leaves cut off the tops and cut in half or quartered—this mostly depends on your preference.
- And the lemons just need to be sliced and juiced.

Then I want to go ahead and mix my batter for the strawberry muffins, because as soon as the roasted veggies come out of the oven, the muffins go in.
We start out mixing the dry ingredients: mix in the wet ingredients, and then combine it really well. Then divide the batter evenly into the muffin tins.

By this time the veggies should be done in the oven, so we’ll pull the roasted veggies out of the oven to let them cool, and then the strawberry muffins go in at 325F for 20-25 min.
Once the veggies are cool we’re gonna put them in separate containers to be stored in the fridge for side dishes through the week.

Remaining veggies + herbs
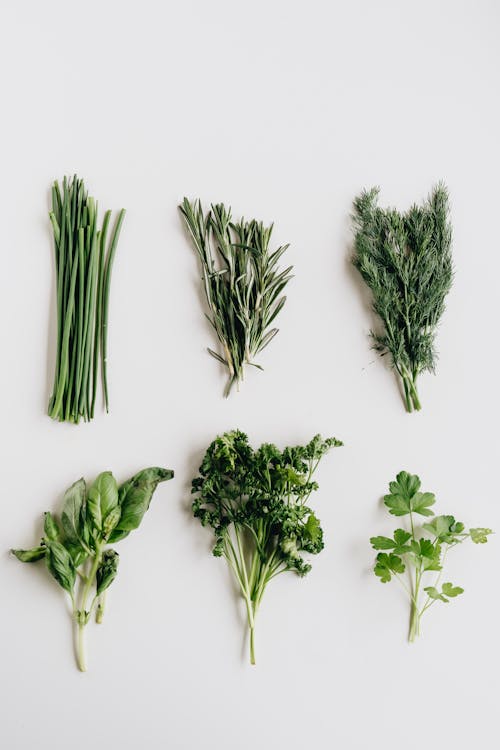
Next, I chopped the potatoes, and then moved on to the herbs. This week I need parsley, chives, and dill.

I also need some chopped almonds. You can buy these in slivers or chopped, I just happened to have whole ones, so I needed to just give them a rough chop.
Now that everything’s chopped and ready, and I’m still waiting on the muffins to finish baking, I can start assembling prep packs and containers for stuff that will go in the fridge until the night or day I need it.
Assembling prepped items for the fridge
Smoothie packs
So let’s start with the orange creamsicle smoothie packs. I’m making 2 of these for the week.

And we just throw all the ingredients into a baggie that’s labeled.
These little handy things I’m using are called Baggie Stands, and I’m telling you—this makes it SO much easier to use baggies for storage when you have anything liquid, because if it tips at all—you’ve got liquid all over the counter.
That does NOT happen with these baggie stands. You can find them online right here (affiliate link):

Baggie Stand Holders
>>> Check out ALL my Best Kitchen Tools for Meal Prep HERE!
This recipe also includes a few ice cubes, but we hold off on those until the day we make them. You can write instructions for the ice on the baggie too if you want. And then once those are made, they go in the fridge.
Marinades, dips, and dressings
Next we’ll mix the marinades, dips, and dressing.
This Green goddess dressing is so fresh, you’re gonna absolutely love it! I like to make a really big batch of it so there’s enough for the chicken recipe and dressing for the week- we’ll be using it on our broccoli strawberry salad too.

So for the dressing we’re gonna use a blender cup, and put all the ingredients in. It’s super easy to make, you just throw it in and blend it on high.
Now, we’re gonna use part of it as a marinade for the Green Goddess chicken, part is to drizzle on the chicken once it’s cooked, and the extra is for dressing for salads for the week.

So we put our chicken in a labeled baggie, then pour just enough to coat the chicken, then store the green goddess chicken in the fridge, and for the rest of the dressing, store it in a sealed container or baggie to go in the fridge as well.
Next up is the lemon dill sauce for the salmon burgers.
First we’re gonna dump all the ingredients in a bowl.

Then we stir really well, then get it poured into a sealed container or labeled baggie to go in the fridge.
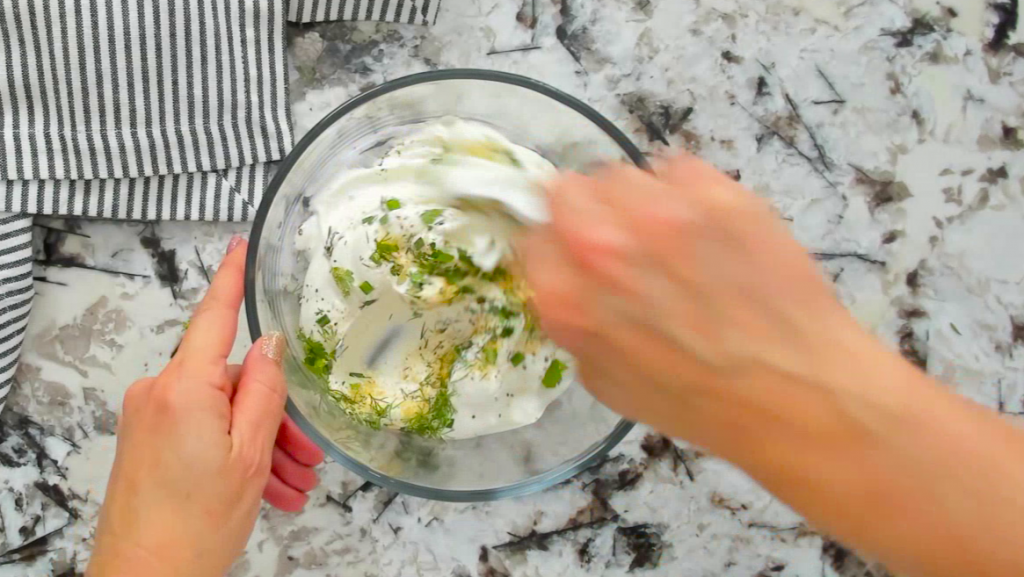
Next is the Homemade ranch dip. This is for the blanched veggie platter we’ll make in a few minutes.
Again- this recipe is super simple, and using a recipe like this eliminates the artificial junk and MSG that’s normally put into ranch dressing mix and dip mix.

So you start with organic sour cream, and just put all the other ingredients into it and stir really well. If you’re gonna store this for the week, you really can just mix it up right in the container it came in and then store it in the fridge until you need it.
And the last marinade we’ll make is for the Lemon Greek Chicken and Potatoes

And this marinade is actually for the vegetables, not the meat. The recipe has two separate steps for the vegetables, so using our baggie stands again, we’re gonna put potatoes, oil, and onions in one bag, and the asparagus and olives in the other. Then we just seal them up and store them in the fridge until the night they’re needed.
Next I’m gonna go ahead and prep the salmon burgers for the week.
To do that, I chop up the salmon into tiny pieces- do this rather than putting in the food processor, because it makes the whole thing too mushy really fast-

Mix in the rest of the ingredients, then shape into patties.
These are super easy to stack on parchment and store in the fridge until the day you need them. When you cook them you’ll dredge them in arrowroot flour first and then cook them in oil in a skillet.

So, depending on how long your prep is taking, your strawberry muffins should be coming out of the oven, and when they’re cooled you can store them a few days on the counter, or make them last longer in the fridge.
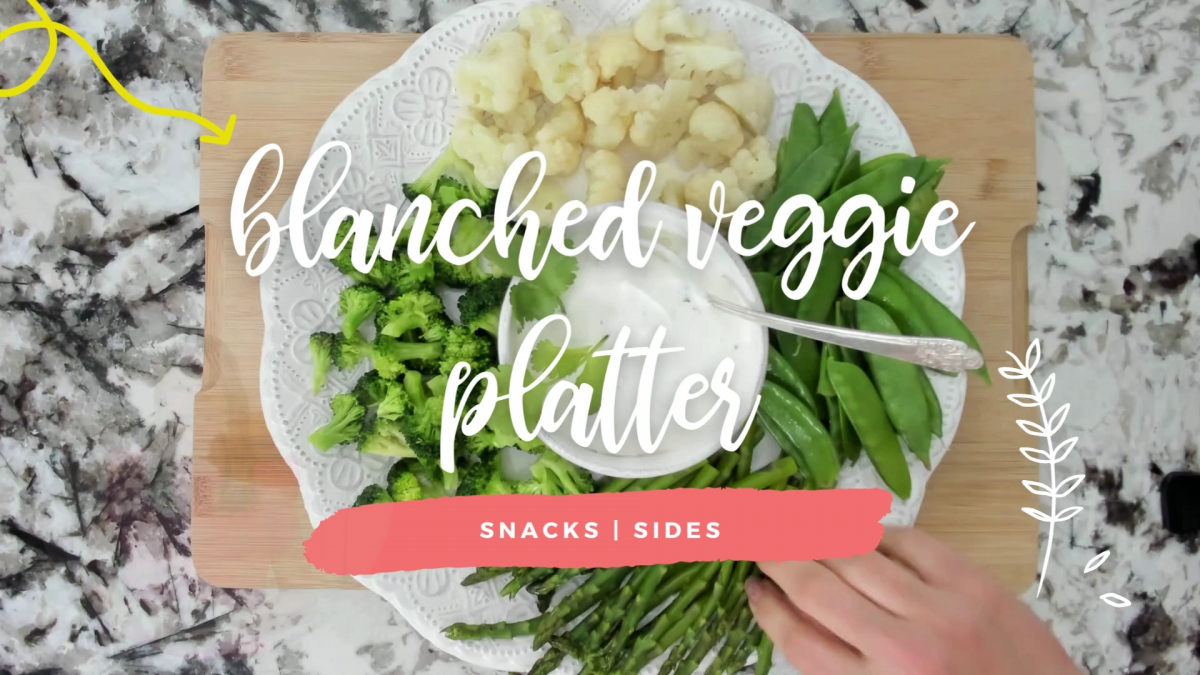
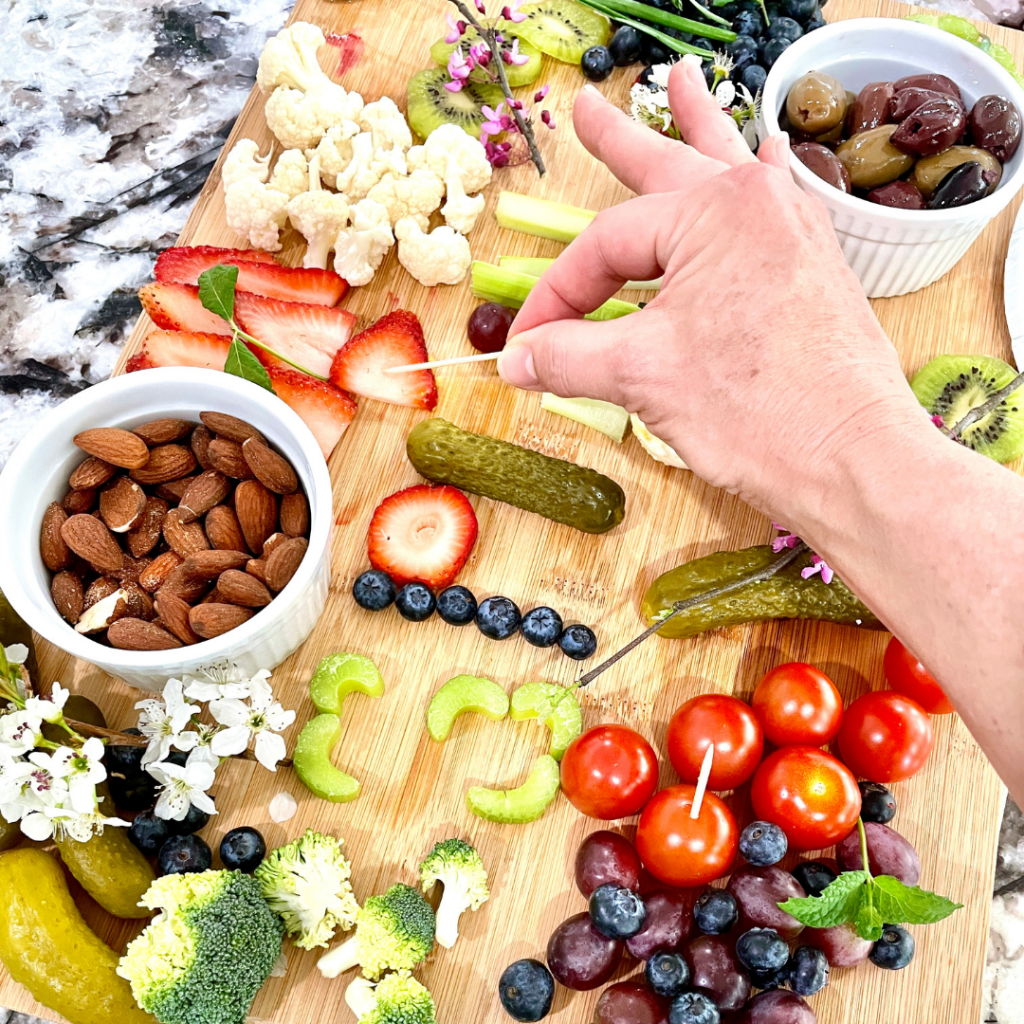
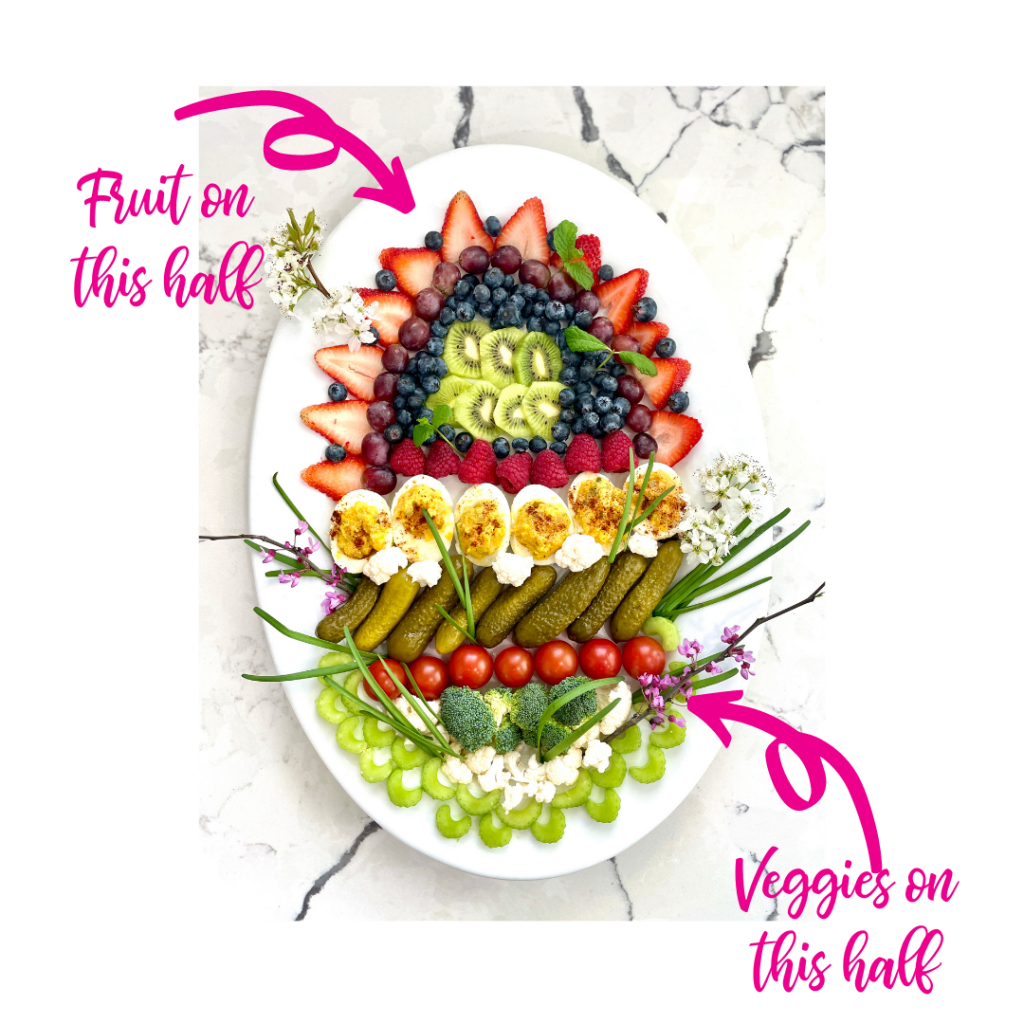
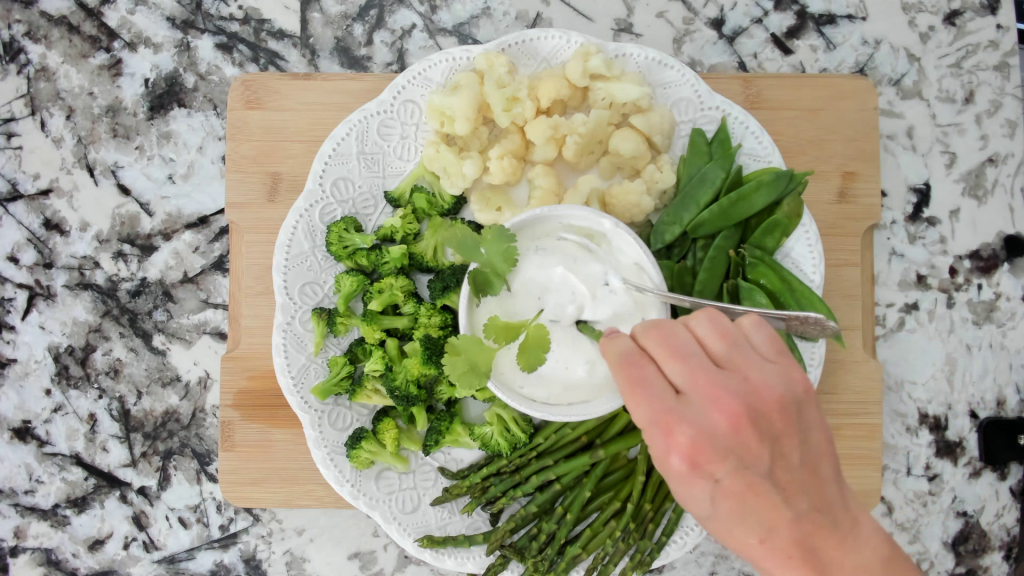
Blanched Vegetables
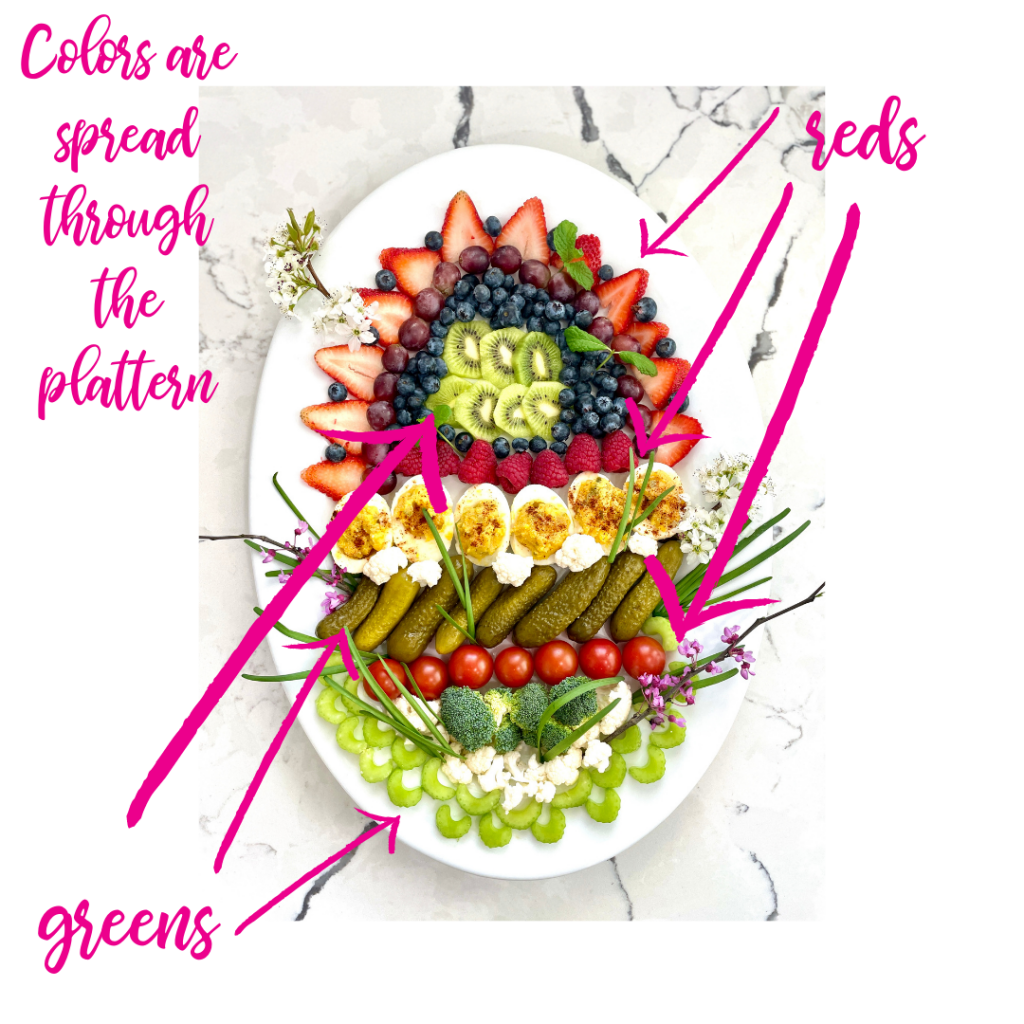
The very last thing I’ll make is the Blanched Vegetables—Now the reason I love to blanch veggies for a platter is because they taste amazing, and also, it deepens the color of the vegetables to make it that much prettier!

Blanching is actually really easy. You use a large pot and either a steamer basket or a colander basket. You can do without if you don’t have one, but it’s much easier to use a basket.

Saucepan with Steamer Basket
>>> Check out ALL my Best Kitchen Tools for Meal Prep HERE!
Then you boil the water, put each vegetable in for 3-5 minutes, then immediately put it into an ice bath to stop the cooking process. Make it like an assembly line to be really efficient with this.
Then put each in a bowl to drain the excess water out, and you can store them for the week or go ahead and make a platter and then store it covered in the fridge.
And if you happen to have leftovers from your meal prep at the end of the week, my favorite way to use it is to make a nourish bowl or macro bowl with all the leftovers.
Now, as I mentioned at the start, I’ve created a spring meal prep guide for you that should hopefully make meal prep a little easier, because it has the full prep guide as well as links to the full recipes on the TRUEWELL website.
Get the (free) Spring Anti-Inflammatory
Meal Prep Guide!
Spring into feeling fabulous with this 1-week gluten-free, sugar-free meal plan and prep guide! Featuring delicious anti-inflammatory recipes from fresh spring produce!