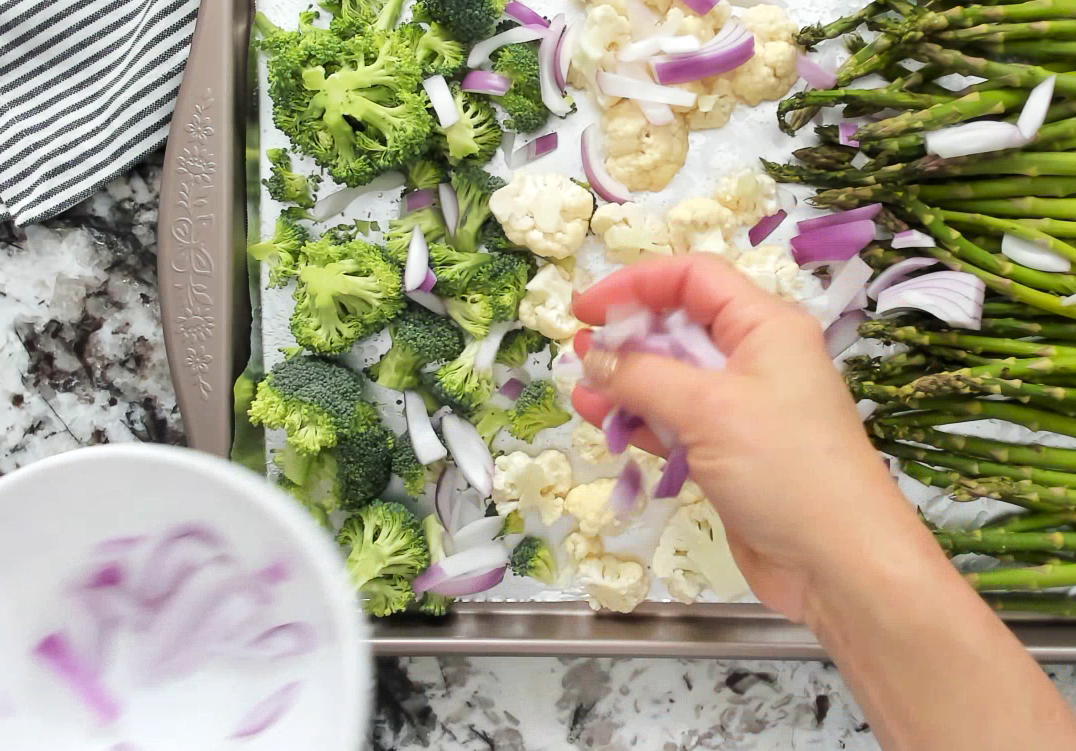
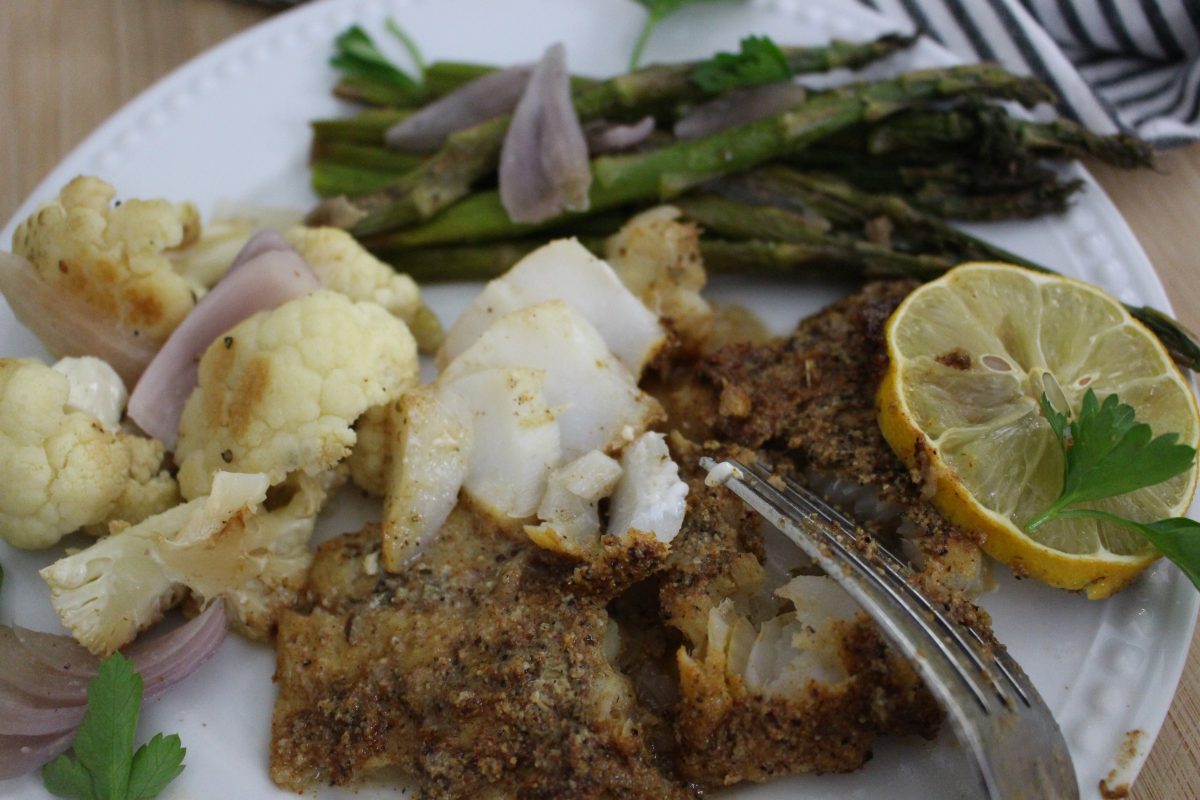
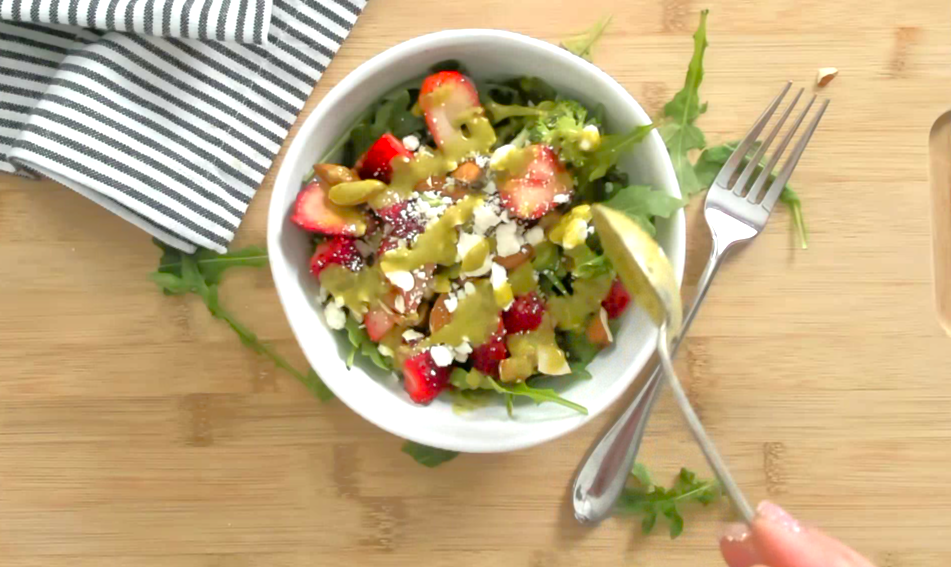
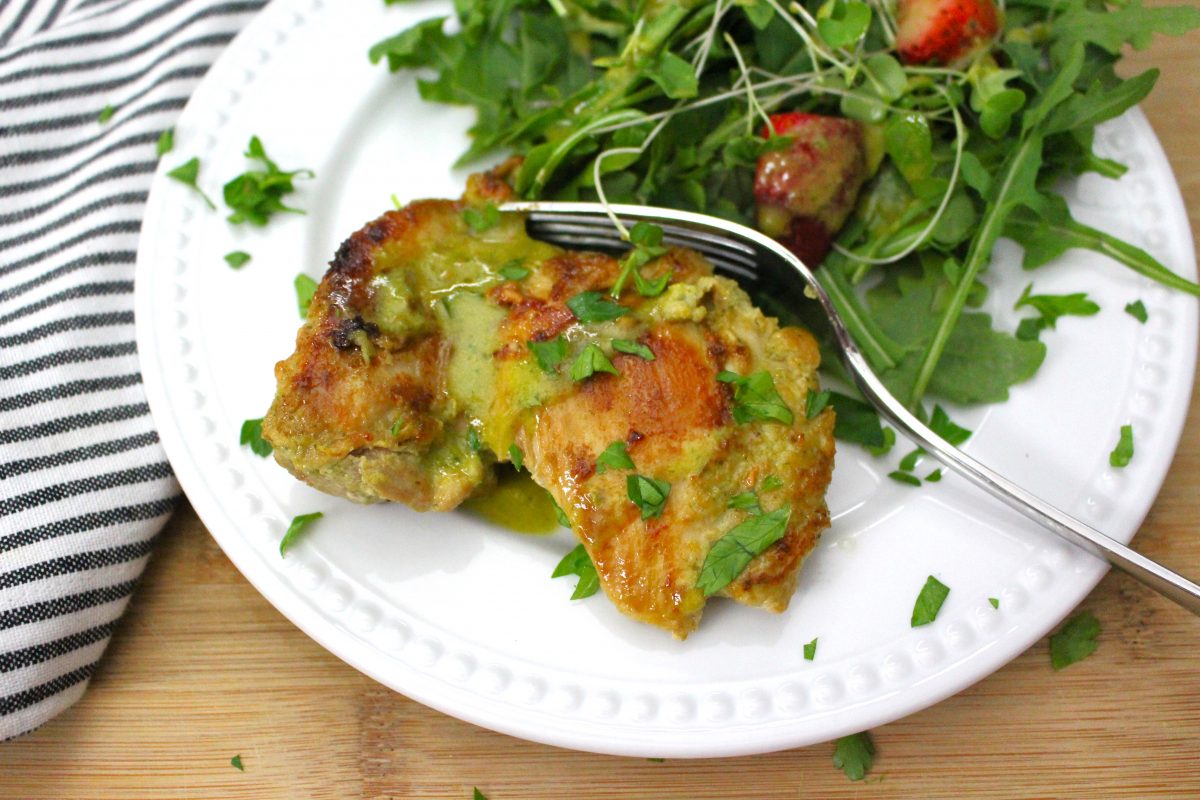
These healthy Salmon Burgers with Lemon Dill Sauce are super easy and perfect for spring or summer. Serve on a grain-free bun or just with a salad or fresh vegetable sides (like our Roasted Spring Vegetables) for a filling and yummy anti-inflammatory dinner!

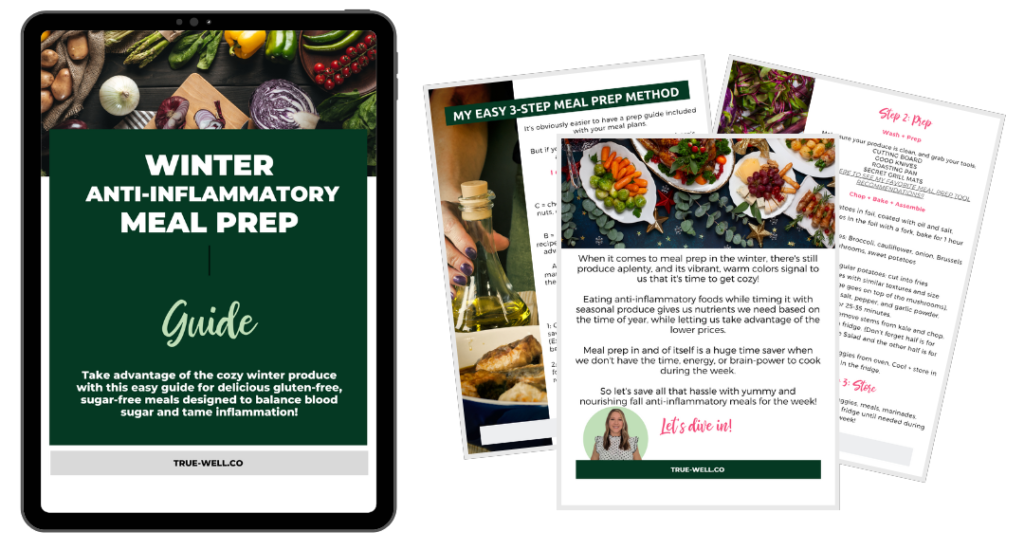
This recipe is featured in our Spring Anti-Inflammatory Meal Prep Guide! Grab it HERE!
Ingredients
LEMON DILL SAUCE
- 1/2 cup Paleo mayonnaise
- 1 lemon (juiced and zested)
- 2 TBSP chives (minced)
- 1 Garlic clove (minced)
- 1 TBSP dill (fresh, minced)
- 1/2 tsp salt
- 1/2 tsp pepper

SALMON PATTIES
- 1 lb salmon (Wild-caught, fresh, with no skin)
- 1/4 cup onion, minced
- 1 TBSP dill (fresh, minced)
- 2 tsp Dijon mustard
- 1 TBSP almond flour (can sub in coconut flour if needed)
- 1 TBSP capers, minced
- 1/2 tsp salt
- 1/2 tsp pepper
- 1/2 cup arrowroot starch (or tapioca)
- 2 TBSP avocado oil (for frying)

Instructions
PREPARE THE LEMON DILL SAUCE
Mix all of the ingredients together really well and store in the fridge until needed.
*If meal prepping, store in a sealed container in the fridge up to 5 days.

MAKE THE SALMON PATTIES
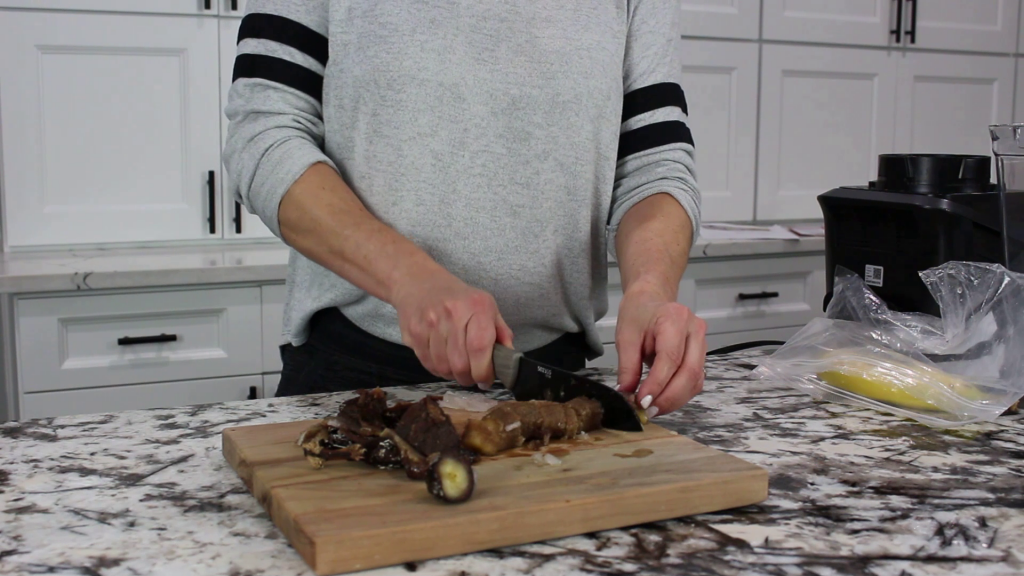
- Cut the salmon into strips, then chop into very small pieces. (Chopping tends to be better than using a food processor.)
- Put the salmon into a medium-sized bowl, then add the onion, dill, mustard, almond flour, capers, salt, and pepper.
- Combine really well, then divide the mixture into four, creating patties out of each portion.
- Pour the arrowroot flour into a flat bowl or container; dredge the patties in it, coating both sides.
- Heat a non-stick pan over medium-high heat. When the pan is hot, add the avocado oil and give it a minute to heat the oil.
- Place all four salmon patties in the pan; cook 4-5 minutes on each side.
- Remove patties from the pan. Plate them while hot and top with the Lemon Dill Sauce.

Notes
*If meal prepping, the patties can be stored layered with parchment paper in a sealed container or baggie in the fridge for up to 3 days.
*If you like a tangier sauce, substitute the Paleo mayo for Greek yogurt.

This recipe is featured in our Spring Anti-Inflammatory Meal Prep Guide! Grab it HERE!
PrintSalmon Burgers with Lemon Dill Sauce
These healthy Salmon Burgers with Lemon Dill Sauce are super easy and perfect for spring or summer. Serve on a grain-free bun or just with a salad or fresh vegetable sides (like our Roasted Spring Vegetables) for a filling and yummy anti-inflammatory dinner!
- Prep Time: 20 minutes
- Cook Time: 8 minutes
- Total Time: 28 minutes
- Yield: 4 1x
- Category: Dinner
- Method: Cooktop
Ingredients
Lemon Dill Sauce
- 1/2 cup Paleo mayonnaise
- 1 lemon (juiced and zested)
- 2 TBSP chives (minced)
- 1 Garlic clove (minced)
- 1 TBSP dill (fresh, minced)
- 1/2 tsp salt
- 1/2 tsp pepper
Salmon Patties
- 1 lb salmon (Wild-caught, fresh, with no skin)
- 1/4 cup onion, minced
- 1 TBSP dill (fresh, minced)
- 2 tsp Dijon mustard
- 1 TBSP almond flour (can sub in coconut flour if needed)
- 1 TBSP capers, minced
- 1/2 tsp salt
- 1/2 tsp pepper
- 1/2 cup arrowroot starch (or tapioca)
- 2 TBSP avocado oil (for frying)
Instructions
Prepare the Lemon Dill Sauce
Mix all of the ingredients together really well and store in the fridge until needed.
*If meal prepping, store in a sealed container in the fridge up to 5 days.
Make the salmon patties
- Cut the salmon into strips, then chop into very small pieces. (Chopping tends to be better than using a food processor.)
- Put the salmon into a medium-sized bowl, then add the onion, dill, mustard, almond flour, capers, salt, and pepper.
- Combine really well, then divide the mixture into four, creating patties out of each portion.
- Pour the arrowroot flour into a flat bowl or container; dredge the patties in it, coating both sides.
- Heat a non-stick pan over medium-high heat. When the pan is hot, add the avocado oil and give it a minute to heat the oil.
- Place all four salmon patties in the pan; cook 4-5 minutes on each side.
- Remove patties from the pan. Plate them while hot and top with the Lemon Dill Sauce.
Notes
*If meal prepping, the patties can be stored layered with parchment paper in a sealed container or baggie in the fridge for up to 3 days.
*If you like a tangier sauce, substitute the Paleo mayo for Greek yogurt.