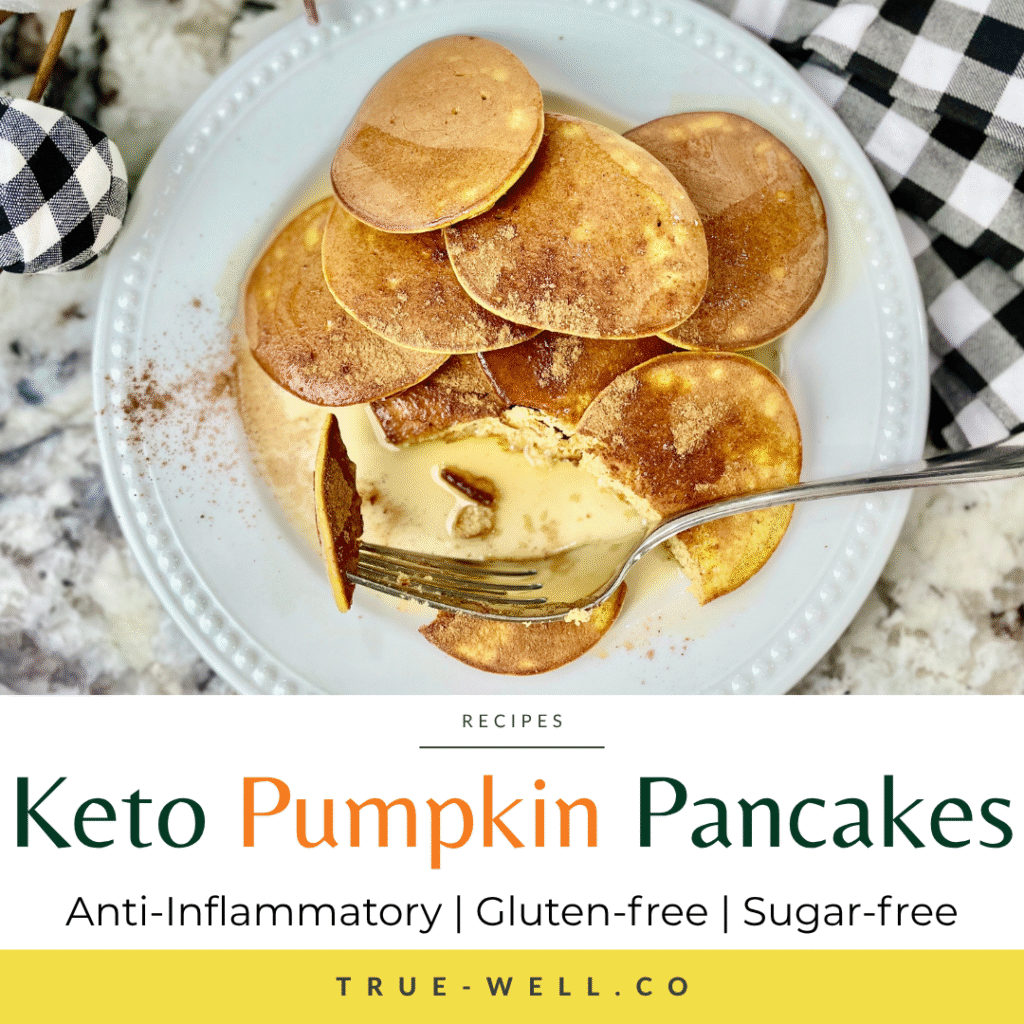
Keto Pumpkin Pancakes | Anti-Inflammatory, Gluten-free, Dairy-free

Cooking breakfast for everyone on the weekends is one of my husband’s favorite things to do. And this is seriously one of my favorite anti inflammatory breakfasts for fall.

Because how can you beat pancakes and pumpkin?

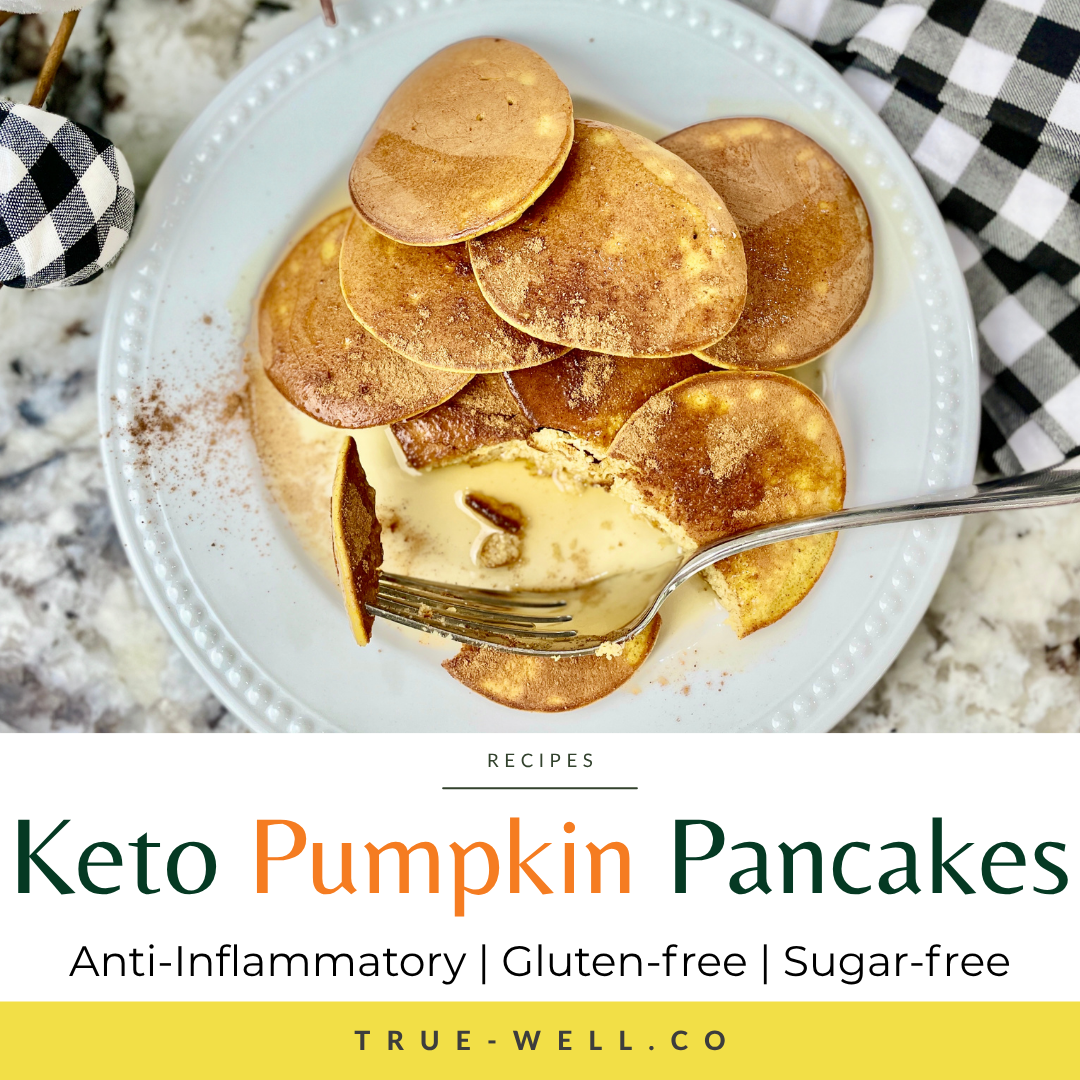
keto pumpkin pancakes

And since we’re on a mission to control our blood sugar levels, we’re doing it with an anti-inflammatory keto version of pumpkin pancakes that you’re gonna love!

One thing I wanna highlight for these keto pumpkin pancakes is that they’ve got a good amount of protein in them.

What we’ve found in our house is that the kids tend to veer more towards carbs in the morning, so if I use a higher protein recipe, they’re getting a better balanced meal that leads to less blood sugar spikes (and crashes) and keeps us full longer.

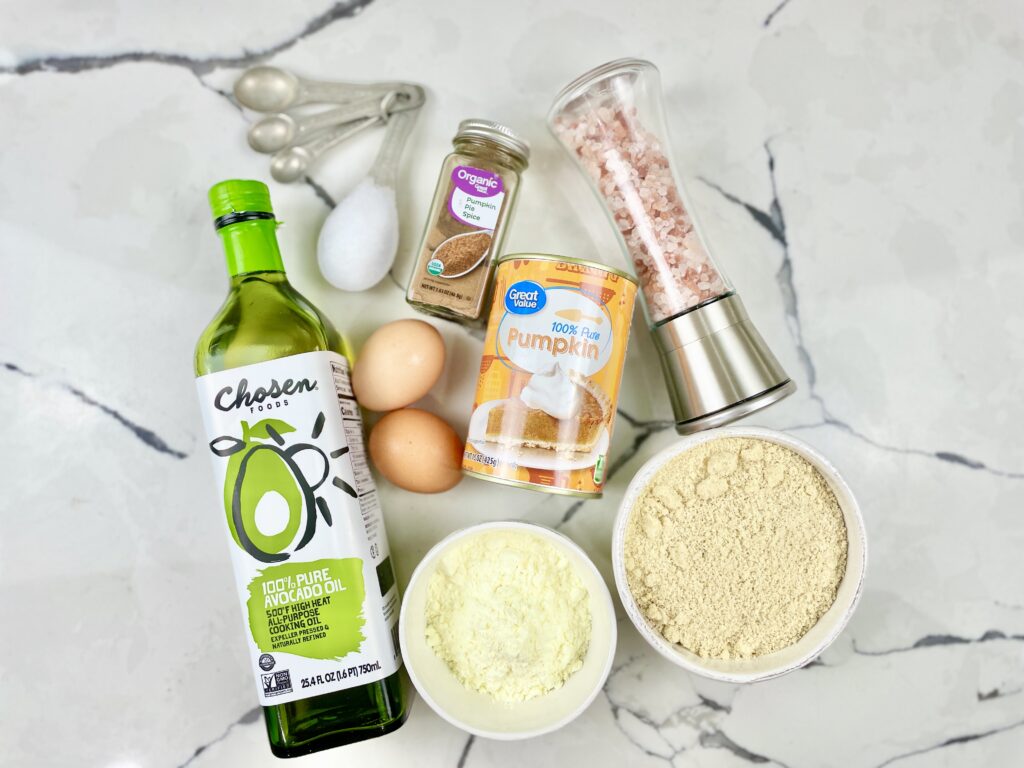
keto pumpkin pancakes ingredients

But the norm to accomplish this is to use a protein powder. Instead, I like to use egg white powder for that extra protein. (This trick also keeps it dairy-free.)

Also, if you don’t have pumpkin pie spice mix, you can grab that recipe HERE.

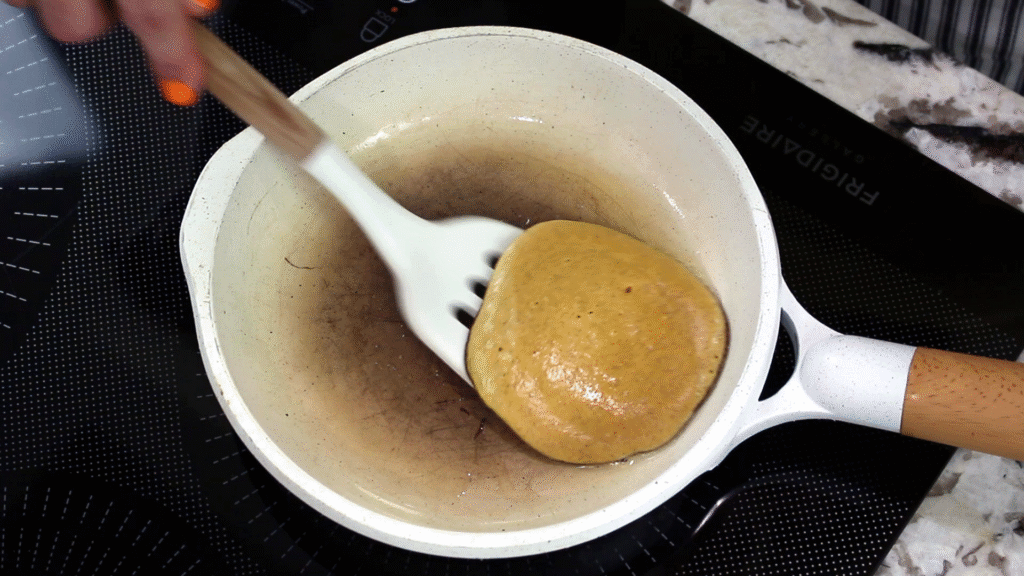
keto pumpkin pancakes in a skillet

Things to note

One thing to note is that you can store these in the fridge if you have leftovers, and I’ve even frozen them to have for anti-inflammatory breakfast and snacks!

Eating for your health shouldn’t mean skipping breakfast or flavor. These pumpkin pancakes prove you can do both — deliciously.
My free Anti-Inflammatory Diet Quick-Start Guide shows you exactly how to get started with blood-sugar-balancing meals like this one.
Download your free Quick-Start Guide and make your mornings both cozy and anti-inflammatory.

Print

Keto Pumpkin Pancakes

5 Stars 4 Stars 3 Stars 2 Stars 1 Star

No reviews

Anti-Inflammatory, Gluten free pancakes perfect for fall

  • Prep Time: 10 minutes
  • Cook Time: 5 minutes
  • Total Time: 15 minutes
  • Yield: 6 pancakes 1x
  • Category: Breakfast, Snack

Ingredients

Units Scale
  • 2 eggs
  • 1/4 cup pumpkin puree
  • 1/2 cup almond flour
  • 1/4 cup egg white powder
  • 1 TBSP pumpkin pie spice
  • 1/4 tsp salt
  • 2 TBSP erythritol (or other granulated sugar-free natural sweetener)
  • 2 TBSP water
  • 1 TBSP avocado oil (to cook pancakes)
 

Instructions

  1. Place all ingredients except avocado oil in a blender; blend until combined- stopping halfway through to scrape the edges down.
  2. Heat a large nonstick skillet to medium. Add avocado oil.
  3. Pour batter into pan, trying to keep it equal to serving size.
  4. Cook 3-4 minutes, flip and cook about 2 minutes until golden brown.
  5. Serve warm. Enjoy!

Did you make this recipe?

Share a photo and tag us @truewell.co — we can’t wait to see what you’ve made!

Healthy Pumpkin Spice Latte | Anti-Inflammatory | Sugar Free | Vegan

One of the biggest bummers of going anti-inflammatory was learning that sugar was TOTALLY out. Especially in the fall when I love me some PSL—

However—hope is not lost!

healthy psl pumpkin spice latte sugar-free

I’ve got a healthy pumpkin spice latte that won’t jack your blood sugar up (or your waistline) like a Starbucks PSL will.

👉Just for reference, the Starbucks PSL has FIFTY grams of sugar in it!!

It’s sugar-free, dairy-free, anti-inflammatory, and full of pumpkin spice goodness.

{And just in case you don’t have any pumpkin pie spice, you can grab that recipe HERE.}

Now let’s get started!

Gather your ingredients

First we start with our ingredients, which are:

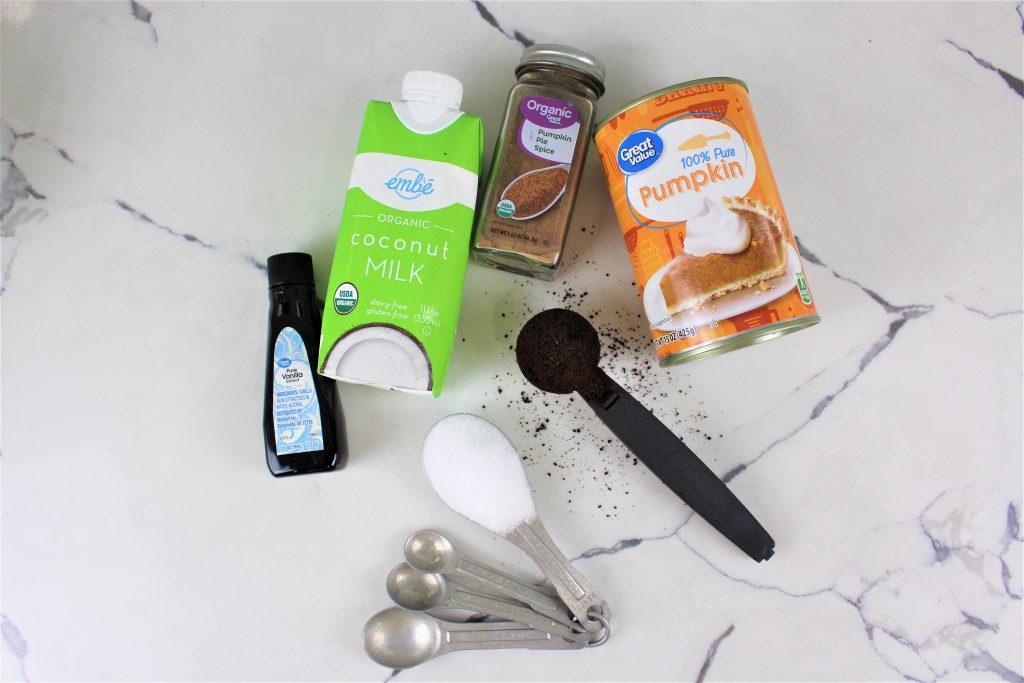
Pumpkin puree, coffee, erythritol or other granulated natural sugar-free sweetener, vanilla extract, unsweetened non-dairy milk of your choice, and pumpkin pie spice.

healthy pumpkin spice latte

You don’t have to give up your favorite fall latte to stay anti-inflammatory — you just need the right ingredients.
My free Anti-Inflammatory Diet Quick-Start Guide shows you exactly how to swap out sneaky inflammatory foods for blood-sugar-friendly ones (like this version of your PSL!).
🍂 Grab your free Quick-Start Guide and learn how to make every cozy craving work for your health.

Prepare the 2 parts of your pumpkin spice latte

First, you need to go ahead and start your coffee brewing. This will take a few minutes.

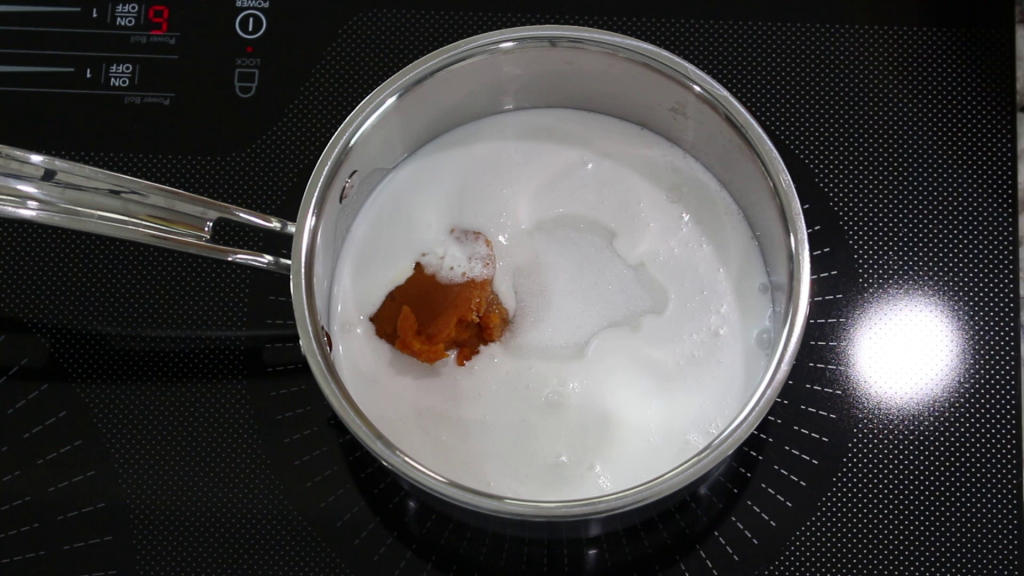
While your coffee is brewing, add that cup of nondairy milk to a small saucepan and turn it to medium heat, then add in your sweetener, and the pumpkin puree.

healthy pumpkin spice latte

And then whisk it really well until it’s all mixed together,and let it get really warm.

Then turn off your heat, add the vanilla extract and pumpkin spice, give it another good whisk…

healthy pumpkin spice latte

And then you’re ready to pour it up!

Pour it up like a barista

Put the coffee in your mug first, then pour the pumpkin milk mixture into the coffee.

healthy pumpkin spice latte

And enjoy your pumpkin spice latte that has mega anti-inflammatory ingredients WITHOUT the crazy amounts of sugar.

This Healthy Pumpkin Spice Latte proves you can sip something sweet, creamy, and comforting — without the sugar crash or inflammation spike.
Want more anti-inflammatory recipes that feel just as indulgent?
Download the free Anti-Inflammatory Diet Quick-Start Guide and start enjoying seasonal favorites that fuel your energy and calm inflammation all year long.

Print

Pumpkin Spice Latte | Anti Inflammatory, Keto, Vegan

A healthy pumpkin spice latte that won’t skyrocket your bloodsugar!

  • Author: Laura @ TRUEWELL
  • Prep Time: 5 minutes
  • Cook Time: 5 minutes
  • Total Time: 10 minutes
  • Yield: 1 1x
  • Category: Drinks
  • Method: Cooktop

Ingredients

Units Scale
  • 4 oz coffee (strong)
  • 1 cup non-dairy milk (of your choice, unsweetened)
  • 1 TBSP pumpkin puree
  • 2 tsp erythritol (to taste, or granulated natural sugar-free sweetener of choice)
  • 1 tsp vanilla extract
  • 1/4 tsp pumpkin pie spice

Instructions

  1. Brew coffee while making pumpkin milk mixture.
  2. Place a small saucepan on medium heat. Combine milk, pumpkin puree, and erythritol. Whisk together.
  3. Keep whisking until mixture is warm.
  4. Turn off heat. Add vanilla and pumpkin pie spice.
  5. Pour coffee into a mug, then pour pumpkin milk mixture into it.
  6. Enjoy!

Did you make this recipe?

Share a photo and tag us @truewell.co — we can’t wait to see what you’ve made!

healthy pumpkin spice latte

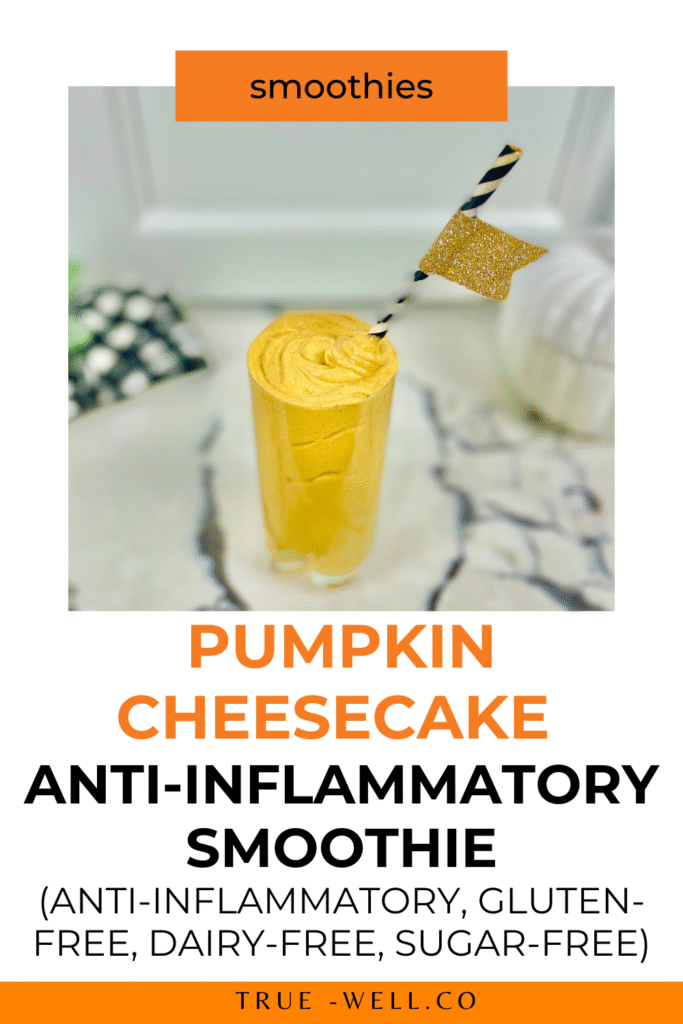
Anti Inflammatory Pumkin Cheesecake Smoothie

The Anti-Inflammatory Vegan Pumpkin Cheesecake Smoothie You’ve Been Waiting For

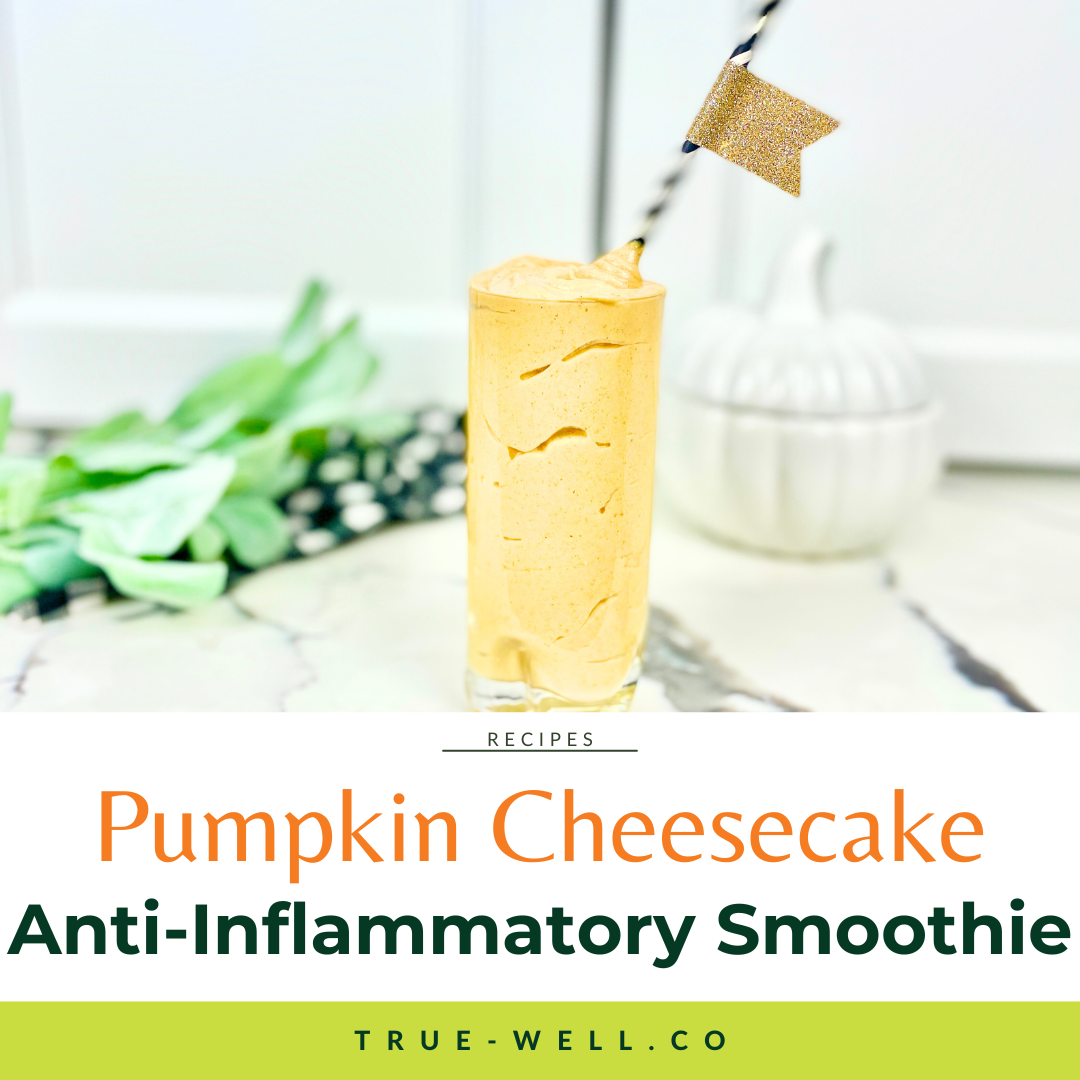
Today we’re making what tastes like dessert but is a balanced meal with a fall-inspired yummy twist: Pumpkin Cheesecake Smoothies

pumpkin cheesecake smoothie anti inflammatory vegan

So, there’s nothing better than that break in heat from the summer and smelling fall in the air, and when it comes to easy, yummy, FAST meals, you can’t beat a smoothie.

This fall-inspired, anti inflammatory Pumpkin Cheesecake Smoothie owes its anti-inflammatory balanced macro goodness to pumpkin and banana and a surprise ingredient that gives it that creamy cheesecake mouthfeel that keeps us coming back for more. 😋

When you can sip on something this creamy and know it’s anti-inflammatory, that’s a win-win.
My free Anti-Inflammatory Diet Quick-Start Guide shows you how to build more everyday meals just like this — balanced, satisfying, and healing from the inside out.
Grab your free Quick-Start Guide and start feeling your best this fall.

And here’s how you make it…

pumpkin cheesecake smoothie anti inflammatory vegan gluten free

Prep Your Ingredients

Although many smoothies are just ‘dump and blend’, this one needs two ingredients pre-frozen: a banana and the pumpkin puree.

We keep bananas that were about to go bad in a baggie in the freezer so I always have them on hand for smoothies (or ice cream). But the pumpkin puree is a different story.

For this smoothie I measured out the pumpkin puree and placed it on a silmat and put it in the freezer. (This should freeze for about 30 minutes to an hour.)

pumpkin cheesecake smoothie anti inflammatory vegan gluten free

Dump and Blend

Once those 2 ingredients are frozen you’re free to dump them all in a high-powered blender (my choice is the Ninja), including our secret ingredient that we use instead of cream cheese: Silken tofu.

(Some links may be affiliate links, meaning if you click on and then purchase, I’ll get a portion of the proceeds, at no additional charge to you.) 🙂

Ninja All-In-One System

Ninja All-In-One System

Now, if you’ve never eaten or used tofu before, settle down. I used to avoid it like the plague because of all the bad press soy has gotten over the years. The truth is that it’s full of vegan (complete) protein, fiber, and healthy fat.

The reason some soy isn’t considered healthy is because if it’s NOT organic, it’s laden with chemicals, and the soy oil is extremely oxidized.

So choose organic and you’re good to go!

Also, if you can’t find silken (which is a much softer version), you can still use medium or firm, you may just have to add a few TBSP of water and blend longer for it to get super smooth.

Blend all your ingredients until super smooth (scraping the insides of the blender if needed).

pumpkin cheesecake smoothie anti inflammatory vegan gluten free

Then pour it up and enjoy!

pumpkin cheesecake smoothie anti inflammatory vegan gluten free
Print

Pumpkin Cheesecake Smoothie

The Anti-Inflammatory Vegan Cheesecake Smoothie You’ve Been Waiting For

  • Prep Time: 5 minutes
  • Total Time: 5 minutes
  • Yield: 1 1x

Ingredients

Units Scale
  • 8 oz tofu (silken)
  • 1 banana (frozen, small)
  • 1/2 cup pureed pumpkin (frozen for 30 min – 1 hour beforehand)
  • 1/4 cup unsweetened almond milk (or other non-dairy alternative)
  • 2 TBSP lemon juice (about 1/2 a lemon, juiced)
  • 1 tsp cinnamon

Instructions

  1. Freeze pureed pumpkin beforehand for 30 min – 1 hour.
  2. Add all ingredients to a high powered blender.
  3. Blend until super smooth. Pour into a glass and enjoy!

Notes

Fat: 11

Carbs: 43

Fiber: 11

Protein: 22

Nutrition

  • Calories: 323

Did you make this recipe?

Share a photo and tag us @truewell.co — we can’t wait to see what you’ve made!

Make sure you COMMENT BELOW on how you like it any substitutions you may have made!

*And don’t forget to PIN it or SHARE! 💖

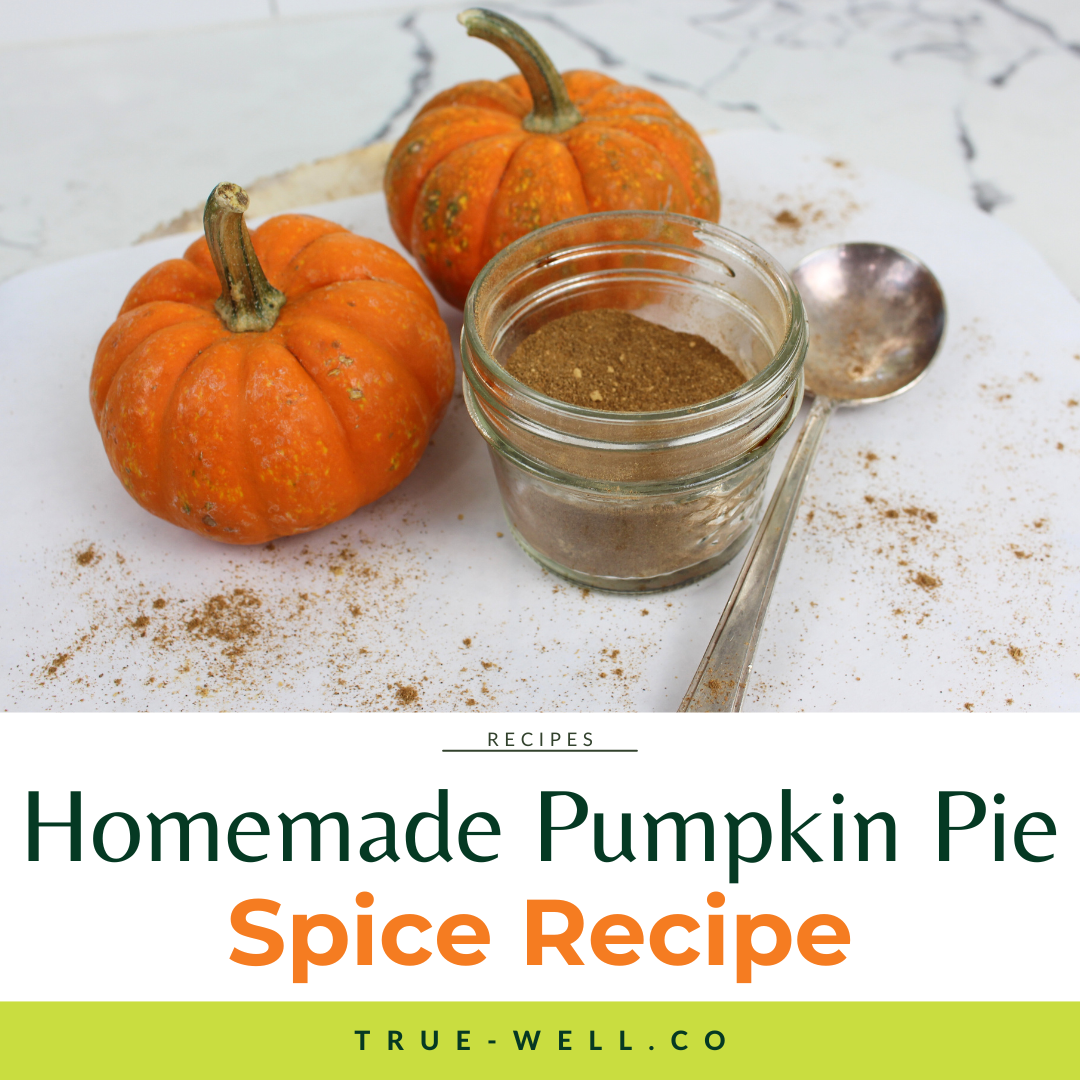
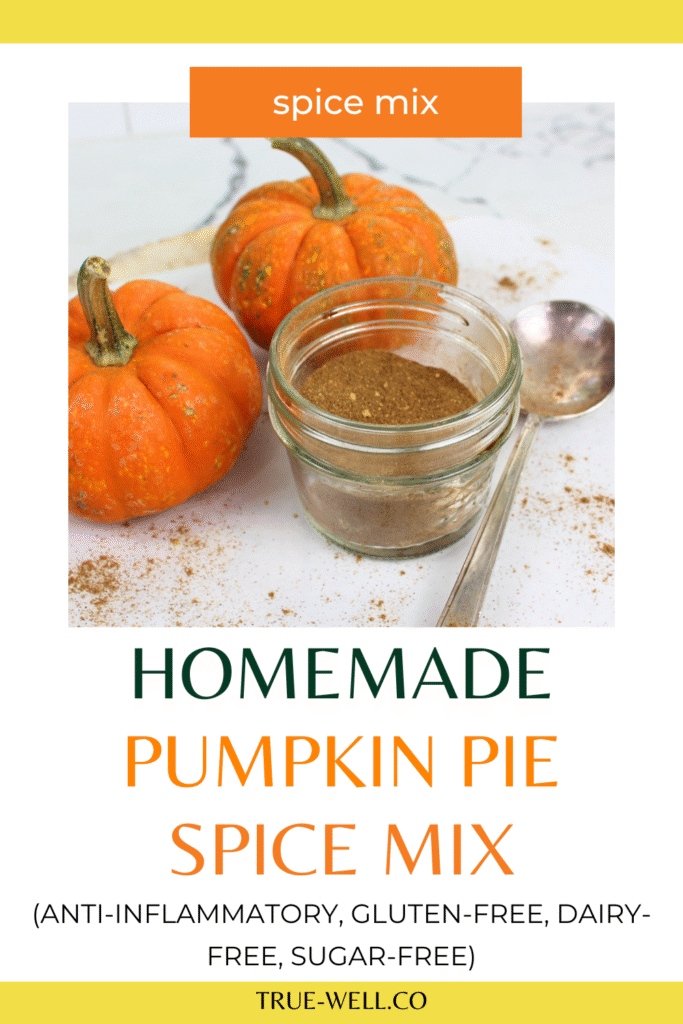
Homemade Pumpkin Pie Spice Mix Recipe

If you’re all in on the anti-inflammatory diet, and it’s finally fall, then Pumpkin Spice Mix definitely needs to be one of your pantry staples.

Not only is it delicious, but it’s also made of super anti-inflammatory ingredients.

homemade pumpkin pie spice mix recipe

So, what happens regularly around our house is that I’m looking for my spice mix, and…. It’s been all used up by my kids, and they also conveniently forget to tell me we’re out of it.

So I started keeping spice mix recipes so I can make my own any time that happens.

Here’s how to make your own pumpkin spice mix to keep in your pantry.

homemade pumpkin pie spice mix recipe

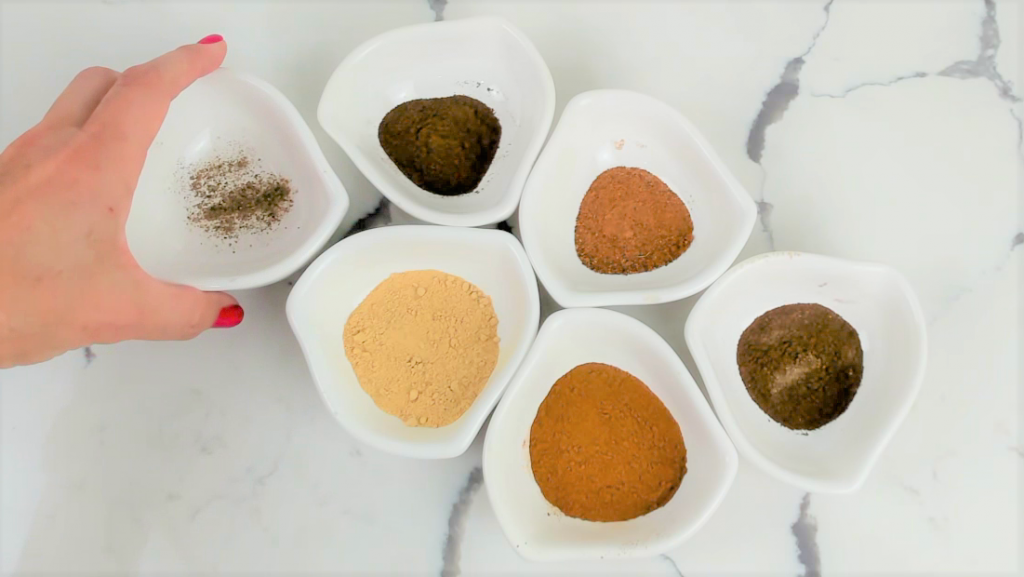
Our ingredients are :

  • Ground cinnamon
  • Ground ginger
  • Ground nutmeg
  • Ground cloves
  • Ground allspice
  • And our last surprise ingredient is a pinch of ground black pepper.

The reason I love adding in ground black pepper is that all the other spices already have mega anti-inflammatory properties, but black pepper has a compound in it that boosts absorption of the nutrients in the other ingredients.

Love that cozy pumpkin spice flavor — but want it to love you back?
Grab my free Anti-Inflammatory Diet Quick-Start Guide to learn how to use everyday ingredients (like this spice blend!) to calm inflammation, balance blood sugar, and boost energy naturally.
🍁 Download your free Quick-Start Guide and turn every recipe into a feel-good one.

When I make spice mixes, I like to just use a measuring cup that has a spout so I can pour it into the container without a funnel.

homemade pumpkin pie spice mix recipe

So I add all the spices into the measuring cup, no special order, then stir really well. You want to make sure to get everything mixed really really well, then pour into your storage container.

homemade pumpkin pie spice mix recipe

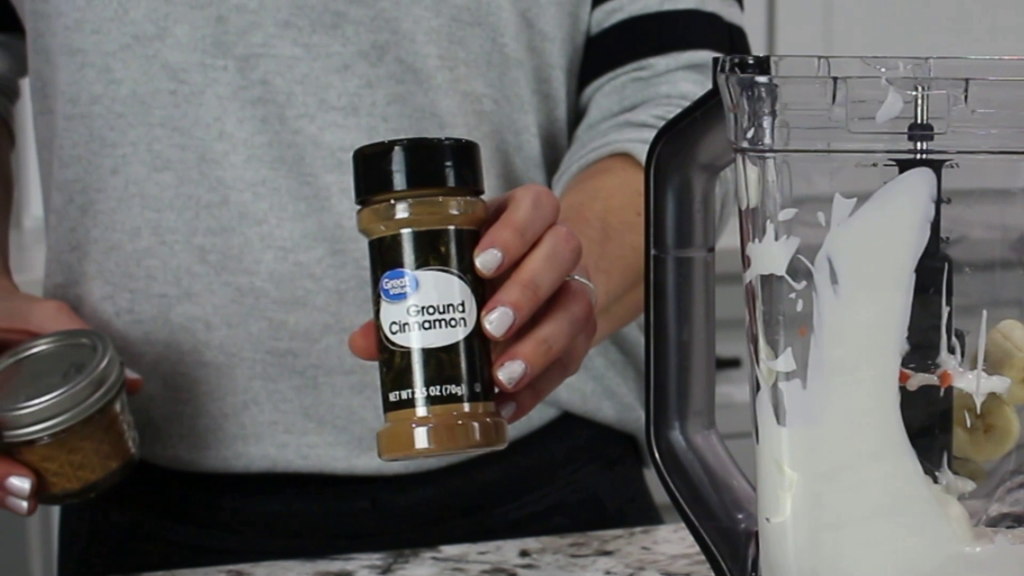
This spice mix is perfect in any recipe that calls for pumpkin pie spice mix, like pumpkin smoothies, pumpkin seed granola, pumpkin muffins, and even pumpkin pie.

Anti-Inflammatory Recipes I use this Homemade Pumpkin Pie Spice mix in:

Healthy Pumpkin Spice Latte

THE Fall Pumpkin Spice Superfood Smoothie

Cozy Keto Pumpkin Muffins

Print

Homemade Pumpkin Pie Spice Recipe

5 Stars 4 Stars 3 Stars 2 Stars 1 Star

No reviews

  • Prep Time: 5 minutes
  • Total Time: 5 minutes
  • Yield: 4 1x
  • Category: Breakfast, Dessert, Snack

Ingredients

Scale
  • 3 TBSP ground cinnamon
  • 2 tsp ground ginger
  • 2 tsp ground nutmeg
  • 1 1/2 tsp ground cloves
  • 1 1/2 tsp ground allspice
  • 1/8 tsp ground black pepper (a pinch)

Instructions

  1. Mix all ingredients in a small bowl. Make sure to mix thoroughly.
  2. Pour into storage container.
  3. Use in any recipe that calls for ‘pumpkin pie spice mix’.
  4. Store indefinitely in a cool, dark pantry.

Did you make this recipe?

Share a photo and tag us @truewell.co — we can’t wait to see what you’ve made!

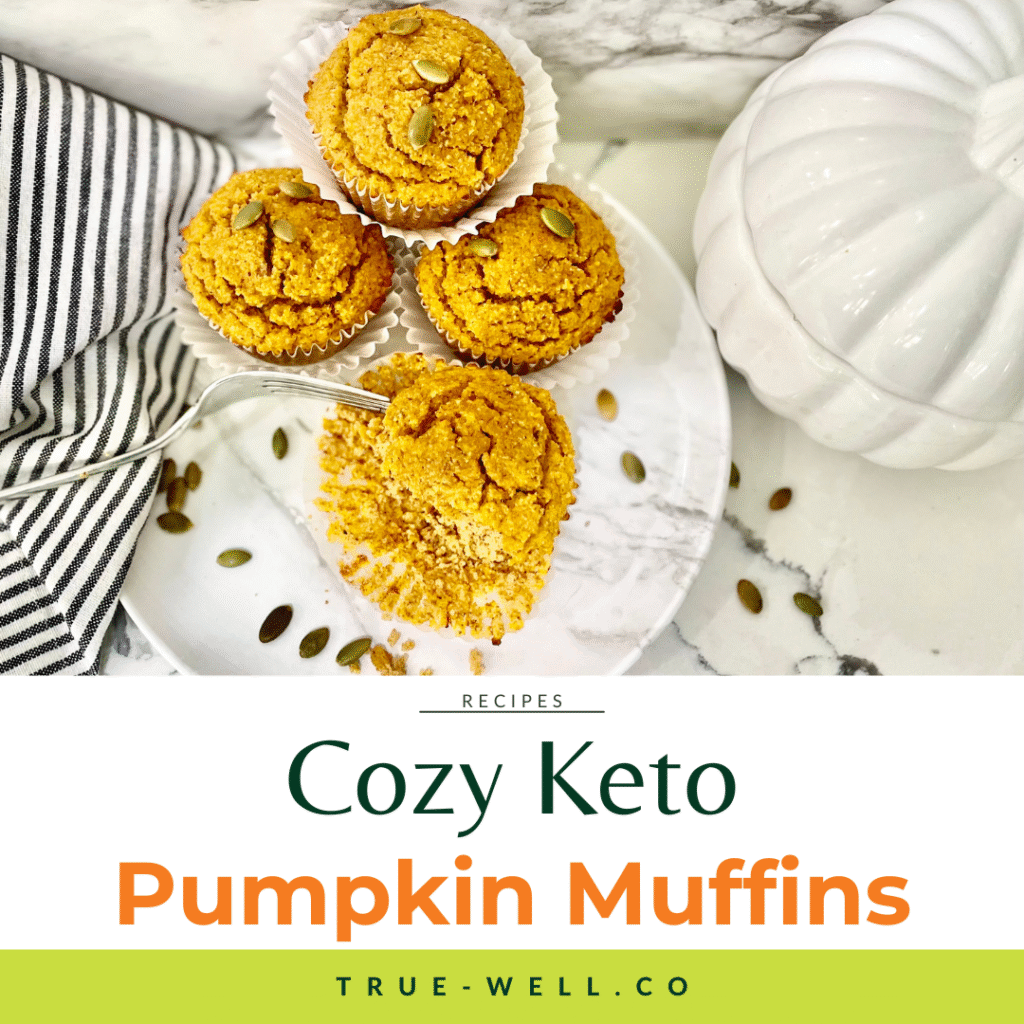
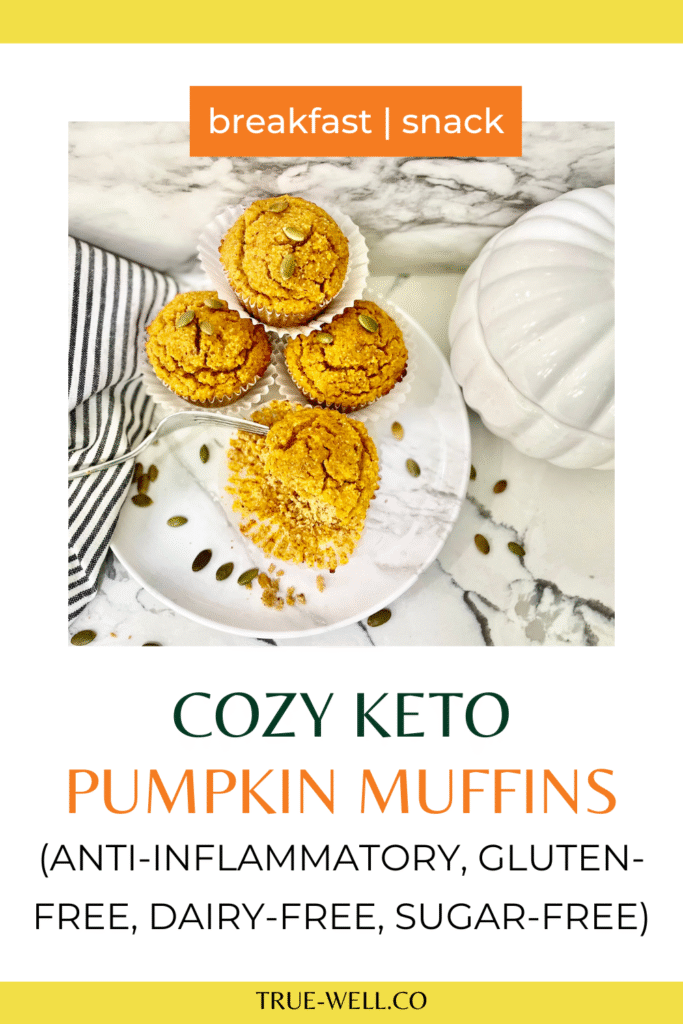
Cozy Keto Pumpkin Muffins

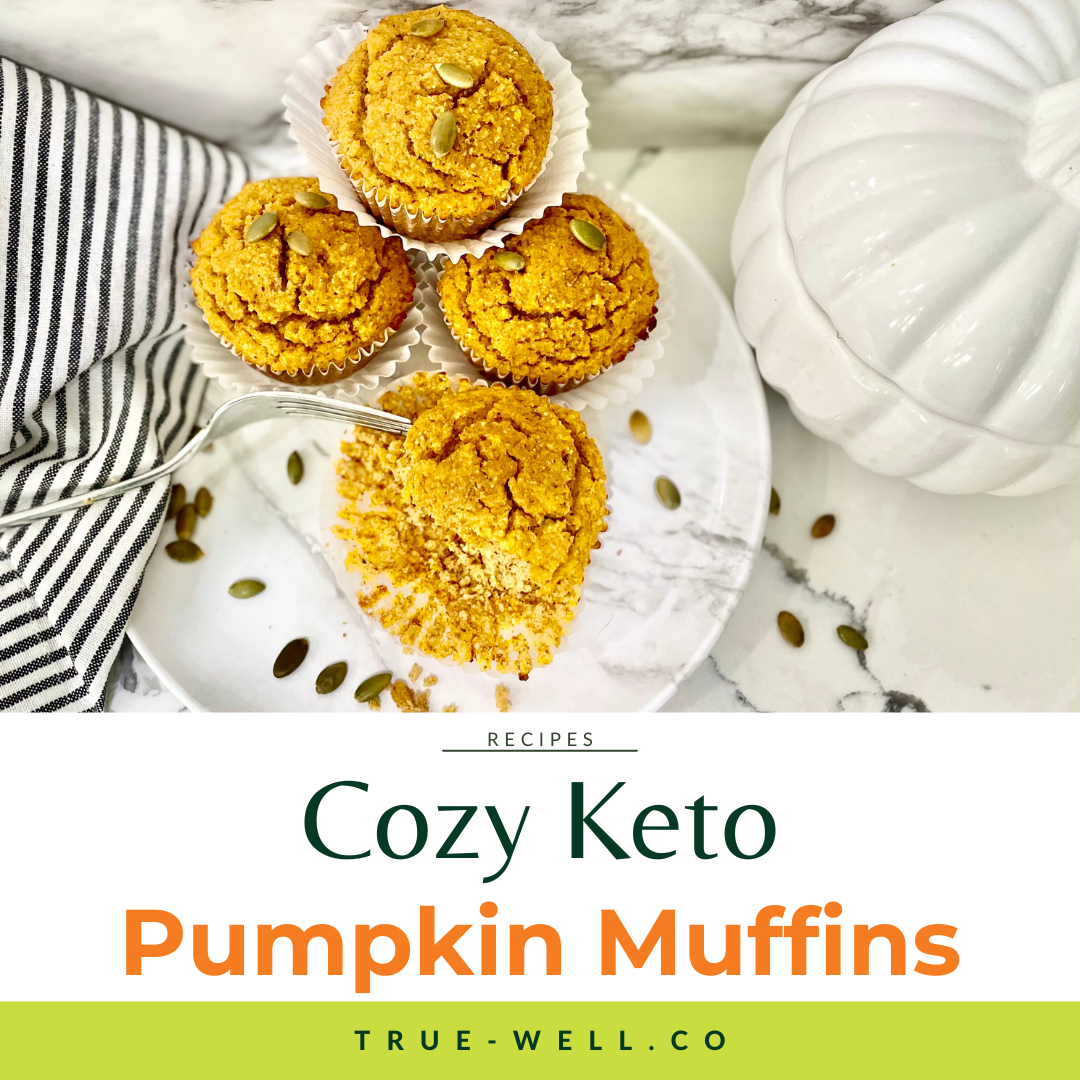
When it’s fall everybody goes bonkers for pumpkin spice, and these keto pumpkin muffins, which are anti-inflammatory, gluten-free, and sugar-free, should definitely be in your saved + often-used recipe collection.

keto pumpkin muffins

And I get it–it’s (hopefully where you live) starting to cool down for fall, and that crisp snuggly feeling should be crankin’ up!

The only thing is… when we think of ‘cozy’ things, it usually veers in dramatically different directions: Either heavier soups and stews (savory), or warm, sweet breads (sweets direction).

Lucky for you, I’ve got the sweet covered with a fiber-filled, pumpkin-spice loaded muffin that is sugar-free, and also has the added benefit of being a great after-dinner snack (if you add on the pumpkin seeds–they contain melatonin. 😉)

Check out seasonal anti-inflammatory foods for fall HERE.

keto pumpkin muffins

Now, I know some of us like stevia, some prefer erythritol, some like monk-fruit, and on and on. So I put 2 options in the directions to accommodate for either choice, because that one option will determine baking time.

So warm up some unsweetened coconut (or almond) milk and enjoy! 🍂

If you love comfort food but want to keep inflammation and cravings in check, this is your sign.
The free Anti-Inflammatory Diet Quick-Start Guide walks you through the exact foods that balance blood sugar, calm inflammation, and still let you enjoy treats like these keto muffins guilt-free.
🌿 Download your free Quick-Start Guide and make cozy anti-inflammatory living easy.

Print

Cozy Keto Pumpkin Muffins

5 Stars 4 Stars 3 Stars 2 Stars 1 Star

No reviews

These cozy keto pumpkin muffins are anti-inflammatory, gluten-free, will satisfy your sweet tooth and can even help with sleep!

  • Author: Laura @ TRUEWELL
  • Prep Time: 15 minutes
  • Cook Time: 27 minutes
  • Total Time: 42 minutes
  • Yield: 6 muffins 1x
  • Category: Breakfast, Dessert, Snack

Ingredients

Units Scale
  • 4 eggs (large)
  • 1/2 cup pumpkin puree, canned
  • 2 tsp pure vanilla extract
  • 4 TBSP coconut oil (melted)
  • 1 tsp stevia liquid (OR 1/3 cup erythritol (Swerve brand works great))
  • 2 tsp pumpkin pie spice mix
  • 1/4 tsp salt
  • 6 TBSP coconut flour
  • 1 tsp baking powder
  • 1/4 cup pepitas, for topping (optional)

Instructions

  1. Preheat oven to 350 F + prepare pan. Preheat oven to 350 F. Line your muffin tin with liners (paper tend to stick unless you spray with oil).
  2. Mix wet ingredients + spices. Whisk together eggs, pumpkin, vanilla, stevia (or erythritol), coconut oil, cinnamon, and nutmeg in a medium-sized bowl.
  3. Mix dry ingredients. In a small bowl, mix together the coconut flour, salt, and baking powder. Then whisk into the pumpkin batter.
  4. Pour batter into muffin papers. Evenly divide the mixture in the 6-muffin tin cups.
  5. Bake based on type of sweetener used. Bake 22-25 minutes (using stevia as the sweetener), or (27-29 minutes using erythritol as the sweetener).
  6. Test if done. Muffins are ready when a toothpick comes out clean.
  7. Remove, cool + enjoy! Pop muffins onto a towel or cooling rack, and let them cool completely for optimal fluffy texture.

Nutrition

  • Calories: 156

Did you make this recipe?

Share a photo and tag us @truewell.co — we can’t wait to see what you’ve made!

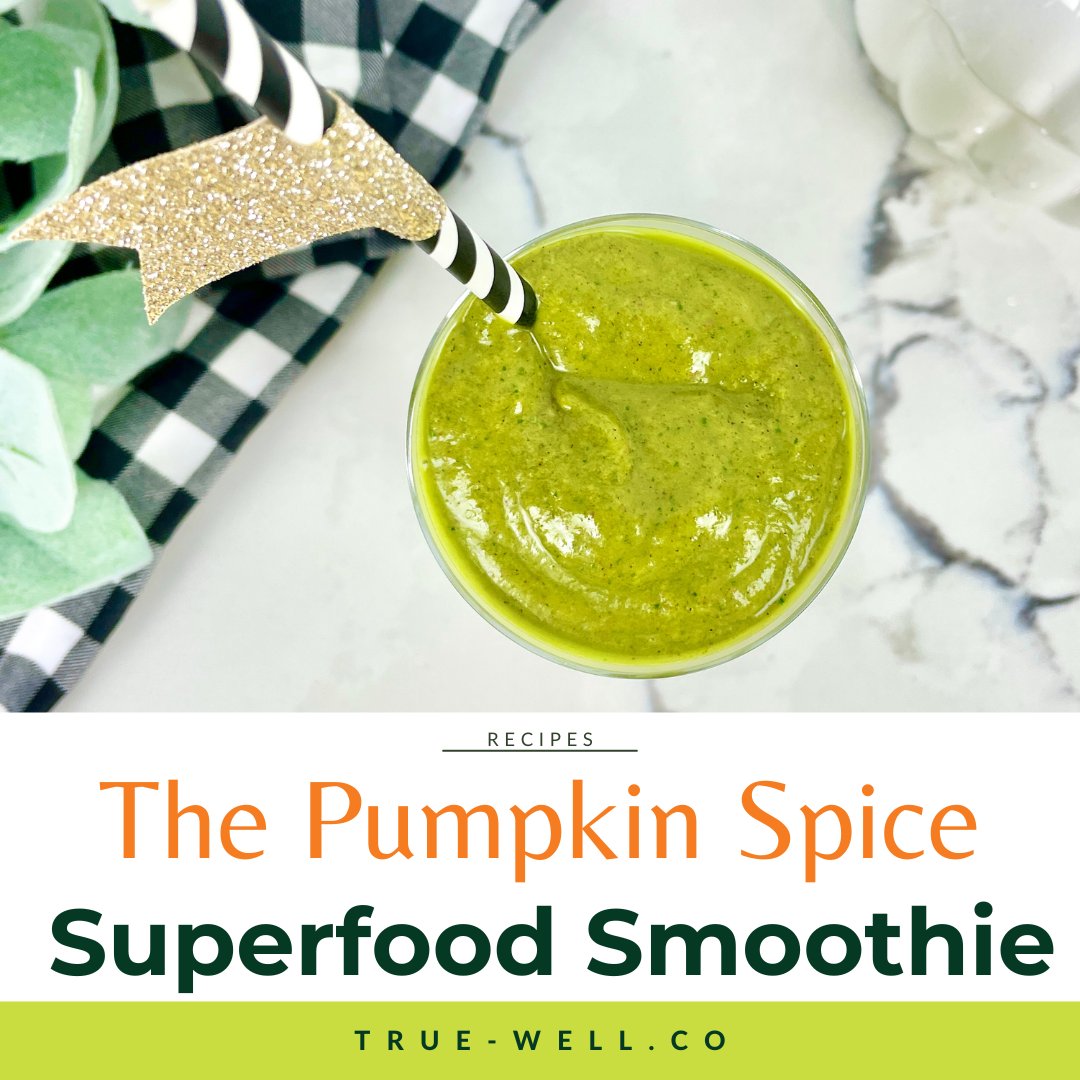
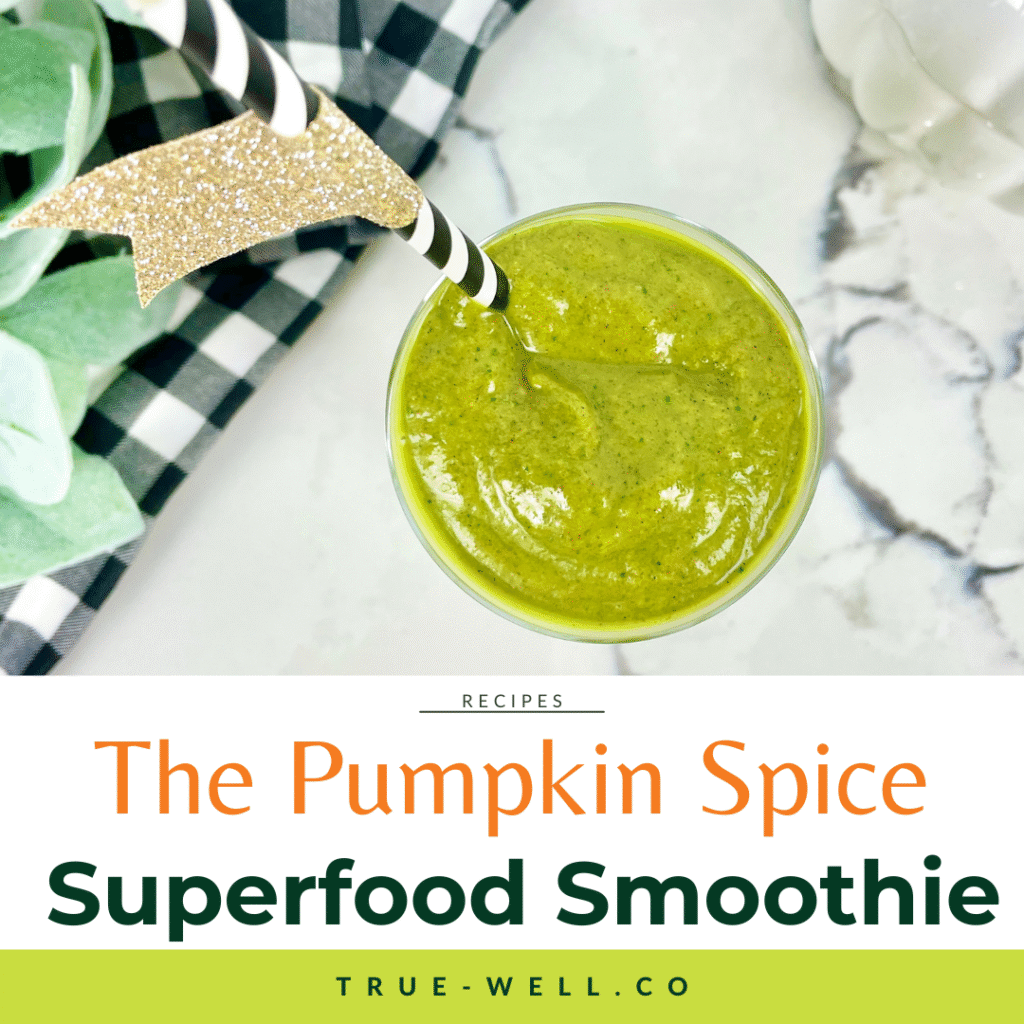
THE Fall Pumpkin Spice Superfood Smoothie

Your New Go-To Fall Anti-Inflammatory Smoothie

There’s nothing better than that break in heat from the summer and smelling fall 🍂 in the air, and when it comes to easy, yummy, FAST meals, you can’t beat a smoothie— And if you love pumpkin spice as much as I do, you’re gonna love this!

pumpkin spice superfood smoothie anti inflammatory

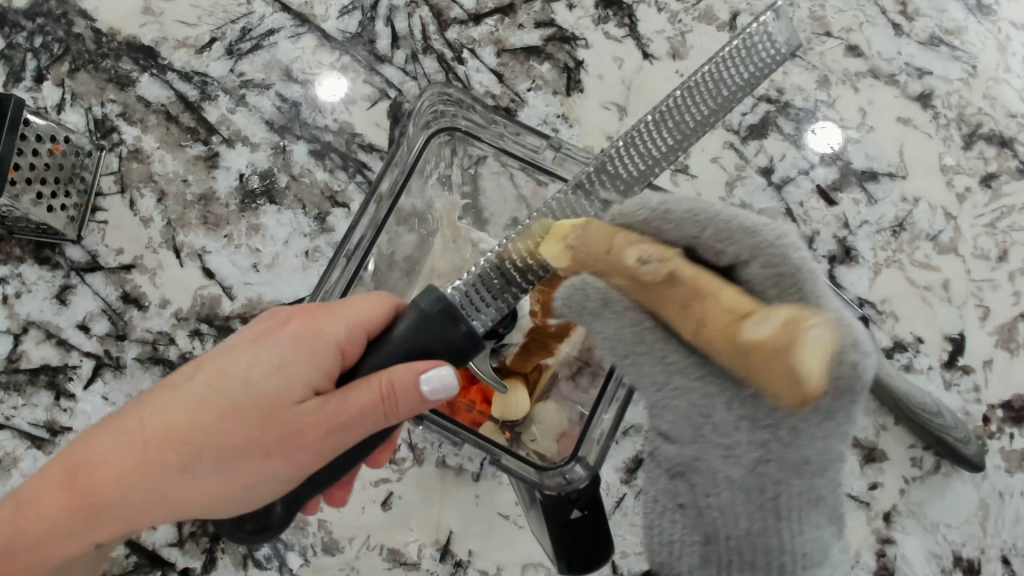
So this fall-inspired, Anti Inflammatory Pumpkin Spice Smoothie (that is a mouthful!)—is packed with anti-inflammatory goodness like pumpkin, avocado, spinach, and ginger, and I have a feeling it’s gonna become your GO TO smoothie for fall from now on.

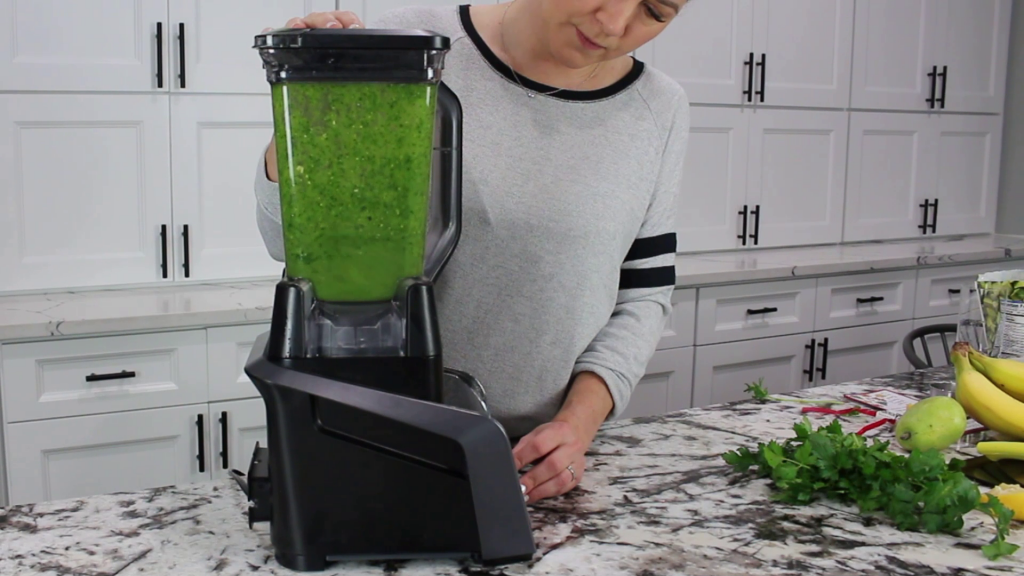
Now, as much as I’d like this to be a gorgeous pumpkin color, as with all smoothies that have greens added…it’s green. But this absolutely doesn’t detract from it’s yumminess–pinky promise.

And here’s how you make it:

Step 1: Gather your ingredients

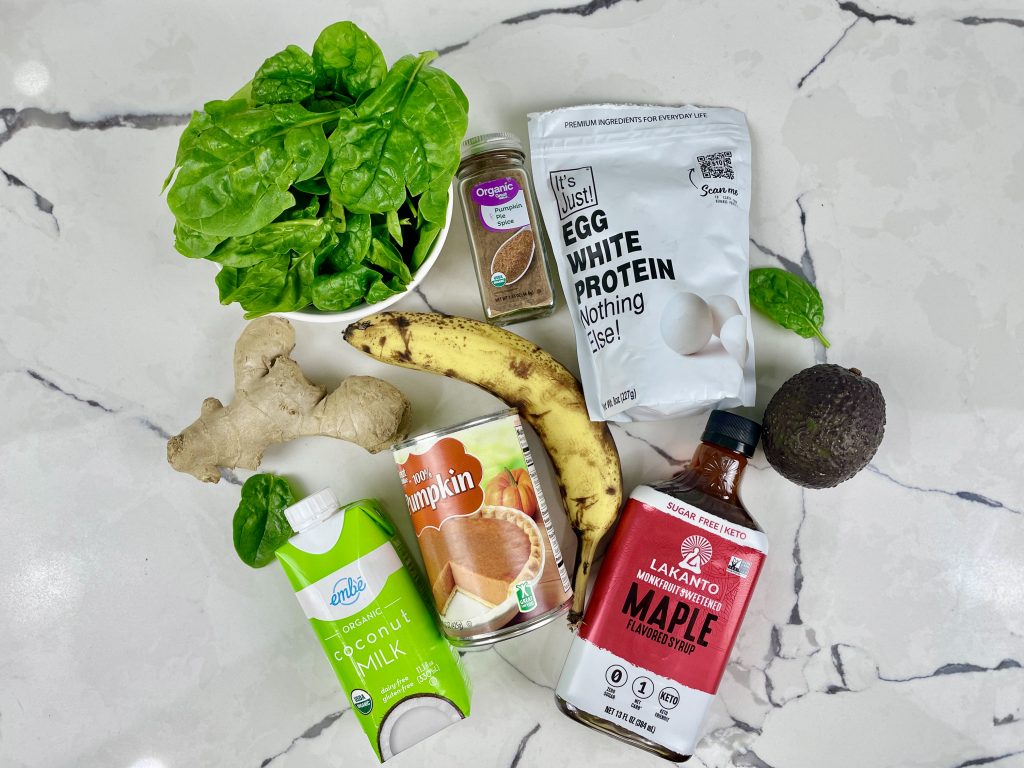
This smoothie is made with pumpkin, banana, avocado, spinach, ginger, pumpkin pie spice, ginger, nondairy milk, egg white powder, and keto maple syrup.

pumpkin spice superfood smoothie anti inflammatory

Love fall flavors and feeling amazing after you eat?
Grab my free Anti-Inflammatory Diet Quick-Start Guide to learn how to turn cozy seasonal favorites (like this pumpkin spice smoothie!) into meals that naturally balance blood sugar and fight inflammation.
🍁 Get your free Quick-Start Guide here and start feeling your best this season.

Step 2: Put them all in the blender

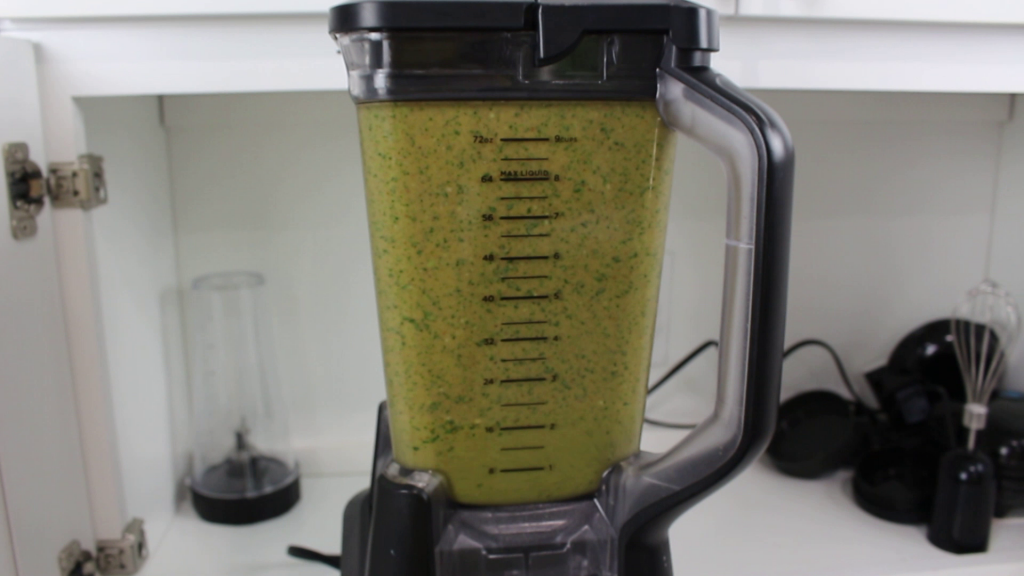
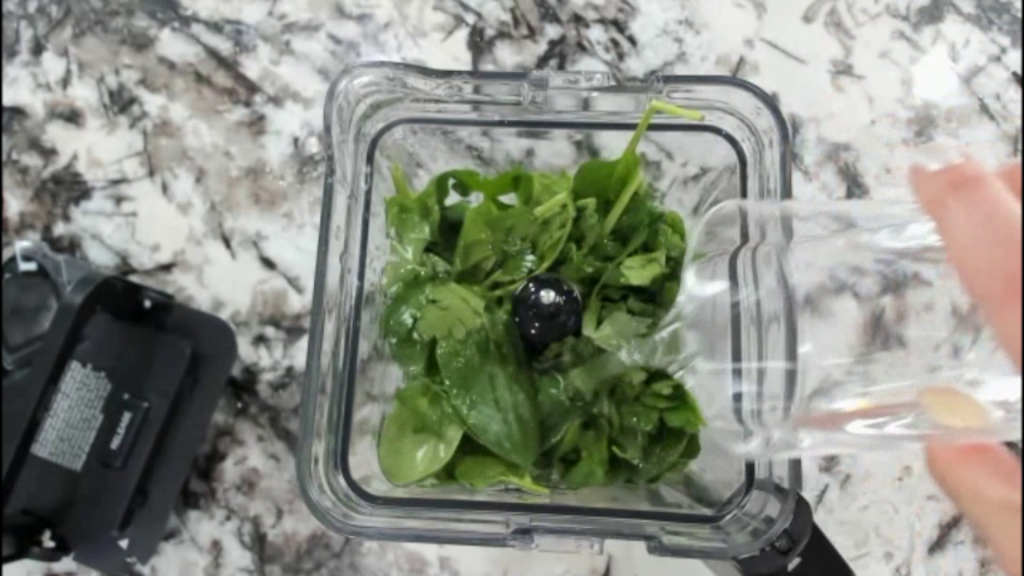
Honestly this is why smoothies are so darn easy. You just put them all in the blender at once.

pumpkin spice superfood smoothie anti inflammatory

The one caveat for this smoothie (I’d suggest) is to hold off on the egg white powder until everything else is nice and smooth, because it can make it thicker.)

A high-powered blender is always recommended, like this Ninja, or if you want to spend more, the Vitamix is a favorite for a higher price tag.

(Some links may be affiliate links, meaning if you click on and then purchase, I’ll get a portion of the proceeds, at no additional charge to you.) 🙂

Ninja All-In-One System

Ninja All-In-One System

Step 3: Assess thickness

If your smoothie is having a hard time blending, you may need to add a little more liquid to it. If it gets too thick it can’t run back down to the bottom where the blades are doing their thang.

pumpkin spice superfood smoothie anti inflammatory

Step 4: Assess sweetness

I always like to do a little taste-test and just make sure the sweetness is where I like it. If it needs more, I add a tiny bit at a time. If there’s no sweetener in the recipe, I add a natural zero calorie sweetener like liquid stevia, monk fruit, or erythritol.

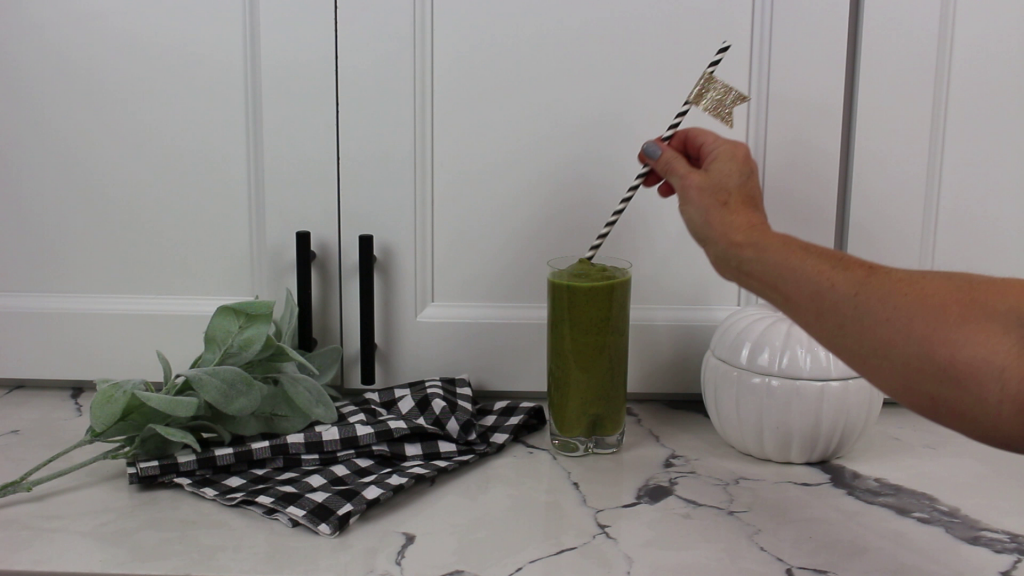
Step 5: Pour it up + enjoy!

In all honesty, sometimes smoothies make way more than I can handle in one sitting. So if it’s a bit too much, just store it in the fridge for up to a day.

pumpkin spice superfood smoothie anti inflammatory

Love fall anti-inflammatory recipes? Check out my Fall Anti-Inflammatory Meal Prep Session where I prep for 4+ meals in an hour! CLICK HERE to read!

And here’s the printable recipe:

Print

The Pumpkin-Spice Superfood Smoothie: Your New GO TO Fall Smoothie

5 Stars 4 Stars 3 Stars 2 Stars 1 Star

No reviews

An anti-inflammatory green smoothie made with fall superfoods.

  • Author: Laura @ TRUEWELL
  • Prep Time: 5 minutes
  • Total Time: 5 minutes
  • Yield: 1 1x
  • Category: Breakfast, Snack
  • Method: Blender

Ingredients

Units Scale
  • 1/2 cup pumpkin puree
  • 1/2 banana (frozen)
  • 1/2 avocado
  • 2 cups baby spinach (fresh)
  • 1 tsp pumpkin pie spice
  • 1/4 piece ginger (fresh, grated)
  • 1/2 cup non-dairy milk (unsweetened)
  • 1/4 cup keto maple syrup (I used Lakanto brand)
  • 2 TBSP egg white powder (or plant-based plain protein powder)

Instructions

  1. Place all ingredients into a high-powered blender.
  2. Blend until smooth.
  3. If too thick, add a few TBSP of water at a time, or 4-5 ice cubes.
  4. Taste test to determine if sweet enough.
  5. Pour into a large glass and enjoy!

Notes

Per serving:

Fat- 9g

Carbs-40g

Fiber-7g

Protein-12g

Nutrition

  • Calories: 267

Did you make this recipe?

Share a photo and tag us @truewell.co — we can’t wait to see what you’ve made!

Every ingredient you add to your blender can either feed inflammation or fight it.
My free Anti-Inflammatory Diet Quick-Start Guide shows you exactly how to choose the right ones — so every smoothie, meal, or snack helps you lower inflammation and boost energy naturally.
🎃 Download your free Quick-Start Guide and start blending smarter today!

PIN it or SHARE! 💖

Anti-Inflammatory Overnight Oats

Overnight oats can be a total game-changer for breakfast — quick, delicious, and perfect for busy mornings.

But here’s the thing: not all overnight oats recipes are created equal. Many recipes are loaded with sugar and fillers that can actually fuel inflammation instead of fighting it.

That’s why this version is different — no added sugar, anti-inflammatory add-ins, and a trick that makes it more blood sugar-friendly, too.

💡 Stop Guessing Which Breakfast Foods Trigger Inflammation.

My Anti-Inflammatory Quick Start Guide shows you:

  • 10 foods to swap first
  • Simple, ready-to-use shopping list
  • 4-step method to personalize your anti-inflammatory diet

👉 Yes! Send Me the Quick Start Guide →

anti inflammatory overnight oats

It is, however, a little harder to find one that’s sugar-free, as sugar is inflammatory. That’s why this basic overnight oats recipe is just as yummy, but without any added sugars.

So before I get into the recipe and how to make overnight oats, I want to talk about what exactly makes these overnight oats an anti-inflammatory recipe so you can do the same, no matter which flavor variation you make at home.

What Makes Overnight Oats Anti-Inflammatory?

There are three big factors that turn a basic overnight oats recipe into an anti-inflammatory one.

1. What You Leave Out

Skip the inflammatory extras you’ll find in many instant oat packets:

  • Added sugars
  • Artificial colorings and flavors
  • Preservatives
  • Low-quality, oxidized oils

By starting with plain, minimally processed oats and no added sugar, you’re already ahead of the game.

💡 Want a full list of pantry swaps to instantly make your meals more anti-inflammatory? Grab my Quick Start Guide here.

2. How You Prepare Anti-Inflammatory Overnight Oats

Oats are a carbohydrate, and how they’re cut — and how you prepare them — affects how quickly they spike your blood sugar.

For traditional overnight oats, you simply soak them in liquid overnight — but with this tweak, you get even more metabolic benefits.

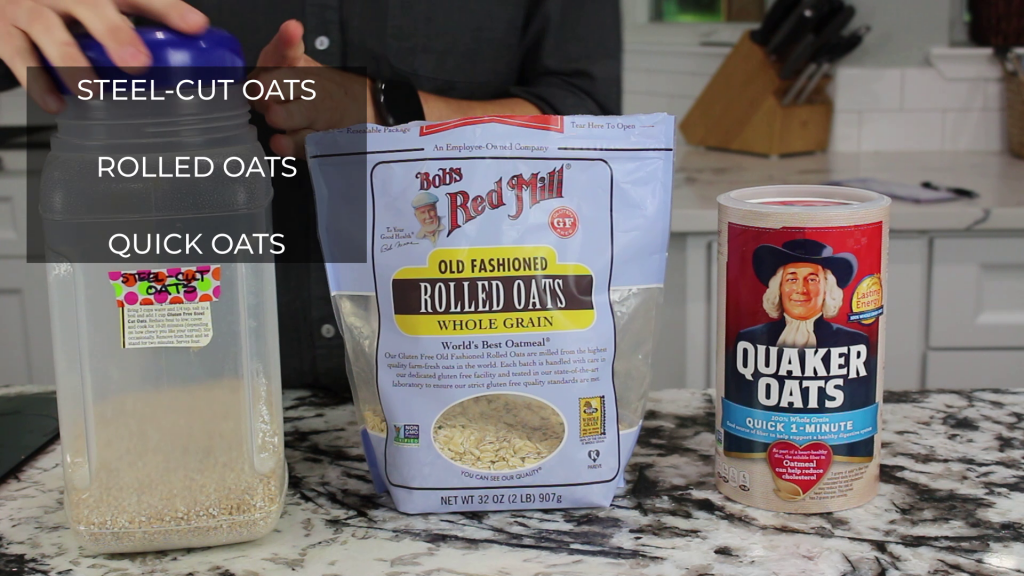
different types of oats on a countertop

3. What You Add In

Here’s where you can turn a simple breakfast into an anti-inflammatory powerhouse:

Great add-ins:

  • Cinnamon (may help lower blood sugar)
  • Turmeric or ginger (natural anti-inflammatory spices)
  • Lower-sugar fruit like berries
  • Chopped nuts (almonds, macadamia, walnuts) for healthy fats and crunch

Healthier Micro-Action: Choose at least one spice and one healthy fat add-in every time you make this recipe.

Discover My Unique 4-Pronged Approach to the Anti-Inflammatory Diet So You Can Get Started Immediately (Without Getting Overwhelmed or Cleaning Out Your Entire Pantry)

  • Why a full-scale pantry clean out is NOT the best way to start your anti-inflammatory journey, and the steps you can take instead to make sure you’re fueling your body with foods that love you back
  • The essential foods you MUST add into your diet if you want to nourish and heal your body naturally
  • My anti-inflammatory shopping list so you can quickly fill your cart with the right foods (no googling in the produce aisle or wasting hours staring at ingredient lists)

GET YOUR FREE 

ANTI-INFLAMMATORY

👇 QUICK-START GUIDE! 👇

So let’s jump into how to make overnight oats to keep them anti-inflammatory and insulin friendly.

Basic recipe ingredients list for anti inflammatory overnight oats

Anti-Inflammatory Overnight Oats Ingredients

The typical ingredients in a basic overnight oats recipe are:

  • ½ cup oats (steel-cut or rolled)
  • ½ cup milk (unsweetened dairy or non-dairy)
  • ¼ cup plain yogurt (Greek or unsweetened dairy-free)
  • 1 Tbsp chia seeds
  • ½ tsp vanilla extract (real, not imitation)
  • Pinch of salt
  • Natural sweetener (stevia, monk fruit, erythritol, or allulose)
  • Anti-inflammatory add-ins (cinnamon, turmeric, berries, nuts)
  • Note: Oats are naturally gluten-free, but choose certified gluten-free to avoid cross-contamination.

Remember, the more intact the oats are, the better for your blood sugar levels.

Your options for oats are :

Steel cut, rolled, and quick oats. (Oat groats is the least refined version, and they have a bit the same texture as steel-cut).

📄Read all about Types of Oats and How to Choose Oats HERE.

You can see the difference in texture here, and if you’ve had any experience with oats and oatmeal you’ll know that the thinner the cut, the more mushy they can get.

different types of oats you can use in anti inflammatory overnight oats

Per anti-inflammatory diet basics, whole or partially cracked grains are acceptable because of those lower blood sugar hits, so I recommend using oat groats, steel-cut, or rolled (in that order).

As far as them being gluten free, oats are inherently gluten free, however, cross contamination is really frequent with oats, so I recommend getting oats that are labeled as gluten-free if you have celiac or a severe gluten intolerance.

gluten free oats package

Directions for Preparing Anti-Inflammatory Overnight Oats

1. Cook oats first (optional but recommended):

For this overnight oats recipe, we use ½ cup of oats.

**Now one thing to note in CASE you don’t have the correct type of oats and want to use up what you have is that there are different calorie and macro counts for the different types of oats because of the difference in their denseness.

adding oats to a meal prep container to make anti inflammatory overnight oats

So you want to make sure you match those if you are counting calories or macros for your weight.

2.Combine ingredients

Next, we add milk.

Not everyone *needs* to go dairy-free to follow an anti-inflammatory diet as the guidelines of anti-inflammatory dictate that it’s unique to each person after eliminating foods KNOWN to be inflammatory to all humans.

So, obviously, don’t use cow’s milk if you’re lactose intolerant, If you’re allergic, and if you’re adapting this recipe to be a vegan breakfast.

adding milk to a meal prep container to make anti inflammatory overnight oats

There are a ton of other non-dairy options.

However, make sure you find one that is sugar-free. The label will say ‘Unsweetened’, and try to find one with as few fillers and thickeners as possible.

Many people react to these and some people even end up making their own nut milks because of this.

We’ll need ½ cup of milk.

Next we’ll add yogurt. Again—if you’re fine with dairy, choose a plain, unsweetened yogurt (preferably organic).

adding yogurt to a meal prep container to make anti inflammatory overnight oats

I prefer Greek, and if you’re dairy-free or vegan, coconut milk yogurt or any other dairy-free option is fine as long as it’s plain and unsweetened.

Chia seeds are our next add-in. Chia seeds are great because they’re high in protein and healthy fat, can help lower LDL cholesterol, and they also help blunt that blood sugar spike.

chia seeds that have been soaked, in a bowl

And when they have moisture, the seed has sort of a gelatinous coating that helps us feel full, they give a tiny bit of a crunch.

Next we’re adding in vanilla extract. Just make sure this is REAL vanilla extract, not imitation as that’s an artificial flavoring.

The vanilla flavor goes with practically any flavor profile that you want to create, unless it’s a savory flavor, and it helps add to the overall sweetness factor.

So speaking of sweetness, let’s talk sweeteners.  Although there ARE savory flavors of overnight oats, most recipes are for sweeter versions. Since we’re eliminating sugar per anti-inflammatory diet guidelines, we can use zero calorie natural sweeteners.

Artificial sweeteners are terrible for your gut health, among other things, so we’re gonna steer clear of those.

I know many people will still insist on using natural sweeteners that do have sugar like honey or maple syrup. Those sweeteners are allowed in a Paleo diet, which is considered one type of anti inflammatory diet, so you use your own judgement for your own body.

natural zero calorie sweeteners you can use in anti inflammatory overnight oats

If you are trying to lose weight or reduce chronic inflammation, I recommend steering clear even of those natural sweeteners daily, and instead using stevia, monk fruit, erythritol, or allulose.

📄Read all about Choosing the Best Sugar Substitute for Your Body HERE.

Next we add salt. In all honesty, oats can sometimes taste a little like cardboard if you don’t know how to prepare them.

Salt livens up that plain grain flavor 💃, but it also adds a counter balance to the sweetness. So don’t forget to add in a pinch or two of salt.

And last is the anti-inflammatory add-ins.

Cinnamon has been shown to lower blood sugar, so it’s a perfect add-in if you have insulin resistance or are trying to lose weight.

Turmeric and ginger have a bit of a bite, but are perfect for helping to lower chronic inflammation as well. 

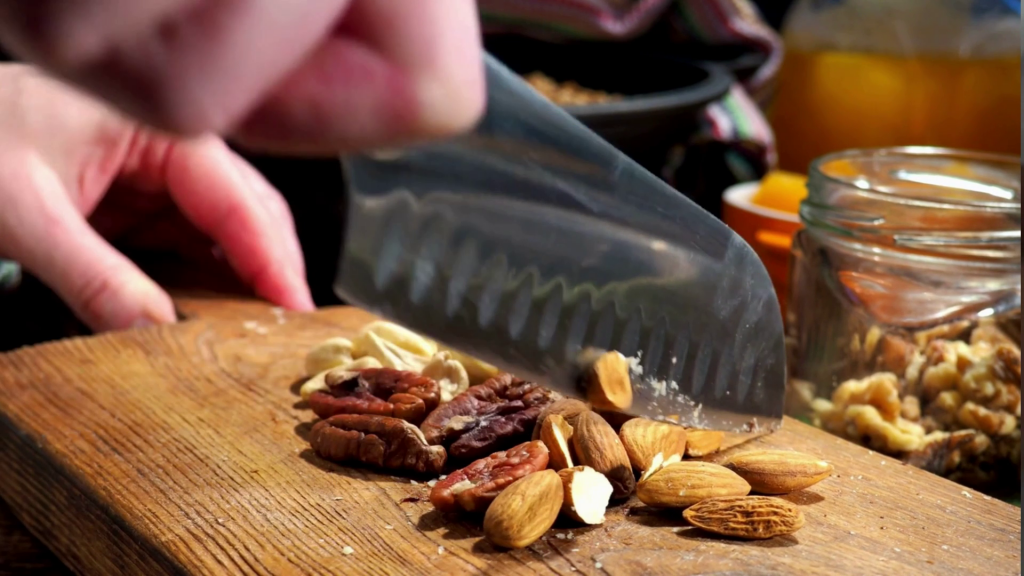
And if you want to add a bit more crunch, those chopped almonds, pistachios, macadamia nuts, or walnuts that I mentioned before are perfect here as well.

chopping assorted nuts on a cutting board

The flavor combinations are endless, but if you’d like some flavor pairing suggestions, check out the recommendations below.

Flavor Variations

  • Apple + cinnamon
  • Mashed banana + chopped pecans
  • Sugar-free peanut/almond butter + sugar-free chocolate chips
  • Strawberries + almond butter
  • Coconut flakes + almonds + keto maple syrup
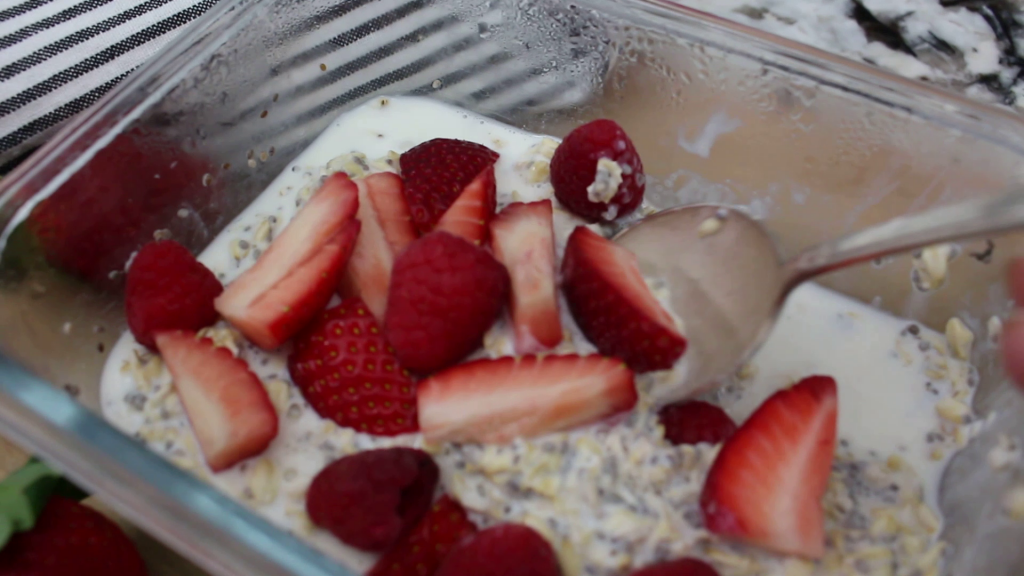
stirring anti inflammatory overnight oats with a spoon on a countertop
anti inflammatory overnight oats

GO HERE FOR MORE ANTI-INFLAMMATORY BREAKFAST RECIPES / SNACK OPTIONS

Bottom Line: Build an Anti-Inflammatory Day, Not Just a Breakfast

This recipe is one easy win — but to really feel the difference, your whole day needs to work for you, not against you.

That’s where my Anti-Inflammatory Quick Start Guide comes in:

  • 10 foods to swap first
  • Simple, ready-to-use shopping list
  • 4-step method to personalize your anti-inflammatory diet

👉 Grab the Quick Start Guide and start feeling better fast →

Print

Anti-Inflammatory Overnight Oats

5 Stars 4 Stars 3 Stars 2 Stars 1 Star

No reviews

A fantastic anti inflammatory overnight oats recipe that’s gluten-free, dairy-free, and sugar-free, and totally customizable!

  • Author: Laura @ TRUEWELL
  • Prep Time: 5 minutes
  • Cook Time: 8 hours
  • Total Time: 8 hours 5 minutes
  • Yield: 1 1x
  • Category: Breakfast

Ingredients

Units Scale
  • 1/2 cup rolled oats (gluten-free (or steel-cut))
  • 1/2 cup milk (dairy or dairy-free)
  • 1/4 cup yogurt (Greek, or dairy-free option)
  • 1 TBSP monk fruit (granulated)
  • 1 TBSP chia seeds

Instructions

  1. Add all ingredients to container with a lid. Stir until well combined.
  2. Seal the container, and let sit in the fridge a minimum of 2 hours. (Best to prepare the night before and let it soak overnight.)
  3. Top with fresh or frozen fruit, and add other spices like cinnamon for a flavor boost!
  4. *If you prefer warm, pop in the microwave in the morning for 30-60 seconds.
  5. *Tip: For even more efficiency, double the recipe for 2 days worth of breakfasts. 🙂

Nutrition

  • Serving Size: Serving
  • Calories: 392
  • Sugar: 18.1 g
  • Sodium: 94.5 mg
  • Fat: 7.7 g
  • Saturated Fat: 2.7 g
  • Carbohydrates: 55.1 g
  • Fiber: 9.3 g
  • Protein: 18.5 g

Did you make this recipe?

Share a photo and tag us @truewell.co — we can’t wait to see what you’ve made!

DON’T FORGET TO SHARE THIS RECIPE OR PIN IT FOR LATER!

How to Build an Anti-Inflammatory Charcuterie Board

The charcuterie board has become one of the biggest crazes on social media in the last couple years. I’d blame it on how gorgeous they can be… but I think after lockdowns and quarantine, the appeal may also have to do with the fact that they represent togetherness: If you’re building a board, you must be having a get-together.

And that’s what makes them so fun–having a way to entertain and feed guests at the same time! It also doesn’t hurt that there are literally a million ways to build a charcuterie board based on what season, holiday, or event is being celebrated.

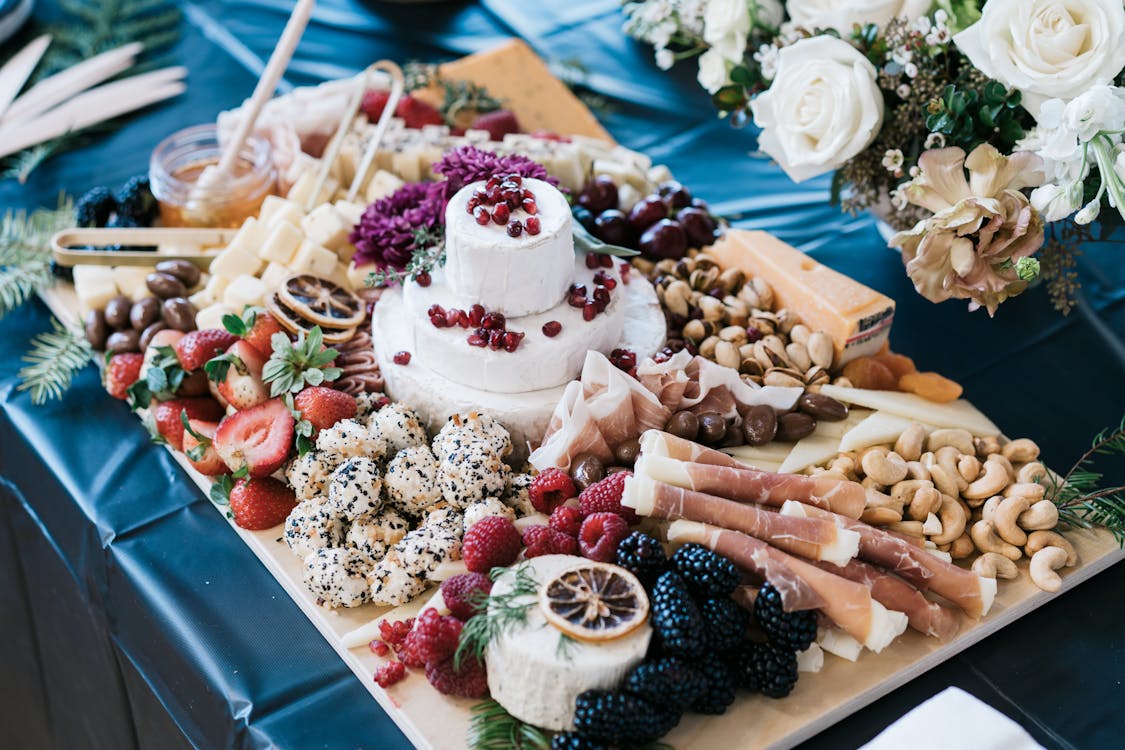
anti inflammatory charcuterie board

That being said, most charcuterie boards have a few ingredients as staple items that are no good for those of us trying to live an anti-inflammatory lifestyle.

Especially since the definition of charcuterie revolves around cured meat products (even though nowadays we add on lots of other fun stuff, too!)

So here’s how to build a board that’s just as pretty and fun, while also keeping out the foods that send inflammation into overdrive.

What exactly makes this an anti-inflammatory charcuterie board?

Obviously the thing that will determine how anti-inflammatory your board is will be the ingredients that you add. These are normally the processed meats, breads, crackers, many of the dips or sauces (including honey), and some dairy additions.

anti inflammatory charcuterie board

The thing to remember about making a charcuterie board anti-inflammatory is that it’s made up of so many fresh ingredients that you can still make it gorgeous and fun without all the inflammatory no-go foods.

There are also (thankfully) enough substitutions for things like crackers and dairy-based dips to give us plenty of options that are A-OK on the anti-inflammatory diet.

So let’s get to it.

STEP 1: Choose your base

The very first step is choosing what your base will be. Since the word ‘board’ is in ‘charcuterie board’, you may automatically think you need a special board for this. Or even a cutting board (which is a good option).

But the truth is that you can expand this way beyond just a plain ole board.

Platters in various different shapes are great, cutting boards (wooden or stone are the prettiest for this), boards specifically designated for charcuterie, or even something more creative like a dough bowl. (I’ve even been seeing charcuterie boxes lately!) Honestly, the possibilities are endless.

Here are some great options:

*As an affiliate, I may receive a small portion of proceeds of any items you buy through these links, at no extra cost to you. However, I only recommend products I know or use, and love.

Large Acacia Charcuterie Board

Large Acacia Charcuterie Board

Bamboo Serving Trays

Bamboo Serving Trays

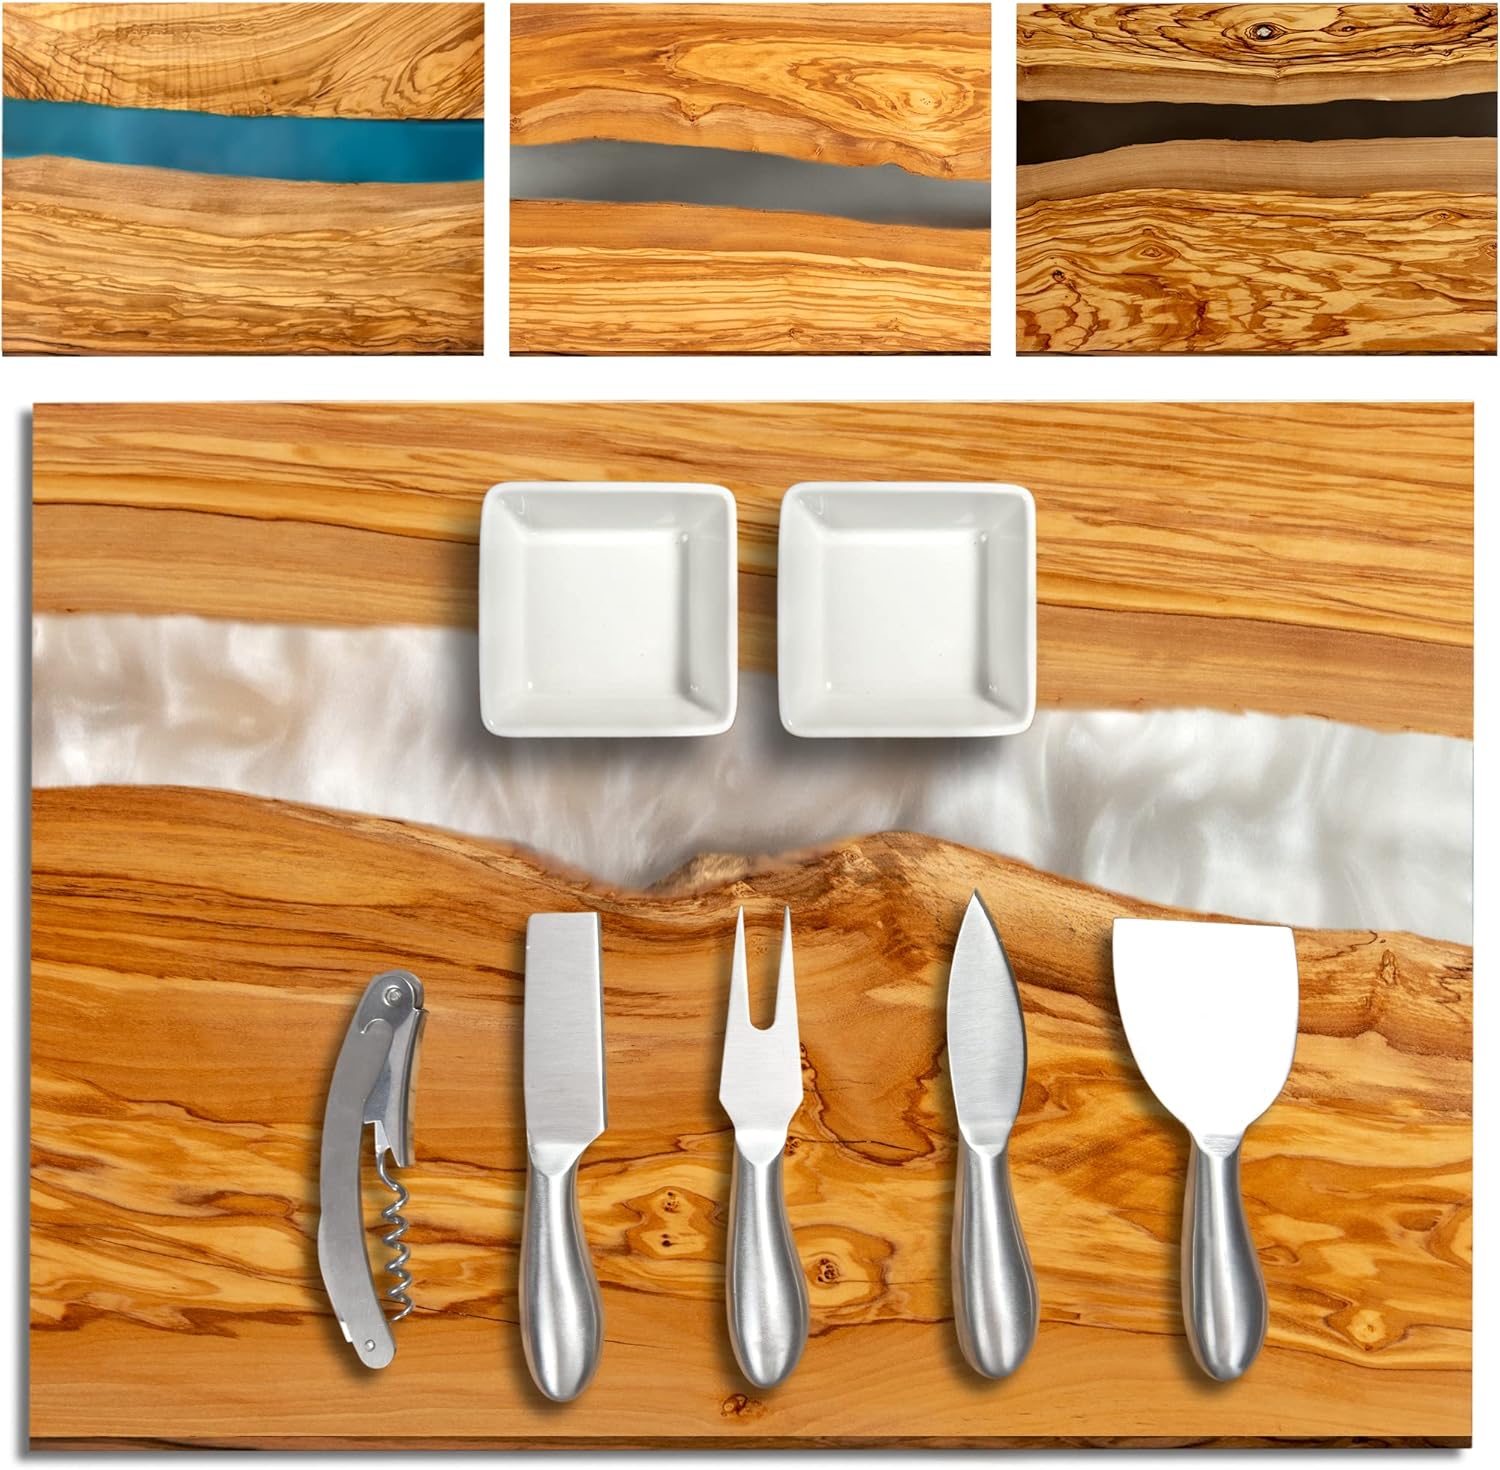
Italian Olive Wood Board

Italian Olive Wood Board

You’ve surely even seen some of the spreads down the entire countertop. These are usually referred to as ‘spreads’, ‘tables’, or even ‘grazing tables’.

In that case, you may just need some butcher paper as your base. (Although even this larger cases I do still recommend having some boards and other platters to add visual interest.)

👉How to choose between a board, platter, or table? First think about how many people you’re feeding or entertaining. If it’s just a few, a smaller board or platter is perfect. 5-10 would be better served with a board. 20-30 people may warrant several boards or a spread.

There’s really no formal calculation on this, but just know that these boards are traditionally the thing people see when they walk in the door to your get-together.

Although they can be used as the option for sides at a meal, they’re normally used as appetizers before the main meal.

Since people love to graze, especially when having drinks and mingling, it’s highly likely the whole thing will be cleaned off by the end of your get-together.

STEP 2: Layering and levels

Different levels could work for smaller boards, but is usually best when you have a larger board, need a little extra space, or are doing a spread.

The best types of varying levels would be things like raised cake platters, or even a bowl upside down as a pedestal for a smaller platter to sit on.

Using layers can give the board a really interesting add-on while helping to delineate or highlight certain ingredients.

Stoneware Cake Stand

Stoneware Cake Stand

Gold 5 Pcs Cake Stands

Gold 5 Pcs Cake Stands

3-Tier Serving Tray Stand

3-Tier Serving Tray Stand

For example, if you have some special ingredients for those with allergies or foods that contain alcohol that kids don’t need to partake in, special levels can designate those foods separately.

I’ve even used separate platters before to keep crackers away from the juices of the fruits and veggies.

STEP 3: Ingredients

Obviously the ingredients are the star of the show. Even though the goal here is an anti-inflammatory board, it should still be pointed out that most of your guests (if this is for a get-together) probably don’t eat by anti-inflammatory guidelines.

Discover My Unique 4-Pronged Approach to the Anti-Inflammatory Diet So You Can Get Started Immediately (Without Getting Overwhelmed or Cleaning Out Your Entire Pantry)

  • Why a full-scale pantry clean out is NOT the best way to start your anti-inflammatory journey, and the steps you can take instead to make sure you’re fueling your body with foods that love you back
  • The essential foods you MUST add into your diet if you want to nourish and heal your body naturally
  • My anti-inflammatory shopping list so you can quickly fill your cart with the right foods (no googling in the produce aisle or wasting hours staring at ingredient lists)

When this is the case, don’t be afraid to add in ingredients that you don’t eat yourself. Most people appreciate the variety, even if you’re not eating some of those foods.

Another important thing to consider is the season or theme of the get-together (or board). Winter and fall themes probably shouldn’t include things like zucchini or summer squash while spring and summer themes wouldn’t include cranberries.

anti inflammatory charcuterie board

Fruit and Veggies

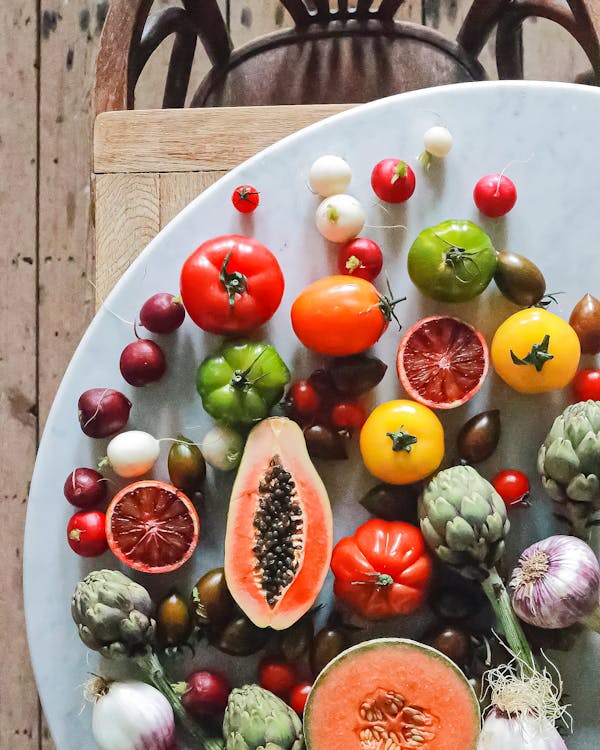
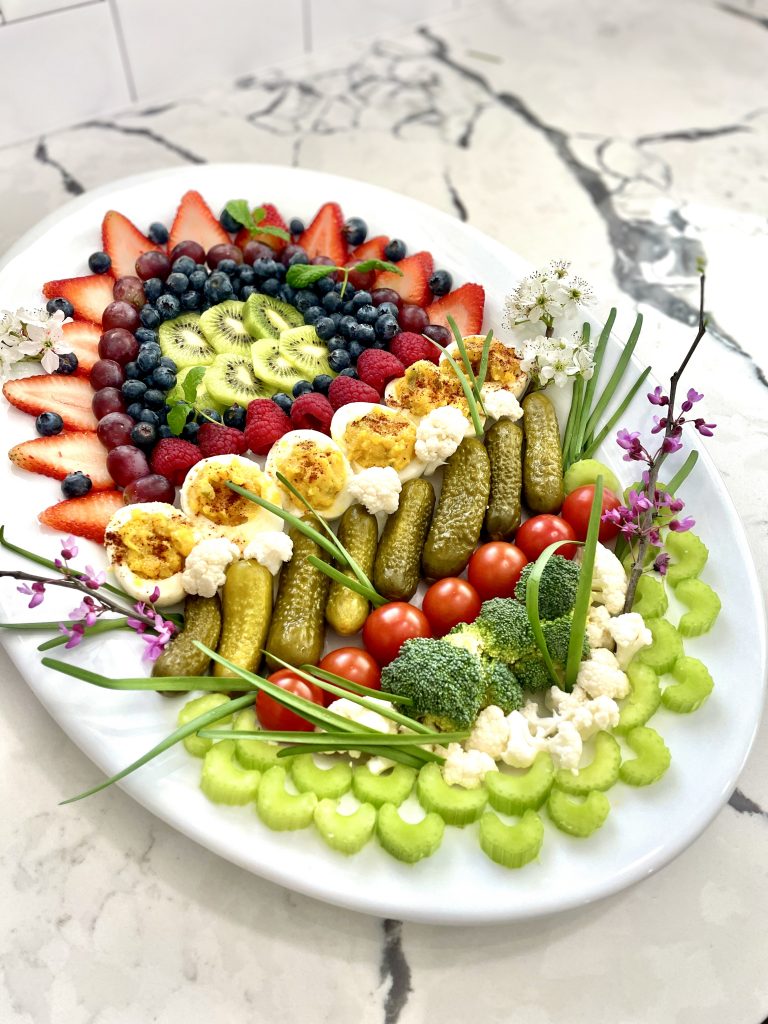
Unless the board is specifically for, say, pre-dinner vs dessert (meaning no fruit vs no veggies), I like to make sure I have a mix of half veggies and half fruit. I also add in lots of extra finger foods like nuts and sometimes seeds. These all work perfectly for an anti-inflammatory diet.

anti inflammatory charcuterie board

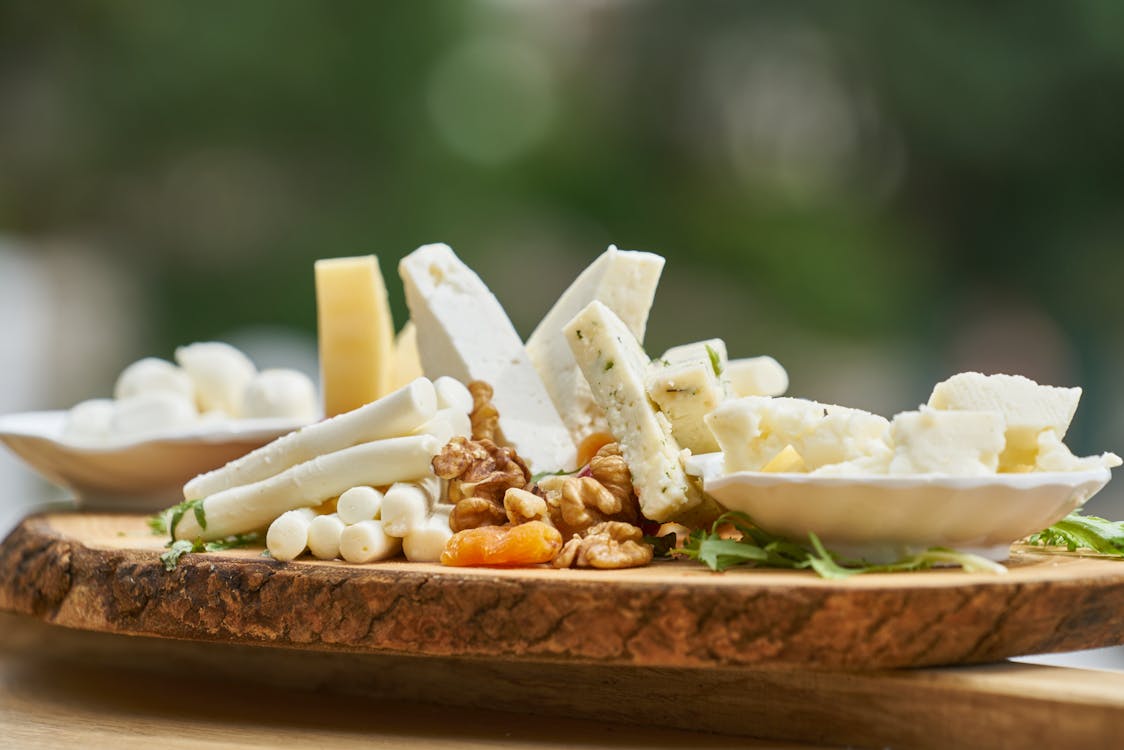
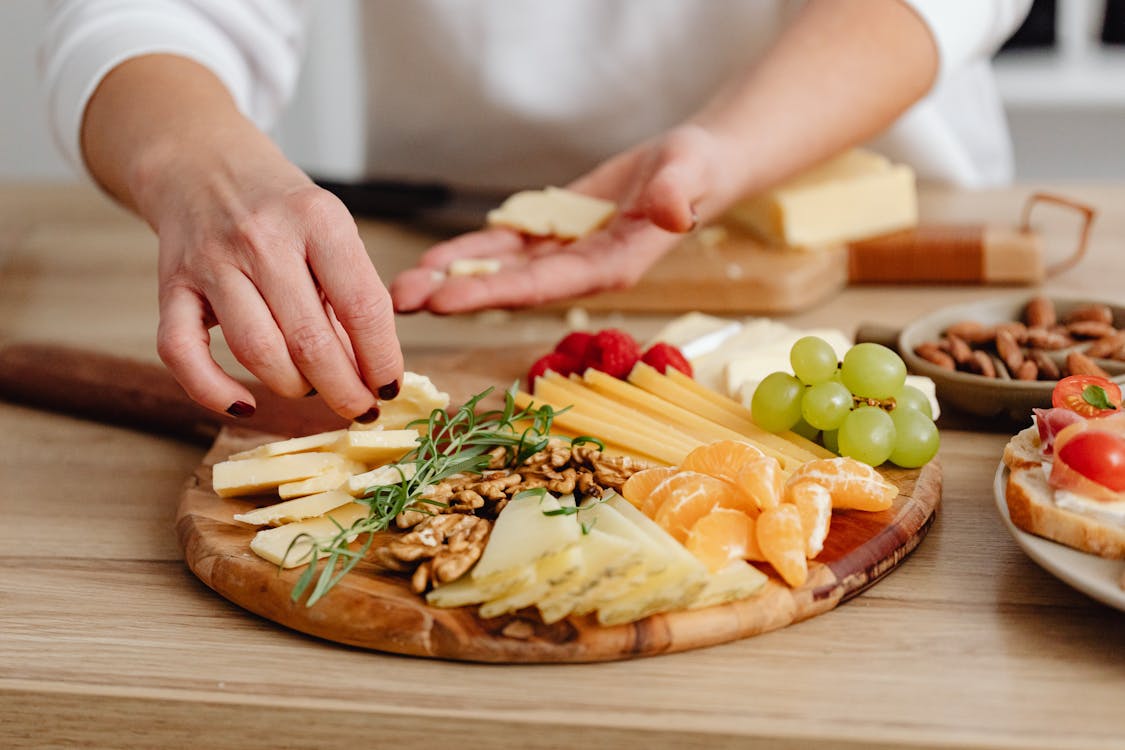
Cheese

Cheese can be ok if it’s organic, but it may be a good idea to keep it separate if you have anyone who can’t have dairy.

Cheeses that are great for charcuterie boards include mozzarella pearls and pre-sliced cheese that you can cut into different shapes if needed.

Triangular shapes are popular because you can layer pieces while shifting the directions, creating a super cool pattern. Soft cheeses like brie may be ok, but try to choose organic as well.

anti inflammatory charcuterie board

Nuts

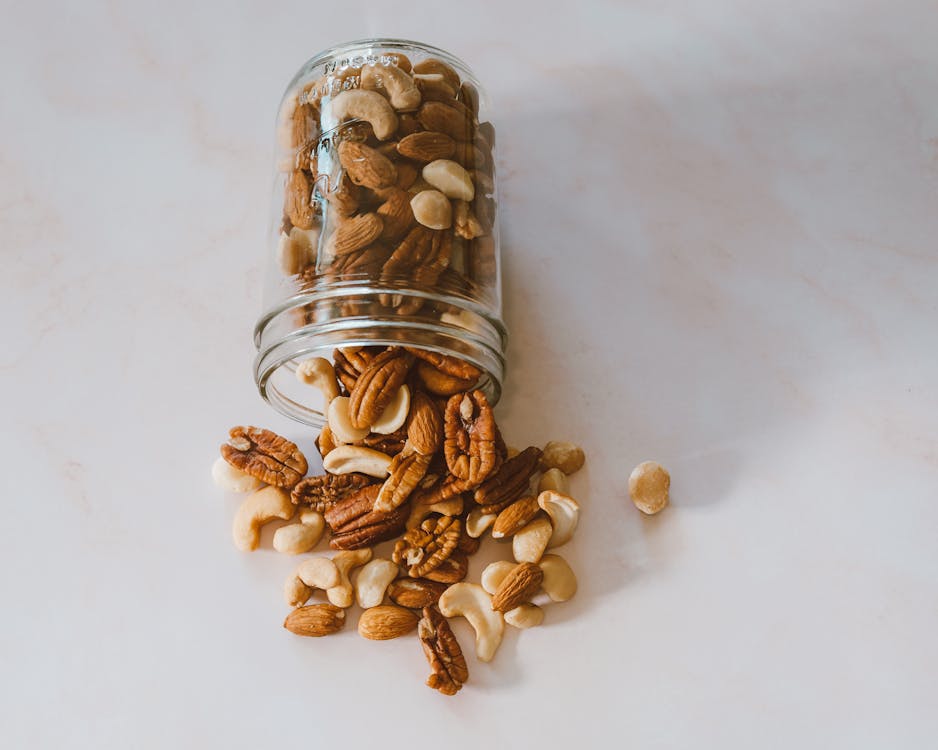
Unless there’s a severe nut allergy, these can be a great way to add texture and variety. I recommend buying the kinds that are salted and roasted, and individual types, not mixed. (This allows easier flexibility in arranging them.)

Crackers and breads

Bread can be a tricky addition because slices can dry out quickly. It’s especially tricky when it’s gluten-free or grain-free because the slices are more crumbly and hard to manage.

If you include bread, I do recommend pre-slicing it so that the guest line can move along quicker and nobody has to handle a knife.

I personally don’t usually include breads just because they can be tough to deal with when I have so many other things going on as the hostess.

But if you really want to include it (or just try out some yummy grain-free bread!) I recommend the Simple Mills brand:

Simple Mills Crackers

Simple Mills Crackers

Crackers are usually a fun addition because you can use them to separate sections on a board, and they come in different shapes to add visual interest.

Gluten-free or grain-free are a little more limited in variety, but can be just as fun!

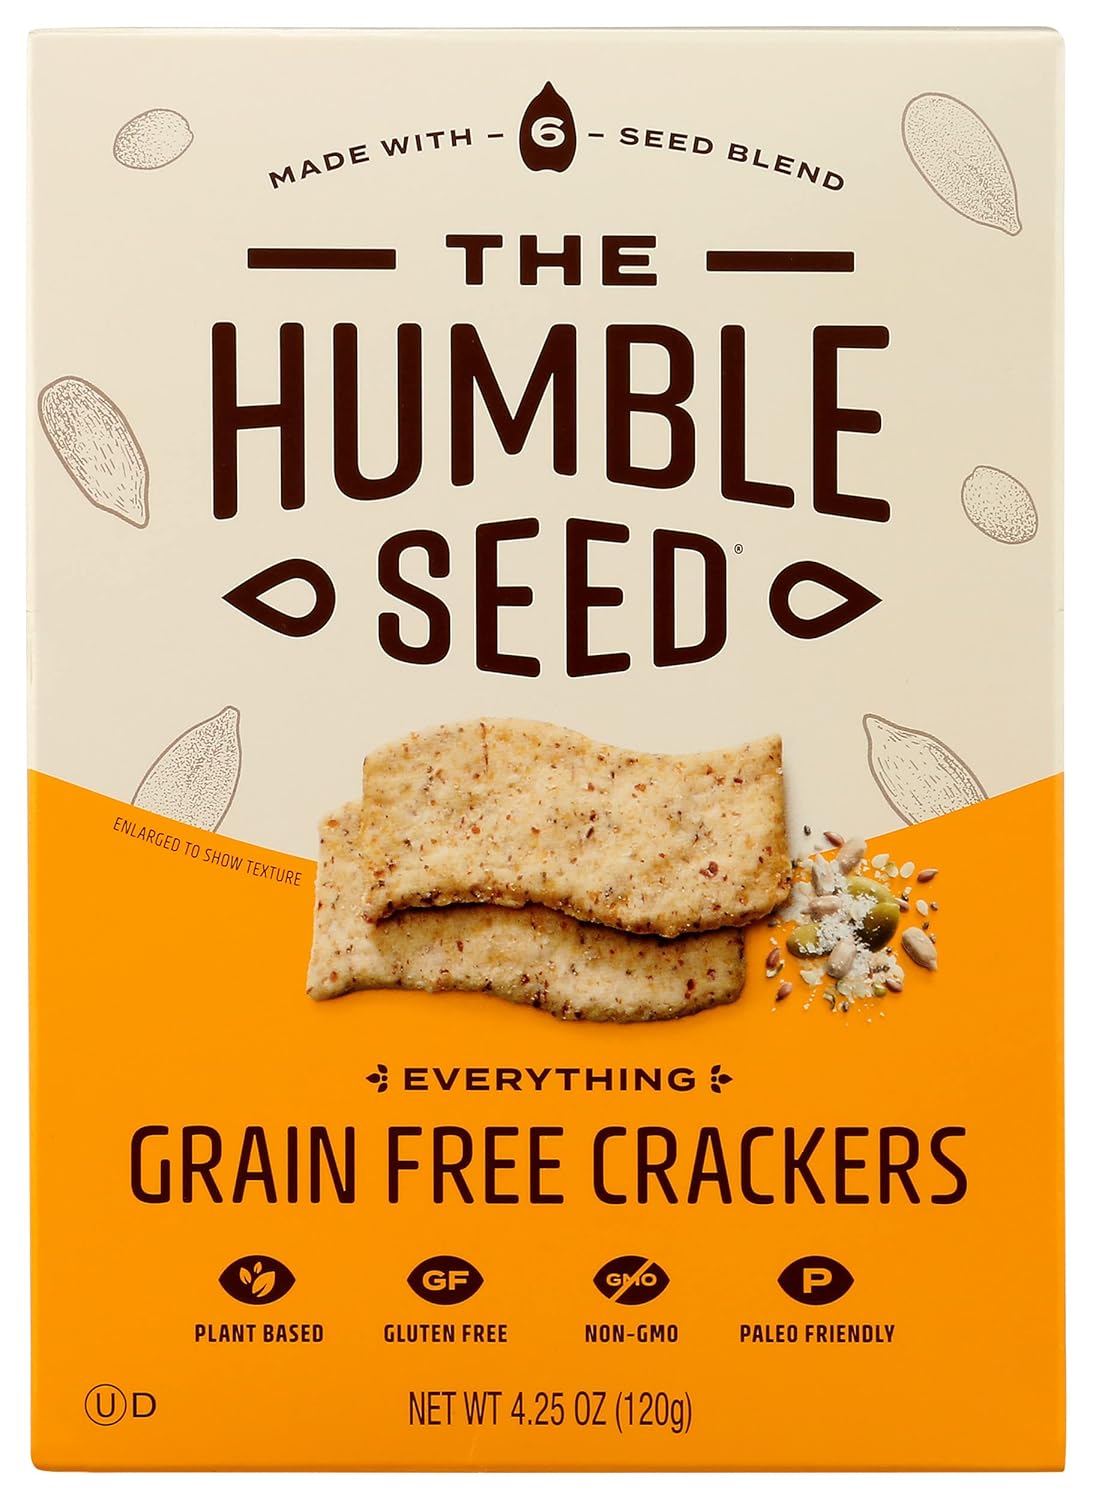
I’ve recently found these grain-free crackers that are yummy and have just enough crunch to satisfy:

The Humble Seed Crackers

The Humble Seed Crackers

Keto Crackers

Keto Crackers

Paleo Thin Crackers

Paleo Thin Crackers

Protein

As said before, processed meats are a definite no-no on an anti-inflammatory diet. So if you choose to leave them out, you can still always add chunked-up grilled or baked chicken, steak bites, or even tuna.

There are some brands now that are uncured, so this may even be an option. If you do opt to have processed meats, I still recommend choosing organic.

Eggs are also a really great protein option. Boiled, that is. (Unless you’re doing a breakfast or brunch board, in which scrambled can still work too.)

Deviled eggs are becoming a popular addition as well since they’re cooked, prepped, ready to go, and usually super yummy.

anti inflammatory charcuterie board

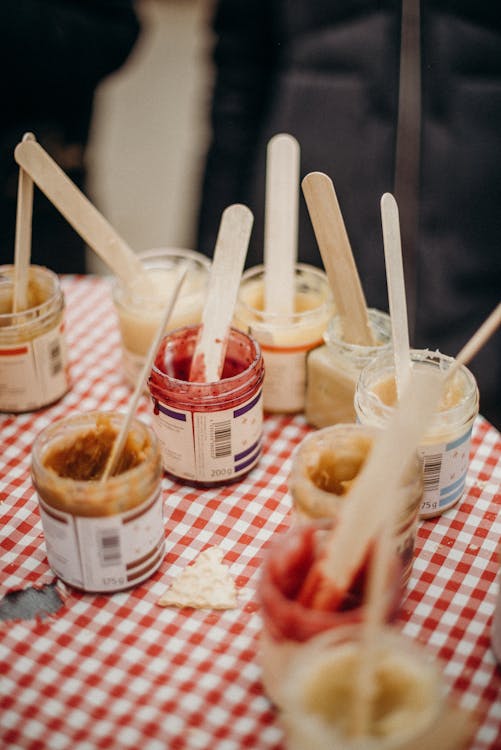
Sauces and spreads

Any anti-inflammatory sauces, spreads, or condiments will probably have to be homemade as most store-bought versions are full of inflammatory oils, preservatives, and non-organic dairy.

Some good options for these include hummus, bean dips, and homemade versions of dips or dressings for dipping veggies.

Honey has sugar, sure, but it can be a nice add-on for others. I always recommend raw and organic.

Fruit spreads are also a favorite as they pair well with cheeses and crackers. It can be hard to find sugar-free versions that also don’t have artificial sweeteners. So if you’re going for anti-inflammatory just for yourself, you may need to whip this one up yourself.

Consider color

Since one goal of the charcuterie board is to sit and be gorgeous, an important thing to consider when choosing your ingredients is color.

Some boards vary color throughout the board, while others have distinct color groupings.

💡 Think about how you want to arrange the board, or the colors you may need to emphasize before making final choices on ingredients to go on the board.

For example, I did a 4th of July board last year that distinctly moved from red to white to blue. This meant that I didn’t include ANYTHING that was green.

STEP 4: Design and place

The most fun part of a charcuterie board is designing it, then placing all the ingredients!

Designs can be literally anything, but the most eye-catching ones usually follow any of these patterns:

  • Linear separations
  • Symmetrical design
  • Color groupings
  • Balanced color through the board
  • Randomized texture

Basically, don’t just put stuff willy-nilly on the board. Have a visual plan in place and follow it, adjusting as needed.

And don’t forget to place your levels as you go as well (like the tiered cake platters.)

STEP 5: Containers

This step is needed for any sauces or condiments, but it’s also a neat visual add-on for things that are small and may need to be contained (like nuts or seeds.) I even use them sometimes for olives since they’re sometimes covered in oil or brine.

Using small containers like ramekins is perfect, but I’ve even seen other fun stuff like cupcake papers or silicone cupcake wrappers. Just make sure the spacing is random or proper spacing throughout the board or table.

LE TAUCI Ramekins

LE TAUCI Ramekins

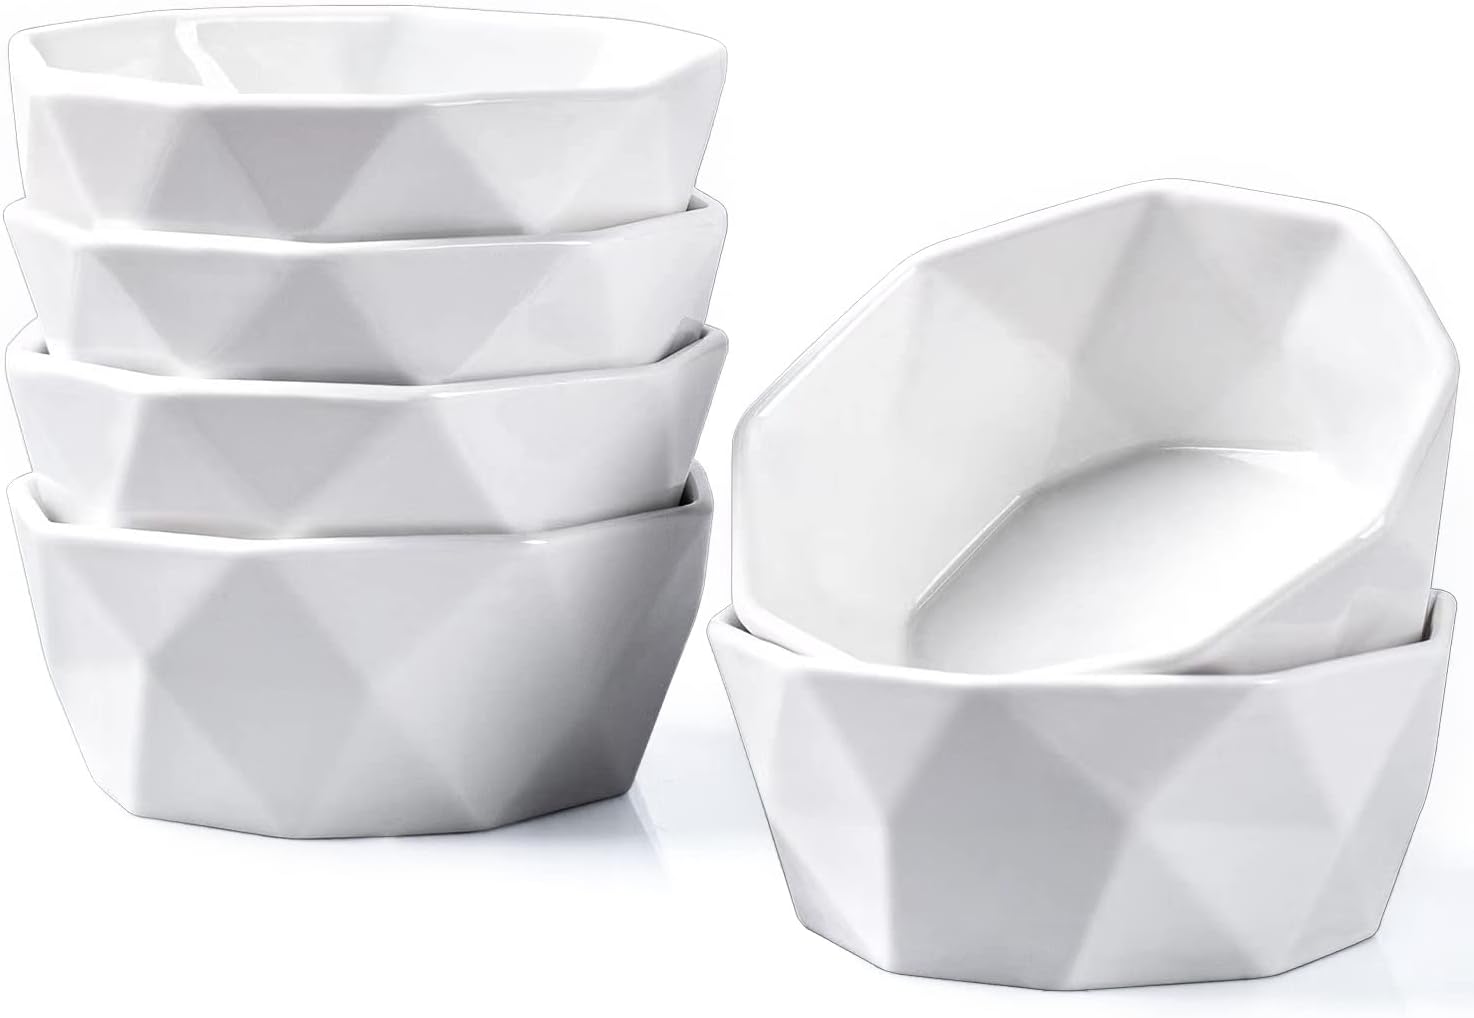
Geometric Porcelain Ramekins

Geometric Porcelain Ramekins

Wooden Acacia Serving Bowls

Wooden Acacia Serving Bowls

Porcelain Dip Bowls

Porcelain Dip Bowls

Scalloped Stoneware Ramekins

Scalloped Stoneware Ramekins

An art professor in college once pointed out that the goal of any piece of art is to encourage the eye to move around the total piece, not just focus on one thing. This is the same concept with charcuterie boards. You may have a main focal ‘part’, but you want the entire thing to be visually appealing.

STEP 6: Decor and garnish

I think this is the most fun part, because it speaks to whatever season, holiday, or event you’re celebrating!

anti inflammatory charcuterie board

Decor and garnish can be as simple as letters or numbers cut out of cheeses, as easy and natural as flowers from your yard, or as themed as paper or plastic cutouts and do-dads you’ve purchased specifically for this get-together.

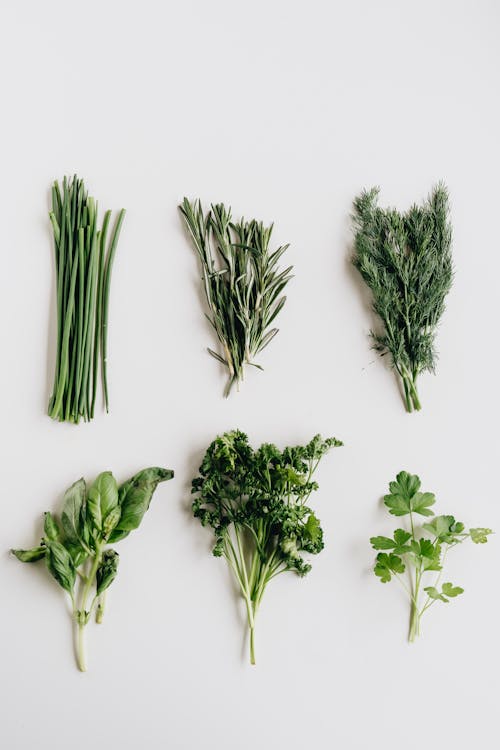
Garnish can also be as simple as fresh herbs.

anti inflammatory charcuterie board

The possibilities are endless.

These, too, should be spaced out so they make sense visually and continue to encourage eye movement around the board.

STEP 7: Plates and serving

Plates are necessary for charcuterie serving, but make sure that you pay attention to the types of foods you have as well.

  • Do you need spoons to scoop anything?
  • Are there soft cheeses or spreads that require a knife?
  • Would toothpicks be the obvious choice for some of the foods (like olives)?
  • Would little serving forks be best for spearing things?

Make sure you have appropriate serving pieces to make things easy. (And don’t forget the napkins! 😉)

20 Piece Large Serving Set

20 Piece Large Serving Set

Charcuterie Board Utensils

Charcuterie Board Utensils

Cocktail Picks (Colored)

Cocktail Picks (Colored)

Bamboo Knot Skewers

Bamboo Knot Skewers

Wooden Ball Food Picks

Wooden Ball Food Picks

Bamboo Mini Forks

Bamboo Mini Forks

STEP 8: Timing

I’ll be the first to warn you that making a charcuterie board can take a while!

That being said, you want to try to time the finished masterpiece with when your guests arrive (unless you have a large enough fridge to accommodate until then.)

Just remember that the last thing you want is a food poisoning situation from foods that have been out too long because you made the thing first thing in the morning when guests didn’t arrive until late afternoon.

anti inflammatory charcuterie board

I will sometimes place the tiered platters and ramekins, then arrange the nuts and crackers earlier. Then when it’s closer to time for guests to arrive I’ll place the cold items and garnish with decor right as people arrive.

If it’s just a board I’m making for us at home, the kids will NOT let me do it alone! So it’s actually a kind of cool time to spend together creating something pretty we can eat when we’re finished. 🥰

~

Charcuterie boards can be a super fun way to add spark and interest to your food choices at any get-together! (I still have friends who talk about boards I’ve done on various holidays.)

But admittedly, it can be a challenge to create one that’s anti-inflammatory. Don’t despair, though–it CAN be done!

Check out my other charcuterie boards and get the ingredients lists and charcuterie platter ideas of your own! 👇

The ‘Easter’ anti-inflammatory charcuterie platter:

anti inflammatory charcuterie board

The ‘Spring Anti-Inflammatory Charcuterie Board’:

anti inflammatory charcuterie board

The ‘Summer Anti-Inflammatory Charcuterie Board’:

And hit me up on Insta! Post your charcuterie board and tag me! @truewell.co

💖
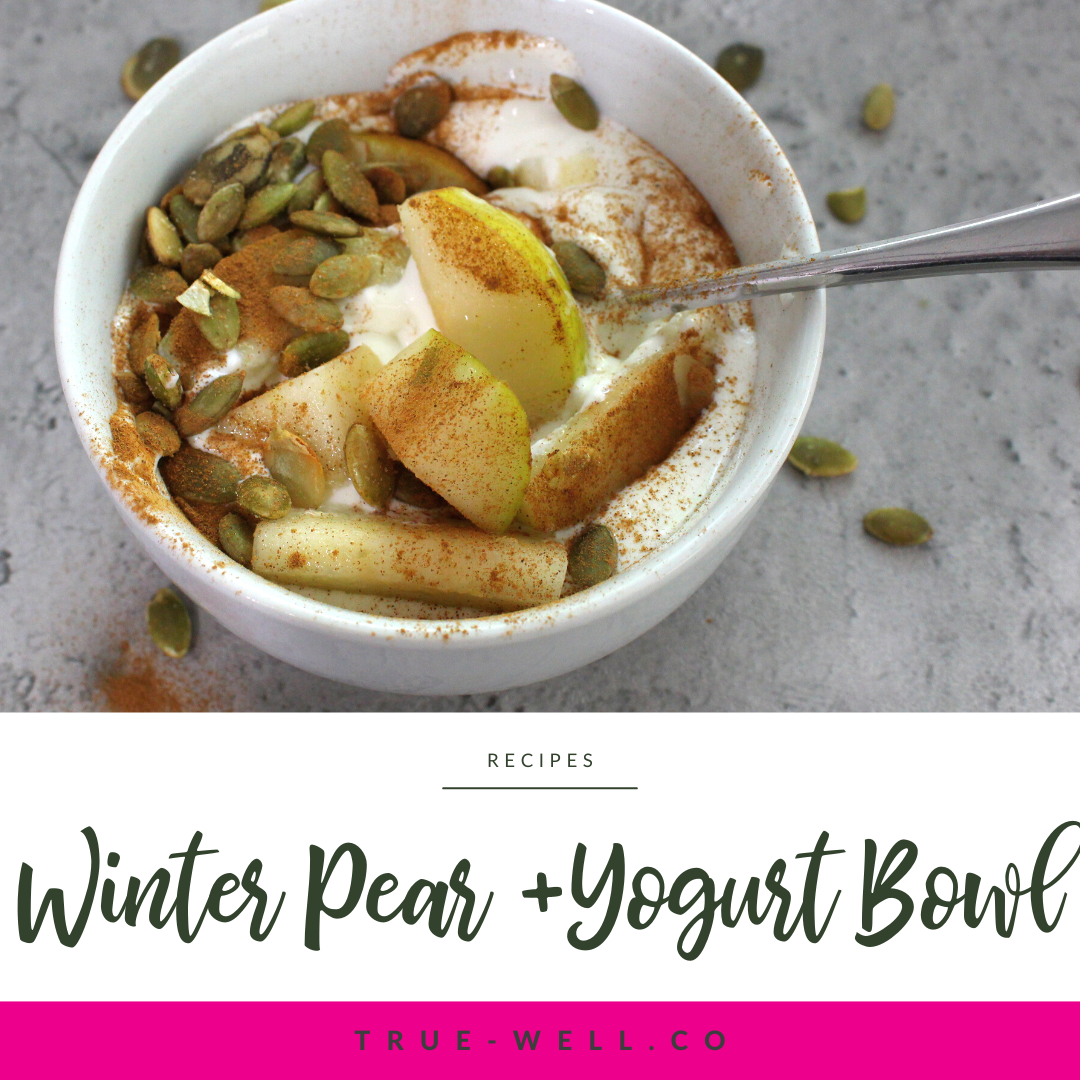
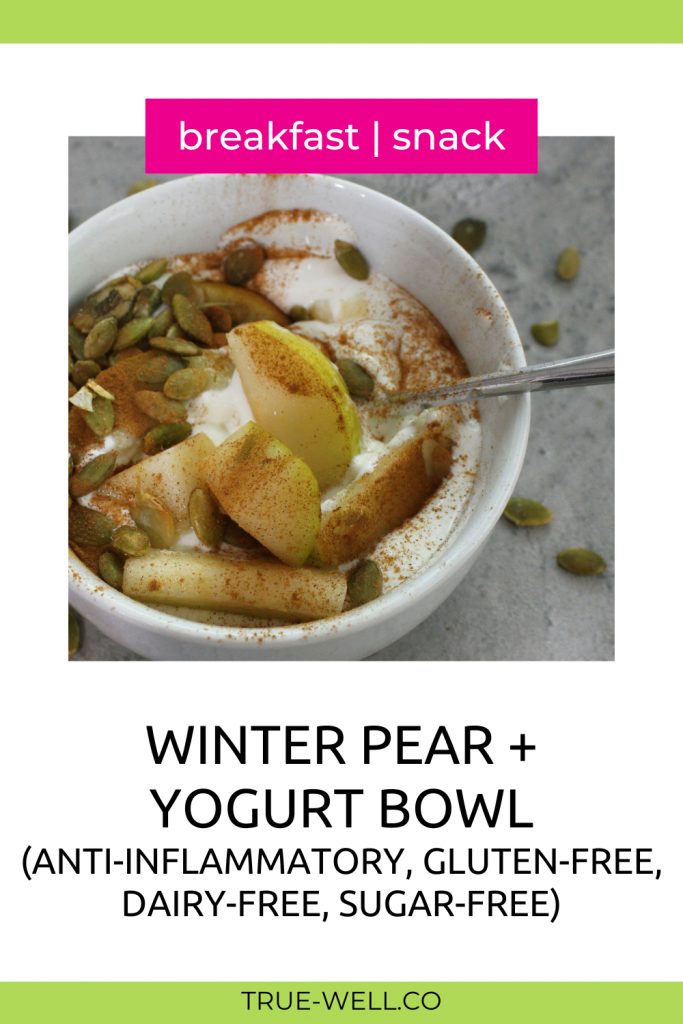
Winter Pear and Yogurt Bowl

When apples are done for the fall, pears move right on in to take center stage! And this Winter Pear and Yogurt Bowl is super versatile, macro balanced, and oh so yummy!

pear and yogurt bowl breakfast

This recipe is also featured in the Winter Anti-Inflammatory Meal Prep session (check it out and get your free guide!)

The thing that’s so great about nourishing yogurt bowls like this is that you can add whatever you feel like adding (like as long as it’s anti-inflammatory and falls in your macros if you’re trying to lose or gain weight.)

And although we used Greek yogurt for this bowl, if you’re dairy-free, you can simply sub that out for coconut or almond yogurt.

winter pear and yogurt bowl breakfast

Another reason these are so easy is that you can just throw it together in 3 minutes.

But the yogurt mixture can be portioned out, and the toppings can separately be portioned out so you can meal prep them ahead of time for the week. (Win!)

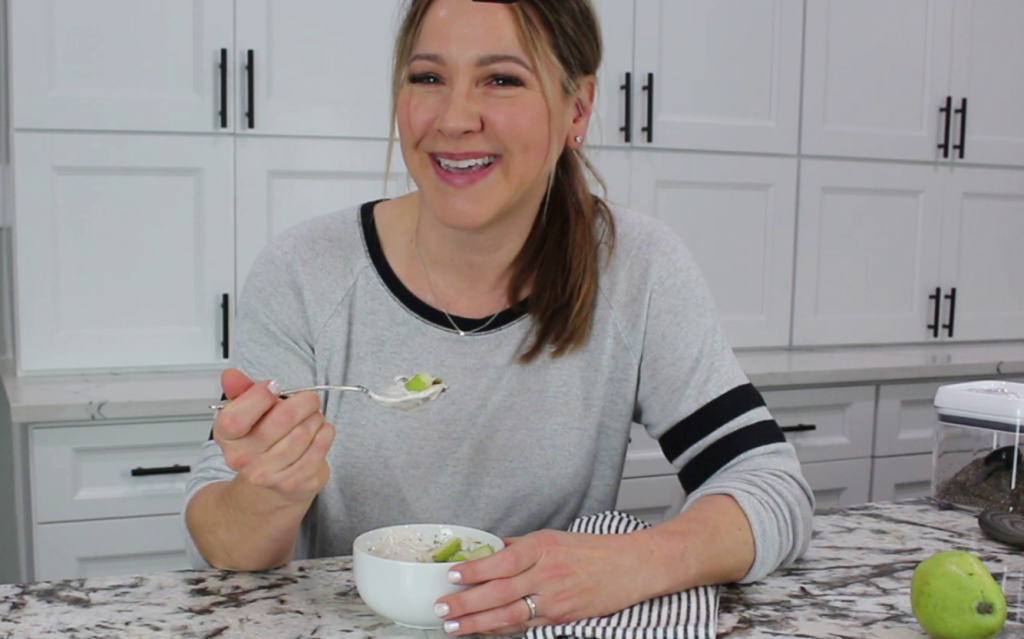
woman eating a winter pear and yogurt bowl breakfast

Now, I really used to not like pears that much. Even though we had a pear tree as a kid, they were the variety that big food companies use to can (you know–the ones that sit on the grocery store shelves?) I don’t like the grittiness.

But if you get the winter varieties that are a bit smaller, the skin is actually very soft and the inside texture isn’t gritty. Which is why I now love pears. 🍐

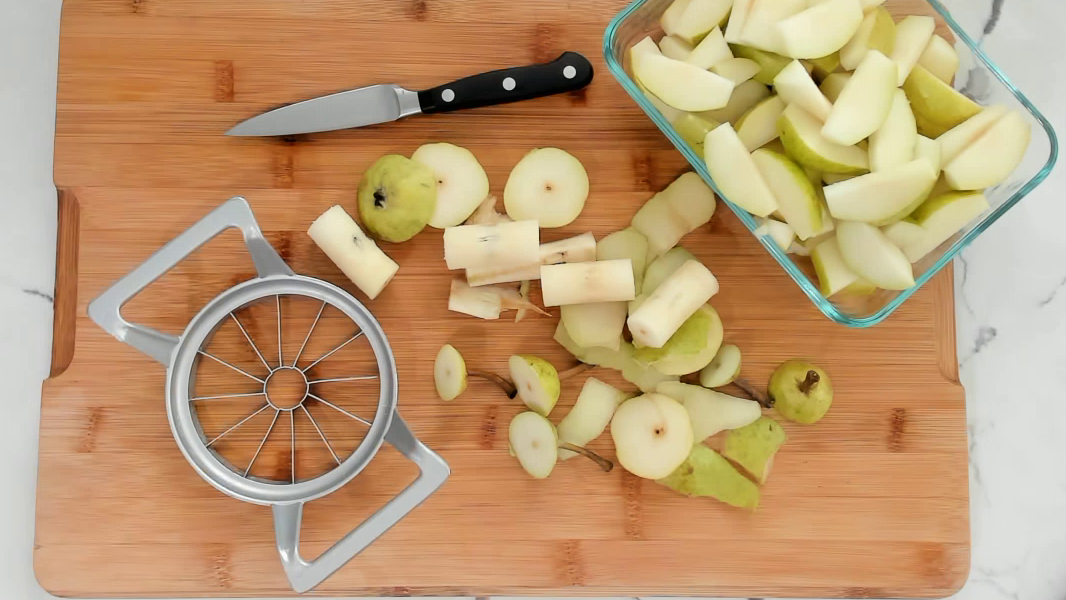
Since I keep the skins on (they’re full of nutrients like apple skins are!) I use a trick to quickly and easily slice and core them.

How to quickly and easily cut and core a pear:

  1. Cut off a thin slice from the bottom of the pear so it sits flat
  2. Cut the top skinny part off
  3. Use an apple corer/slicer the same way you would an apple
pear and yogurt bowl

Here’s what I put into my creamy and nourishing Winter Pear and Yogurt Bowl:

Print

Winter Pear and Yogurt Bowl

5 Stars 4 Stars 3 Stars 2 Stars 1 Star

No reviews

  • Prep Time: 5 minutes
  • Total Time: 5 minutes
  • Yield: 1 1x
  • Category: Breakfast, Snack

Ingredients

Units Scale
  • 1 cup Greek yogurt, Plain and unsweetened (or coconut or almond yogurt for dairy-free or vegan)
  • 1/2 pear (halved and cored)
  • 1/4 tsp cinnamon
  • 23 drops liquid stevia
  • 1/8 tsp vanilla extract
  • 1/8 cup pepitas ((pumpkin seeds))

Instructions

  1. Dip yogurt into a bowl. Add the stevia and vanilla extract, then stir till completely mixed.
  2. Top with pear slices. Sprinkle with cinnamon.
  3. Enjoy!

Did you make this recipe?

Share a photo and tag us @truewell.co — we can’t wait to see what you’ve made!

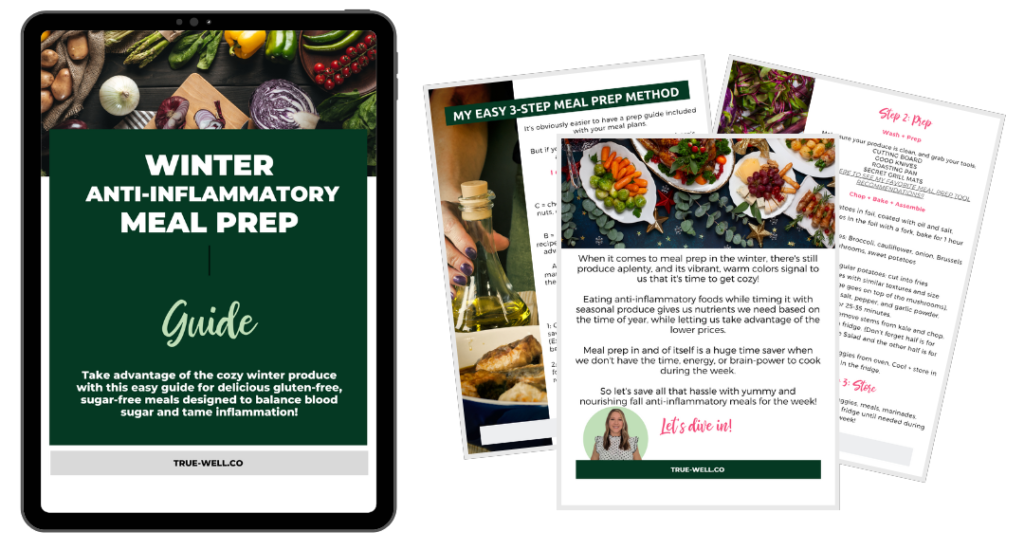
Like this recipe? Prep it and 5 others with the Winter Anti-Inflammatory Meal Prep Guide! {Click the image to grab it!}👇

winter anti inflammatory  meal plan
pear and yogurt bowl

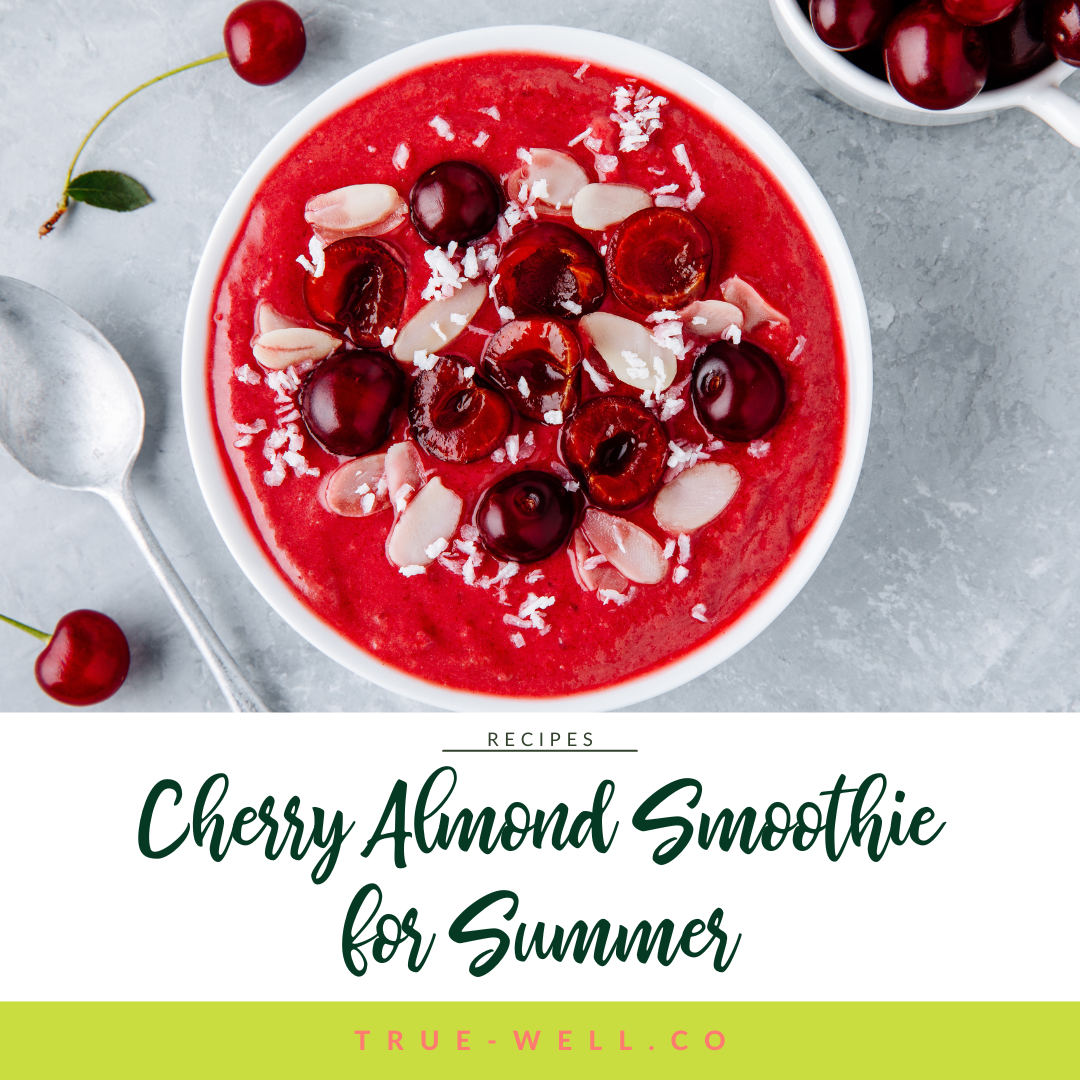
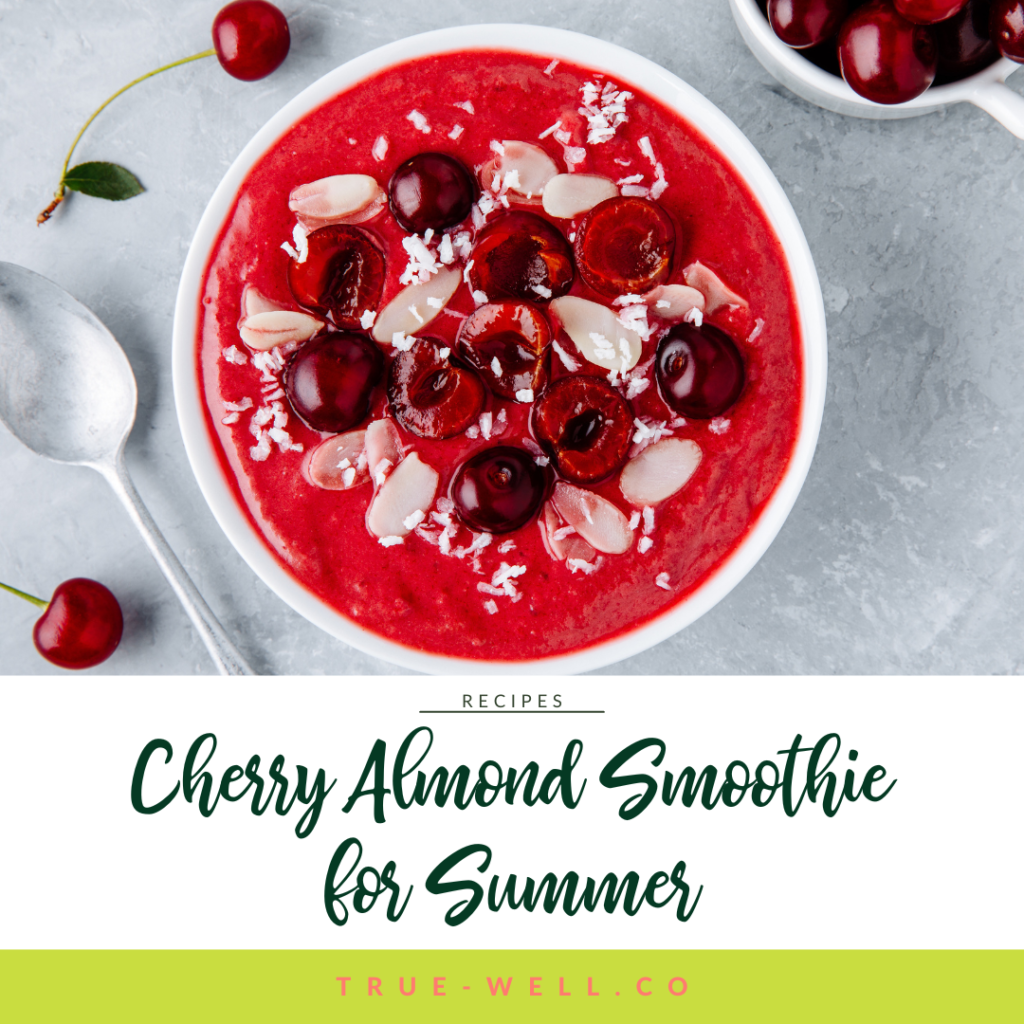
Cherry Almond Smoothie for Summer

As summer heats up, there’s nothing quite as refreshing as this Cherry Almond Smoothie to help you cool down and nourish your body–and takes less than 5 minutes to make!

cherry almond smoothie for summer

This Anti-Inflammatory Cherry Almond Smoothie is especially great since it harnesses the power of anti-inflammatory ingredients that packs a punch of flavor while promoting your overall well-being.

😎🍉THIS CHERRY ALMOND SMOOTHIE RECIPE IS FEATURED IN OUR SUMMER ANTI-INFLAMMATORY MEAL PREP SESSION + GUIDE! CLICK HERE TO SEE IT IN ACTION AND GET THE FREE MEAL PRINTABLE MEAL PREP GUIDE!
Ingredients

Cherries

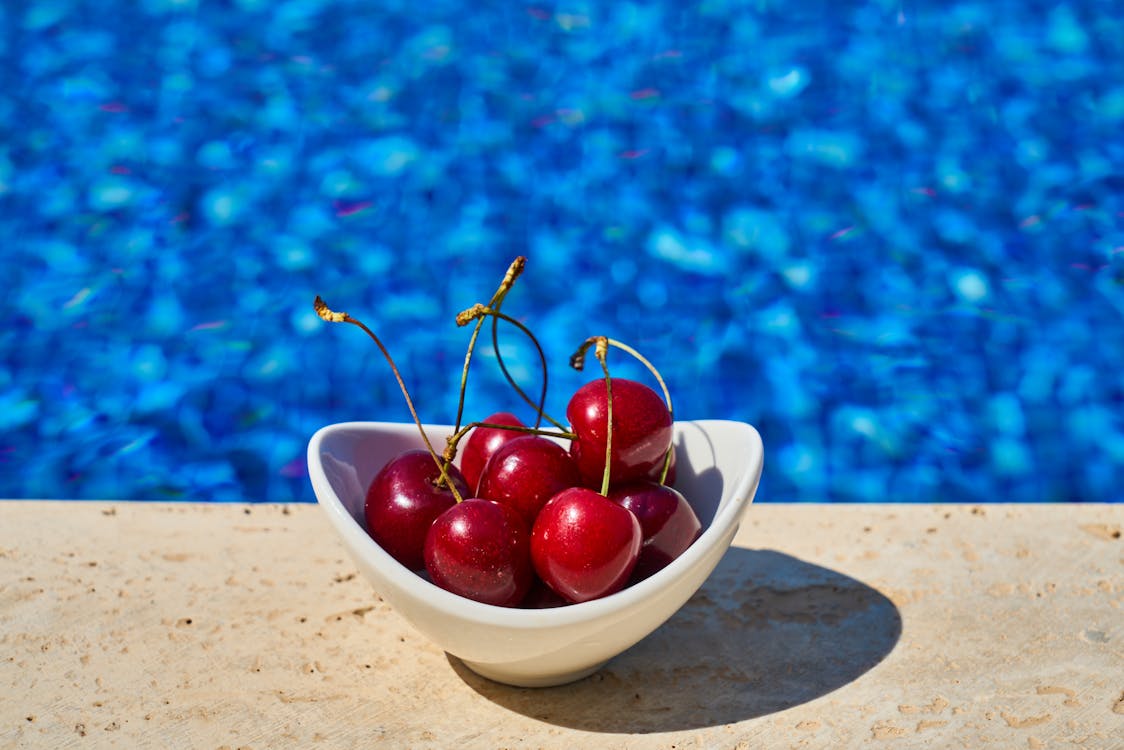
Cherries, the star ingredient of this vibrant smoothie, are not only a delectable summer fruit but also a nutritional powerhouse. Bursting with antioxidants and phytochemicals, cherries boast potent anti-inflammatory properties.

By incorporating these luscious berries into your diet, you can help combat inflammation and potentially reduce the risk of chronic diseases.

bowl of cherries in front of a pool in the summer

But- another lesser-known fact is that tart cherries have specifically been studied for their ability to boost sleep. So if you’re having trouble sleeping, maybe opt for this smoothie as your dinner or after-dinner snack on those hot summer nights!

Almonds

Almonds not only add a delightful nutty flavor but also offer a wealth of nutrients. Packed with healthy fats, fiber, and vitamin E, almonds have been known to reduce inflammation and support heart health.

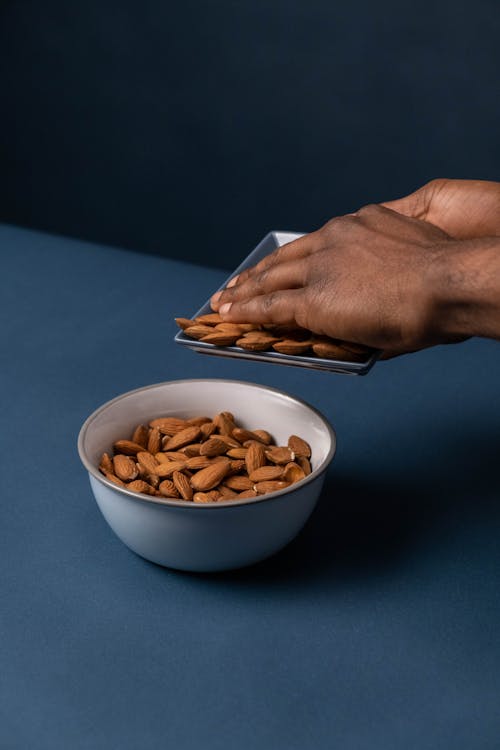
woman pushing almonds from plate into bowl on a table

What makes this smoothie even more appealing is that it’s sugar-free. This is important since sugar is one of the most inflammatory foods you can eat.

Substitutions and additions

Milk

The almond milk should be unsweetened and with as few thickeners as possible. If you don’t have almond milk, you can easily sub regular cow’s milk if dairy isn’t inflammatory to you, unsweetened coconut milk, or any other unsweetened non-dairy milk.

I don’t recommend oat milk because it’s straight simple carbs, and raising blood sugar levels is inflammatory.

Protein powder

Don’t skip this ingredient!

Protein in smoothies is SO important because of the usually high carb content from fruits. The protein (and healthy fats) are what complete the ‘trifecta’ of macros to create this balanced and anti-inflammatory Cherry Almond Smoothie.

Many people prefer whey protein powder because of the studies showing it’s more beneficial at muscle assimilation than other proteins. However, it is derived from dairy. If you’re dairy-free, you can absolutely use a plant-based protein powder or even egg white protein powder.

If you opt for plant-based, it can get thicker than whey protein powder, so keep in mind you may need to add a little more milk.

If you opt for egg white powder, keep in mind that it may not come with the vanilla flavoring. You may need to test and see if this means you add a couple drops of vanilla extract as well, or if the almond and cherry flavors are beautiful on their own.

On ANY protein powder substitution, be aware of the sweetener component. Many protein powders contain some type of sweetener. So make sure it’s not an artificial sweetener.

If you choose a protein powder that doesn’t have a sweetener, keep reading for what sweeteners you can add.

Sweetener

If you do add sweetener because the protein powder isn’t sweetened or just want it sweeter, make sure you use an anti-inflammatory option. This means aiming for natural zero-calorie sweeteners like stevia, monk fruit, allulose, or erythritol.

Almond butter

Although the almond butter really helps kick up the almond flavor in this recipe, if you don’t have any, you can easily substitute a different nut. Pistachios, coconut, hazelnuts, or pecans are amazing flavor pairings with cherries. You can sub in the same amount of nuts as nut butter.

If you’re avoiding nuts, use a seed like sunflower, pumpkin, or tahini (sesame).

Peanut butter is also an option!

Almond extract

Although the almond butter gives a small amount of flavoring overall, almond extract can really boost that popular almond punch that pairs so beautifully with cherries for this healthy smoothie. (Especially if you’re using a different type of nut butter and still want that almond flavor to shine through.)

Instructions

For any smoothie, the best way to make sure it isn’t easily clumped is to add the liquid in first, then everything else. Blenders need a lot of moisture to help blend and chop at the same time, while ensuring proper movement of the whole smoothie.

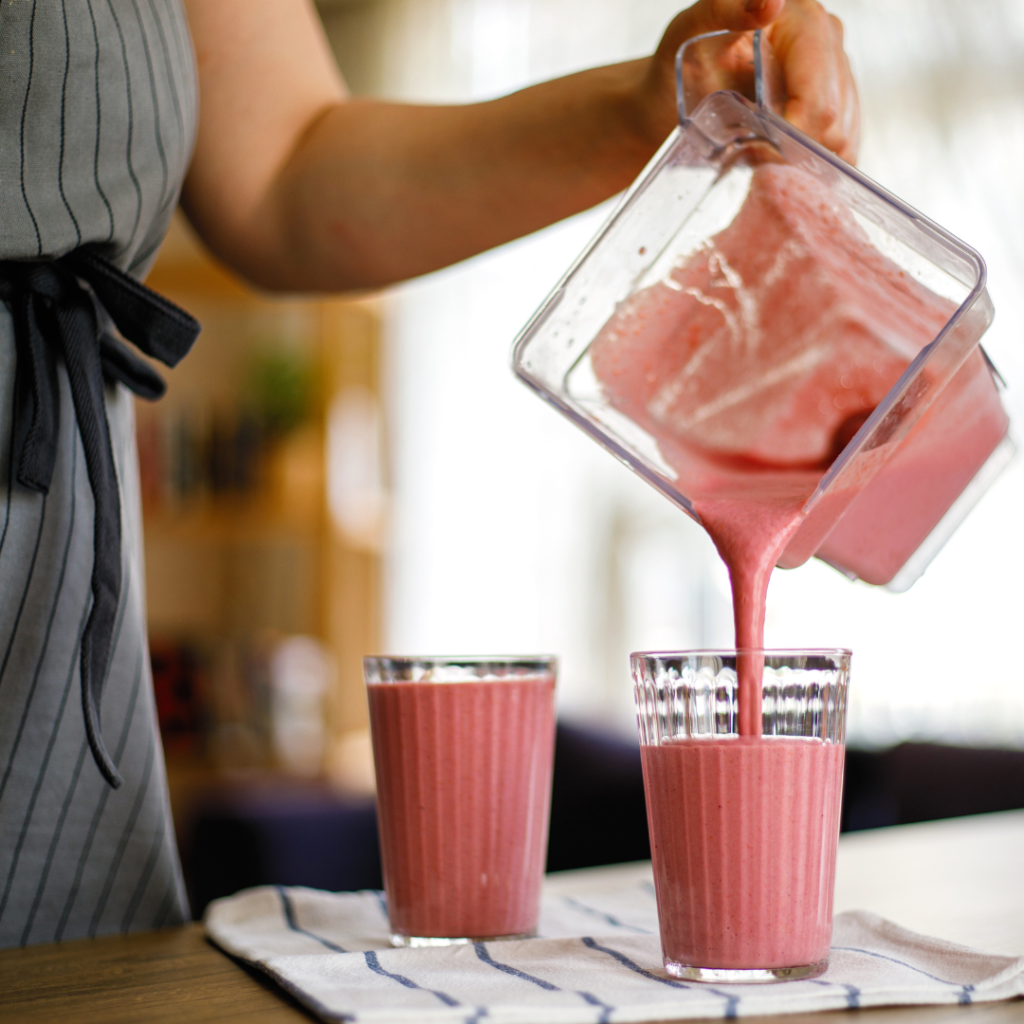
woman pouring a cherry almond smoothie from blender into glasses

I have to say, every time we make this smoothie the kids are in love. I’ve found that it’s definitely cheaper to buy frozen tart cherries than fresh in the summer (which is a total bummer), but we do still buy fresh and make some seriously yummy summer creations (like this Cherry Almond Smoothie!)

What makes it super fun is adding shaved dark chocolate on top and a fun straw! 😋

😎🍉THIS RECIPE IS FEATURED IN OUR SUMMER ANTI-INFLAMMATORY MEAL PREP SESSION + GUIDE! CLICK HERE TO SEE IT IN ACTION AND GET THE FREE MEAL PRINTABLE MEAL PREP GUIDE!

Print

Cherry Almond Smoothie for Summer

5 Stars 4 Stars 3 Stars 2 Stars 1 Star

No reviews

A creamy anti-inflammatory sugar-free summer smoothie bursting with fresh cherries and protein.

  • Author: Laura Brigance, MS, CHC
  • Prep Time: 5 minutes
  • Cook Time: 0 min
  • Total Time: 5 minutes
  • Yield: 1 smoothie 1x
  • Category: Smoothies
  • Method: Blender
  • Cuisine: American

Ingredients

Units Scale
  • 1 cup of frozen pitted tart cherries (unsweetened)
  • 1 scoop vanilla protein powder
  • 2 tsp almond butter
  • 1 tsp pure almond extract
  • 1 cup unsweetened almond milk (or water)
  • 6 + ice cubes

Instructions

  1. Place all ingredients into a high-powered blender and blend until smooth.
  2. Pour into a glass and enjoy!

Notes

*Protein powder: Make sure your protein powder is sugar-free, and also is free of artificial sweeteners.

Nutrition

  • Serving Size: 1 smoothie
  • Calories: 291
  • Fat: 9.8 g
  • Carbohydrates: 29.5 g
  • Fiber: 3.6 g
  • Protein: 21.9 g

Did you make this recipe?

Share a photo and tag us @truewell.co — we can’t wait to see what you’ve made!

📌 PIN IT FOR LATER!

Low Carb Blueberry Scones | Grain-Free, Sugar-Free


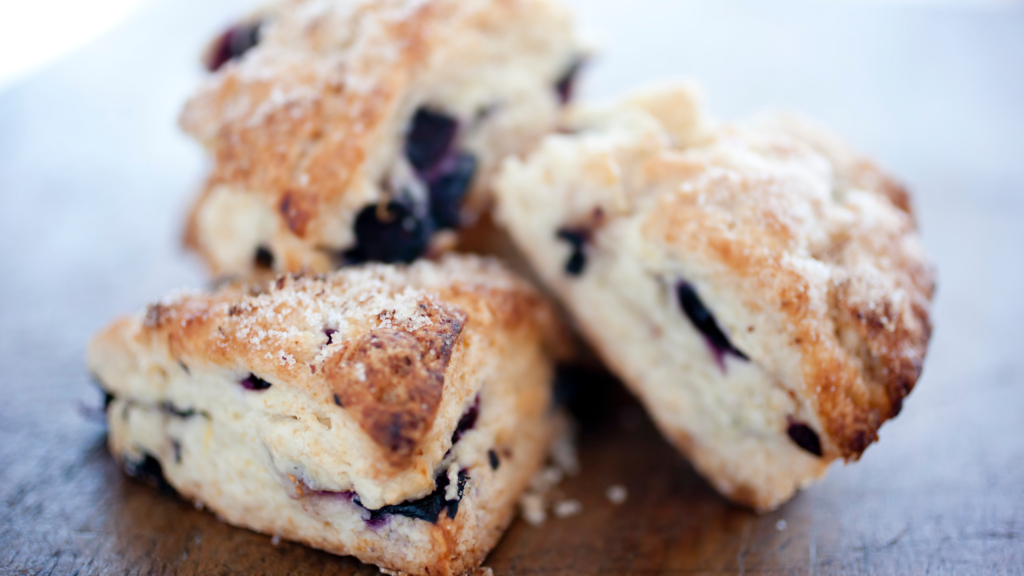
Not only are these Low-Carb Blueberry Scones grain-free and sugar-free, they’re also super delicious and the perfect summer bulk recipe to bake to have a quick + easy breakfast or snack on hand anytime!

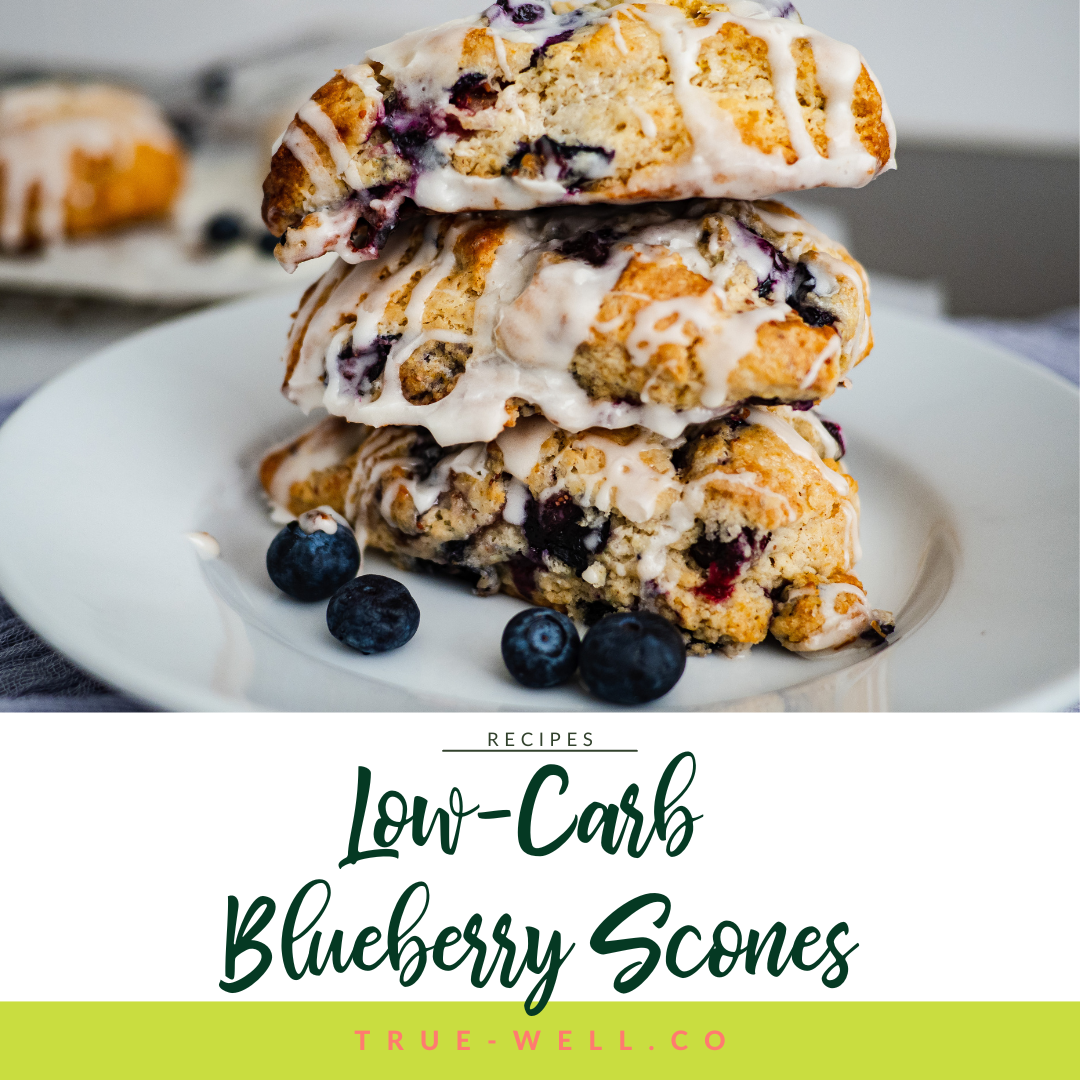
low carb blueberry scones

What’s even better about this low-carb scone is that it’s bursting with juicy blueberries. So each bite is infused with antioxidants that combat inflammation, supporting your body’s natural healing processes.

😎🍉THIS LOW-CARB BLUEBERRY SCONES RECIPE IS FEATURED IN OUR SUMMER ANTI-INFLAMMATORY MEAL PREP SESSION + GUIDE! CLICK HERE TO SEE IT IN ACTION AND GET THE FREE MEAL PRINTABLE MEAL PREP GUIDE!

The other beautiful thing about this anti-inflammatory breakfast recipe is that these scones are low in carbs, making them a fantastic option for those following a low-carbohydrate lifestyle.

These ingredients provide a delightful balance of flavors, while keeping the carb count in check– which means your blood sugar stays balanced as well.

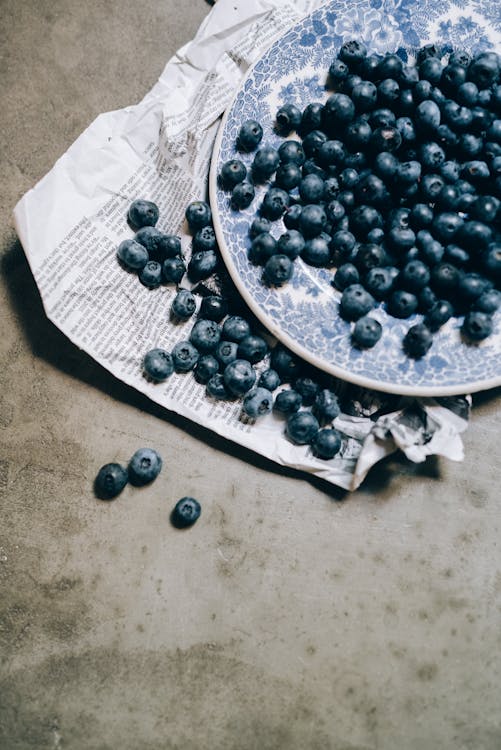
blueberries scattered on a plate

Ingredients

Sounds silly, but I love when summer is here simply for the large selection in berries. Blueberries are notorious for their low-sugar qualities and anti-inflammatory superpowers, so I love using them fresh as much as possible!
  • 1 1/3 cups almond flour (blanched)
  • 1/4 cup arrowroot flour (the package may say ‘arrowroot powder’
  • Pinch of sea salt
  • 1 tsp baking powder
  • 1 cup fresh blueberries (make sure to wash them first and let them dry)
  • 1/4 cup avocado oil
  • 3 TBSP keto maple syrup (if you don’t have this, you may try another sugar-free natural sweetener that’s granulated. Usually erythritol or allulose are good choices for baking; Swerve brand is great!)
  • 2 tsp vanilla extract (pure, not the fake stuff!)
  • 1 egg (large, organic)

Instructions

  1. Preheat oven to 350 F (177 C) and line a metal baking pan with parchment paper.
  2. Whisk the dry ingredients together in a medium mixing bowl. Then stir in the blueberries.
  3. Whisk the wet ingredients together in a small mixing bowl, then stir into the dry ingredients until a batter is formed.
  4. Pour the batter into the baking pan, shaping into a circle if you wish.
  5. Bake for approximately 30 minutes.
  6. Let cool for at least 10 minutes, cut into eight servings, and enjoy!
low carb blueberry scones

Tips + Notes

  • Any other nut flour (except tiger nut as it’s not really a nut) should be able to be subbed in this recipe.
  • Letting the scones completely cool down after baking is *really* important as it’s grain-free, and the cooling process helps the other binder ingredients in the recipe set.
  • You can also sub any other fresh berry! (We make this recipe with raspberries and cherries as well!)

😎🍉THIS LOW-CARB BLUEBERRY SCONES RECIPE IS FEATURED IN OUR SUMMER ANTI-INFLAMMATORY MEAL PREP SESSION + GUIDE! CLICK HERE TO SEE IT IN ACTION AND GET THE FREE MEAL PRINTABLE MEAL PREP GUIDE!
Print

Low Carb Blueberry Scones | Grain-Free, Sugar-Free

5 Stars 4 Stars 3 Stars 2 Stars 1 Star

No reviews

When keeping blood sugar balanced by avoiding grains and sugar is necessary, it’s a sure hit to have a recipe on hand like these Low-Carb Blueberry Scones. 

  • Author: Laura Brigance, MS, CHC
  • Prep Time: 5 minutes
  • Cook Time: 30 + 10 min cool down
  • Total Time: 45 minutes
  • Yield: 8 1x
  • Category: Breakfasts and Snacks
  • Method: Oven
  • Cuisine: American
  • Diet: Diabetic

Ingredients

Units Scale
  • 1 1/3 cups almond flour
  • 1/4 cup arrowroot flour
  • Pinch of sea salt
  • 1 tsp baking powder
  • 1 cup fresh blueberries
  • 1/4 cup avocado oil
  • 3 TBSP keto maple syrup
  • 2 tsp vanilla extract
  • 1 egg

Instructions

  1. Preheat oven to 350 F and line a metal baking pan with parchment paper.
  2. Whisk the dry ingredients together in a medium mixing bowl. Then stir in the blueberries.
  3. Whisk the wet ingredients together in a small mixing bowl, then stir into the dry ingredients until a batter is formed.
  4. Pour the batter into the baking pan, shaping into a circle if you wish.
  5. Bake for approximately 30 minutes.
  6. Let cool for at least 10 minutes, cut into eight servings, and enjoy!

Notes

*Any other nut flour (except tiger nut as it’s not really a nut) should be able to be subbed in this recipe.

*Letting the scones completely cool down after baking is *really* important as it’s grain-free, and the cooling process helps the other binder ingredients in the recipe set.

*You can also sub any other fresh berry!

Nutrition

  • Serving Size:
  • Calories: 224
  • Sugar: 7.2 g
  • Sodium: 301.9 mg
  • Fat: 10.8 g
  • Carbohydrates: 15.3 g
  • Protein: 3.6 g
  • Cholesterol: 23.3 mg

Did you make this recipe?

Share a photo and tag us @truewell.co — we can’t wait to see what you’ve made!

low carb blueberry scones

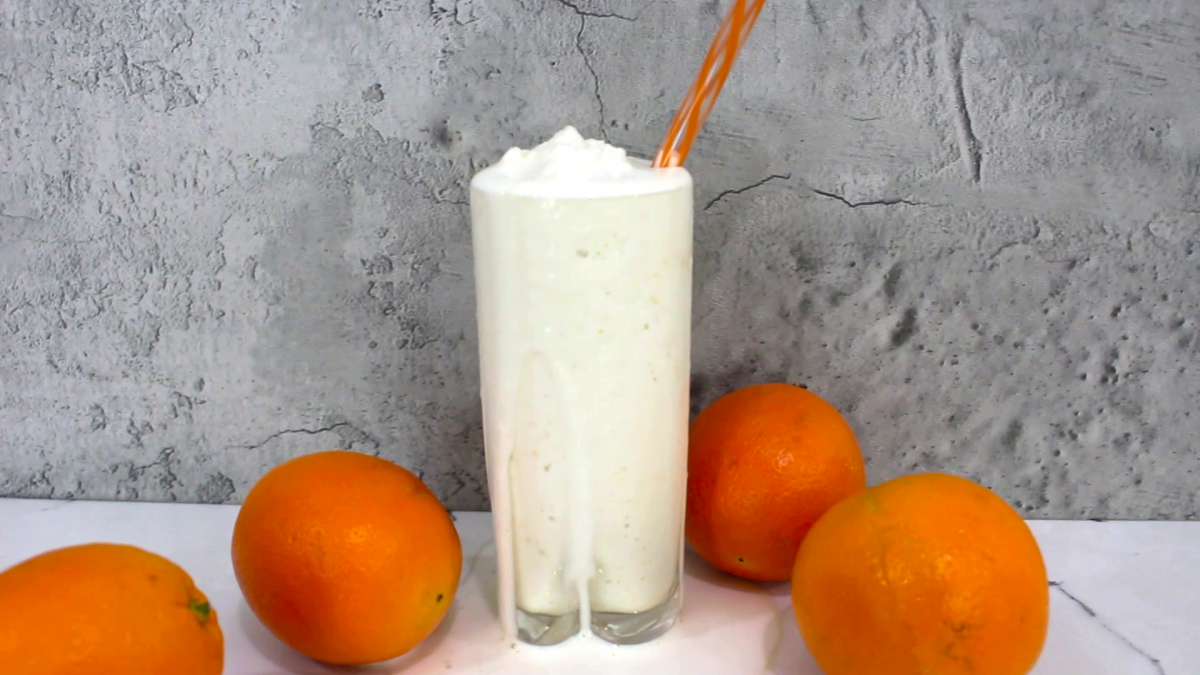
Orange Creamsicle Protein Smoothie

The anti-inflammatory breakfast smoothie offers the fun spring flavor of orange creamsicles but without the sugar. It’s creamy but with the familiar sweet and tangy hints of orange and vanilla, while keeping you full with a serving of protein.

This recipe is featured in our Spring Anti-Inflammatory Meal Prep Guide! Grab it HERE!
Ingredients

  • 1/4 cup heavy cream (or coconut cream for dairy free)
  • 3/4 cup unsweet almond milk
  • 1/4 vanilla protein powder
  • zest from 1/2 large orange
  • 1/4 tsp real vanilla extract
  • 5-7 drops liquid stevia (to taste)
  • 4 ice cubes

Notes

*For a creamier texture, you can add 1 tsp chia seeds or 1 TBSP of almond or cashew butter. Cashew butter will give a milder flavor than almond butter.

*Make in bulk by placing all ingredients except ice cubes into a container and save in the fridge for 2-3 days until needed.

Instructions

  1. Add all ingredients into a high-powered blender.
  2. Blend on high until smooth.
  3. Adjust sweetness, if desired.
  4. Pour into glass and enjoy immediately!
Print

Orange Creamsicle Protein Smoothie

5 Stars 4 Stars 3 Stars 2 Stars 1 Star

No reviews

The anti-inflammatory breakfast smoothie offers the fun spring flavor of orange creamsicles but without the sugar. It’s creamy but with the familiar sweet and tangy hints of orange and vanilla, while keeping you full with a serving of protein.

  • Author: Laura Brigance, MS, CHC
  • Prep Time: 5 minutes
  • Total Time: 5 minutes
  • Yield: 1 smoothie 1x

Ingredients

Units Scale

    • 1/4 cup heavy cream (or coconut cream for dairy free)
    • 3/4 cup unsweet almond milk
    • 1/4 vanilla protein powder
    • zest from 1/2 large orange
    • 1/4 tsp real vanilla extract
    • 57 drops liquid stevia (to taste)
    • 4 ice cubes

Instructions

    1. Add all ingredients into a high-powered blender.
    2. Blend on high until smooth.
    3. Adjust sweetness, if desired.
    4. Pour into glass and enjoy immediately!

  1.  

  1.  

  1.  

Notes

*For a creamier texture, you can add 1 tsp chia seeds or 1 TBSP of almond or cashew butter. Cashew butter will give a milder flavor than almond butter.

*Make in bulk by placing all ingredients except ice cubes into a container and save in the fridge for 2-3 days until needed.

Did you make this recipe?

Share a photo and tag us @truewell.co — we can’t wait to see what you’ve made!

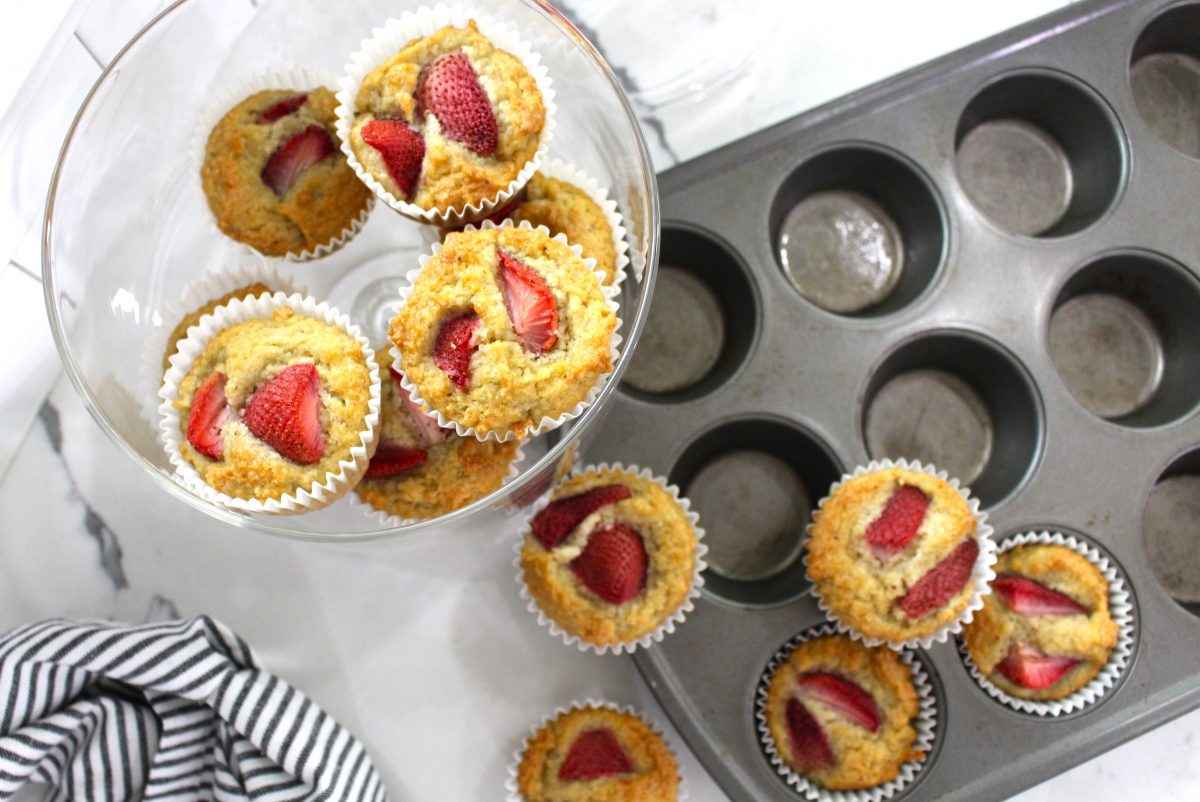
Strawberry Breakfast Muffins | Anti-Inflammatory, Gluten-Free, Sugar-Free

Making bulk breakfast and snack recipes like these anti-inflammatory Strawberry Breakfast Muffins is one of my favorite ways to save time and brainpower cooking for the week during meal prep.

Not only are these anti-inflammatory breakfast muffins gluten-free and sugar free, they’re also packed with flavor and fresh seasonal berries!

This recipe is featured in our Spring Anti-Inflammatory Meal Prep Guide! Grab it HERE!

Ingredients

  • 2 cups Amond flour
  • 1/2 tsp baking soda
  • 1 dash cardamom, ground
  • 1/4 cup allulose (or other granulated natural zero-calorie sweetener for baking)
  • 1/8 tsp salt
  • 1 TBSP coconut oil (melted)
  • 3 eggs (medium)
  • 1 TBSP ghee (melted)
  • 1 TBSP lemon juice
  • 1 cup strawberries (sliced)
  • 1 tsp vanilla extract

Instructions

  1. Preheat oven to 325 F (163 C) and grease muffin tin or line with baking cups.
  2. Combine all the dry ingredients into a large bowl: almond flour, baking soda, cardamom, allulose, and salt. Stir until well combined.
  3. Combine all wet ingredients in a separate medium bowl: coconut oil, eggs, ghee, lemon juice, and vanilla. Whisk together until well combined.
  4. Pour wet ingredients into large bowl with dry ingredients and mix well.
  5. Fold in strawberries.
  6. Divide batter into all 12 muffin cups.
  7. Bake 20-25 minutes until golden on top. A toothpick inserted should come out clean.
  8. Let cool and enjoy!

Notes

*You can chop up strawberries really small and fold in, or keep them halved to quartered and place a few on top like I did in the video.

*If I make a batch of muffins like these and realize I won’t be able to eat them all before they go bad, I’ll cut them into quarters and pop them into the freezer in a freezer bag– instant Frozen Muffin Bites! (Great with yogurt or as an ice cream topper!)

Print

Strawberry Breakfast Muffins | Anti-Inflammatory, Gluten-Free, Sugar-Free

5 Stars 4 Stars 3 Stars 2 Stars 1 Star

No reviews

Making bulk breakfast and snack recipes like these Strawberry Breakfast Muffins is one of my favorite ways to save time and brainpower cooking for the week. Not only are these anti-inflammatory breakfast muffins free of sugar and gluten, they’re also packed with flavor and fresh seasonal berries!

  • Author: Laura Brigance, MS, CHC
  • Prep Time: 10 minutes
  • Cook Time: 20-25 min
  • Total Time: 30 – 35 minutes
  • Yield: 12 1x

Ingredients

Units Scale

    • 2 cups Amond flour
    • 1/2 tsp baking soda
    • 1 dash cardamom, ground
    • 1/4 cup allulose (or other granulated natural zero-calorie sweetener for baking)
    • 1/8 tsp salt
    • 1 TBSP coconut oil (melted)
    • 3 eggs (medium)
    • 1 TBSP ghee (melted)
    • 1 TBSP lemon juice
    • 1 cup strawberries (sliced)
    • 1 tsp vanilla extract

Instructions

    1. Preheat oven to 325 F (163 C) and grease muffin tin or line with baking cups.
    2. Combine all the dry ingredients into a large bowl: almond flour, baking soda, cardamom, allulose, and salt. Stir until well combined.
    3. Combine all wet ingredients in a separate medium bowl: coconut oil, eggs, ghee, lemon juice, and vanilla. Whisk together until well combined.
    4. Pour wet ingredients into large bowl with dry ingredients and mix well.
    5. Fold in strawberries.
    6. Divide batter into all 12 muffin cups.
    7. Bake 20-25 minutes until golden on top. A toothpick inserted should come out clean.
    8. Let cool and enjoy!

Notes

*You can chop up strawberries really small and fold in, or keep them halved to quartered and place a few on top like I did in the video.

*If I make a batch of muffins like these and realize I won’t be able to eat them all before they go bad, I’ll cut them into quarters and pop them into the freezer in a freezer bag– instant Frozen Muffin Bites! (Great with yogurt or as an ice cream topper!)

Did you make this recipe?

Share a photo and tag us @truewell.co — we can’t wait to see what you’ve made!

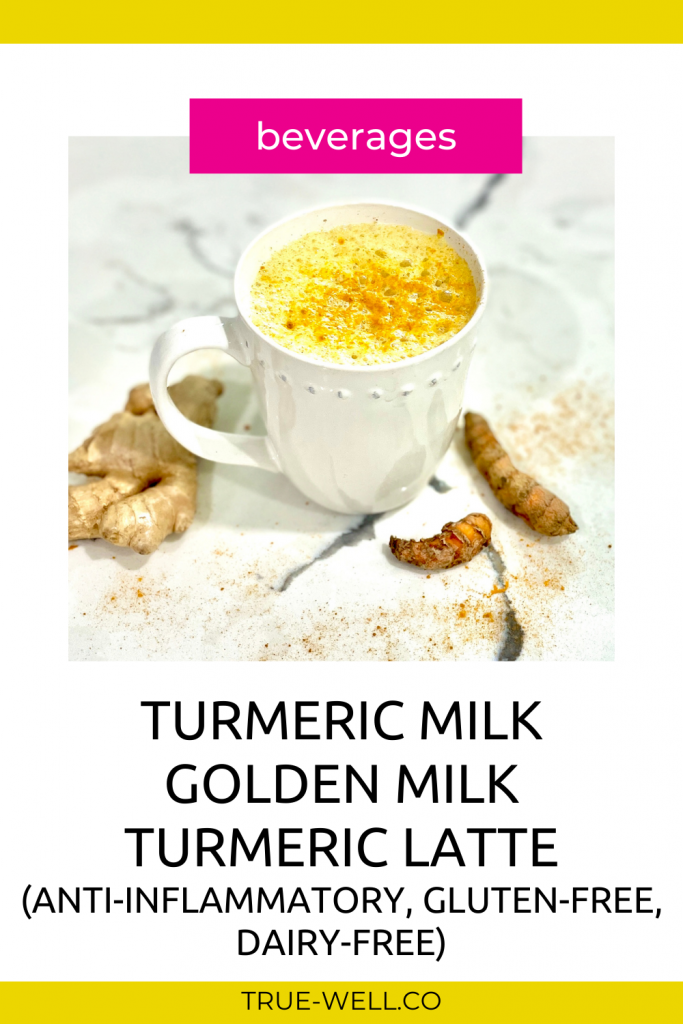
Turmeric Milk | Golden Milk | Turmeric Latte

One of the belles of the ball when it comes to anti-inflammatory beverages (and coffee alternatives) is definitely turmeric milk (or golden milk or turmeric latte–depending on your choice of names).

One thing I’ve noticed, however, is that even though most recipes have the intent of helping to lower inflammation, they still have sugar in them. Usually maple syrup.

That’s why this sugar-free version is just as yummy, with just as much inflammation-busting power, but without the added sugar.

turmeric milk golden latte

So whether you call it golden milk or turmeric milk this winter recipe is super yummy, smells amazing, and is full of anti-inflammatory superfoods—Here’s how to make easy turmeric golden latte.

ingredients for a turmeric milk golden latte

The ingredients you’ll need are:

  • 2 cups of coconut milk
  • 1 tsp of ground turmeric
  • ½ tsp ground cinnamon
  • 1/8 tsp black pepper
  • 1-2 TBSP keto maple syrup or granulated natural zero-calorie sweetener
  • And ¼ tsp pure vanilla extract
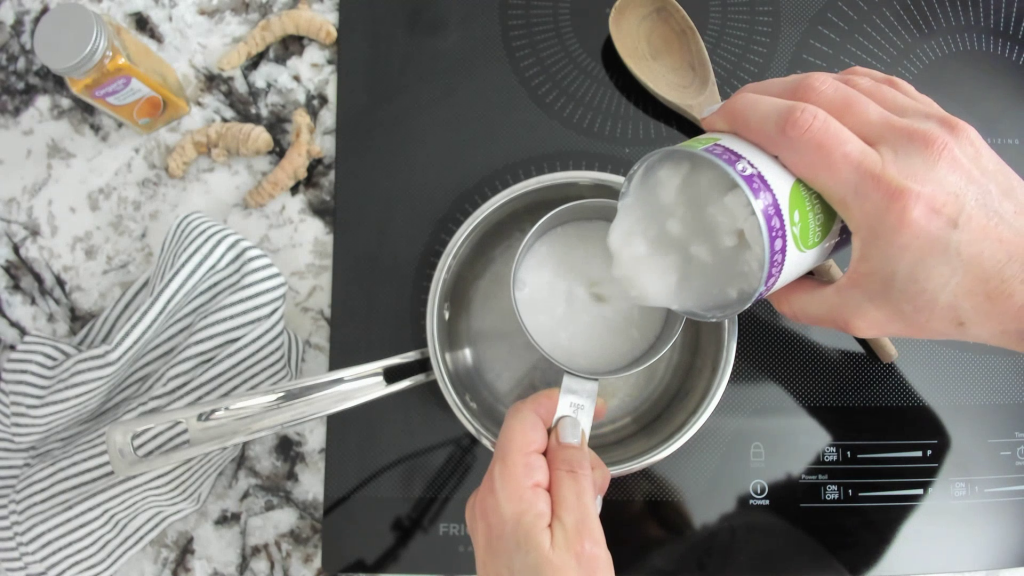
pouring coconut milk into a saucepan to make a turmeric milk golden latte

Directions:

  1. Start out with a small to medium-sized pot, and add 2 cups of coconut milk
  2. Turn your heat onto low to medium
  3. Then add the ground turmeric,
  4. The  ground cinnamon,
  5. Freshly ground black pepper – this is to increase the absorption of the turmeric
  6. 1-2 TBSP keto maple syrup or granulated natural zero-calorie sweetener
  7. And the pure vanilla extract
  8. So next you’ll stir these together as they get warm, and you may have to smash the little clumps of the dried ingredients. I also get my little frother out and get it really mixed together and frothy.
  9. Simmer this up to 10 minutes, then pour into 2 mugs and enjoy!
Print

Turmeric Milk | Golden Milk | Turmeric Latte

5 Stars 4 Stars 3 Stars 2 Stars 1 Star

No reviews

  • Prep Time: 5 minutes
  • Cook Time: 10 minutes
  • Total Time: 15 minutes
  • Yield: 2 1x
  • Category: Drinks

Ingredients

Units Scale
  • 2 cups coconut milk (unsweetened (or other non-dairy milk of choice))
  • 1 tsp ground turmeric
  • 1/2 tsp ground cinnamon
  • 1/8 tsp black pepper
  • 12 TBSP keto maple syrup (or granulated monk fruit or stevia)
  • 1/4 tsp vanilla extract

Instructions

  1. Combine all ingredients in a small pot and bring to a simmer over medium heat.
  2. Simmer up to 10 minutes while stirring occasionally.
  3. Pour into 2 mugs and enjoy!

Did you make this recipe?

Share a photo and tag us @truewell.co — we can’t wait to see what you’ve made!

turmeric milk golden milk turmeric latte

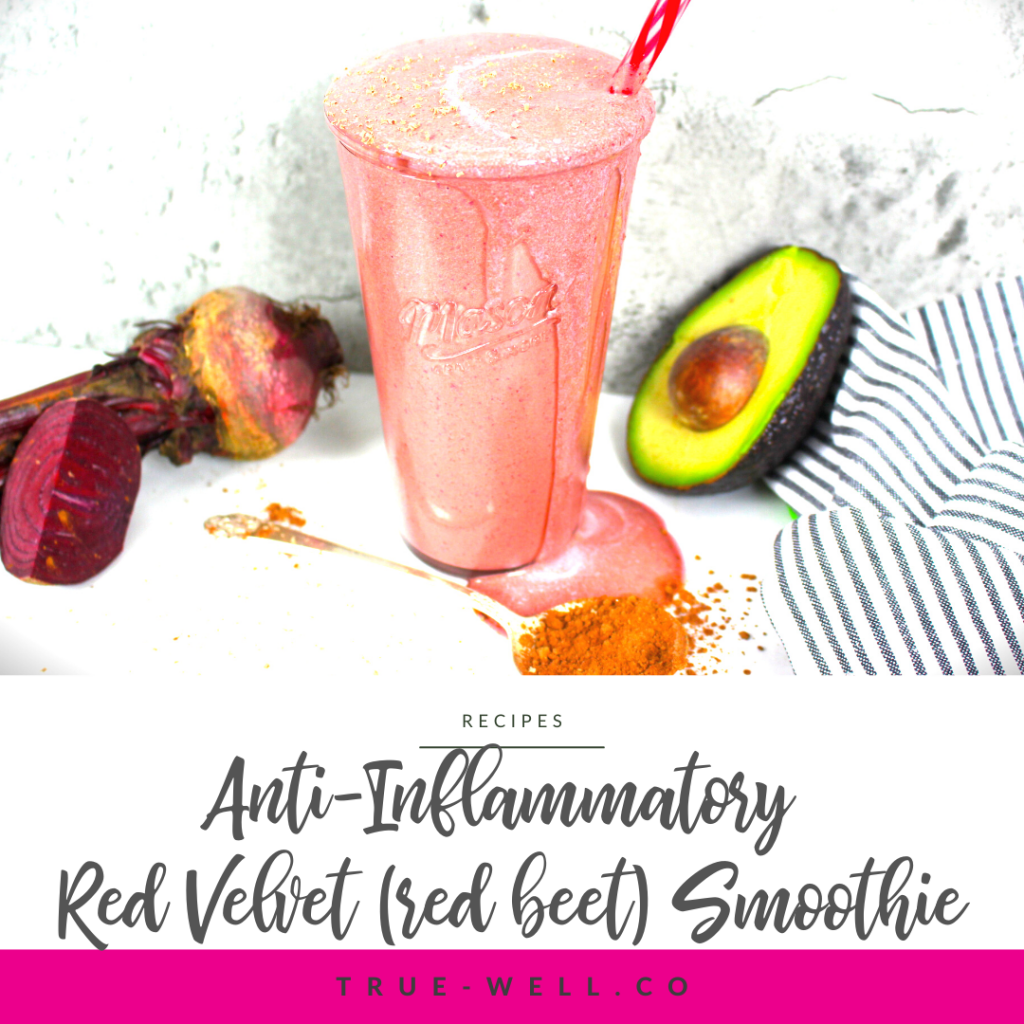
Red Velvet Smoothie | Anti-Inflammatory Red Beet Smoothie

This Red Velvet Smoothie is the BEST red beet smoothie I’ve had, hands down.

Not only is it super easy, it packs in healthy fats plus mega antioxidants with non-peeled red beets. Plus it’s sugar-free, gluten-free, and can be adapted easily to be dairy free.

If you’re all in on healthy anti-inflammatory smoothies that taste like dessert, you HAVE to try this one!

anti inflammatory red velvet smoothie red beet smoothie

Here’s how to make this divine red velvet smoothie:

You’ll need-

  • 2 cups of milk
  • 2 cups of ice
  • ½ avocado
  • ½ beet
  • 3 TBSP cocoa powder
  • ¼ tsp vanilla
  • 2 TBSP granular sweetener

Directions:

Cut up the beet

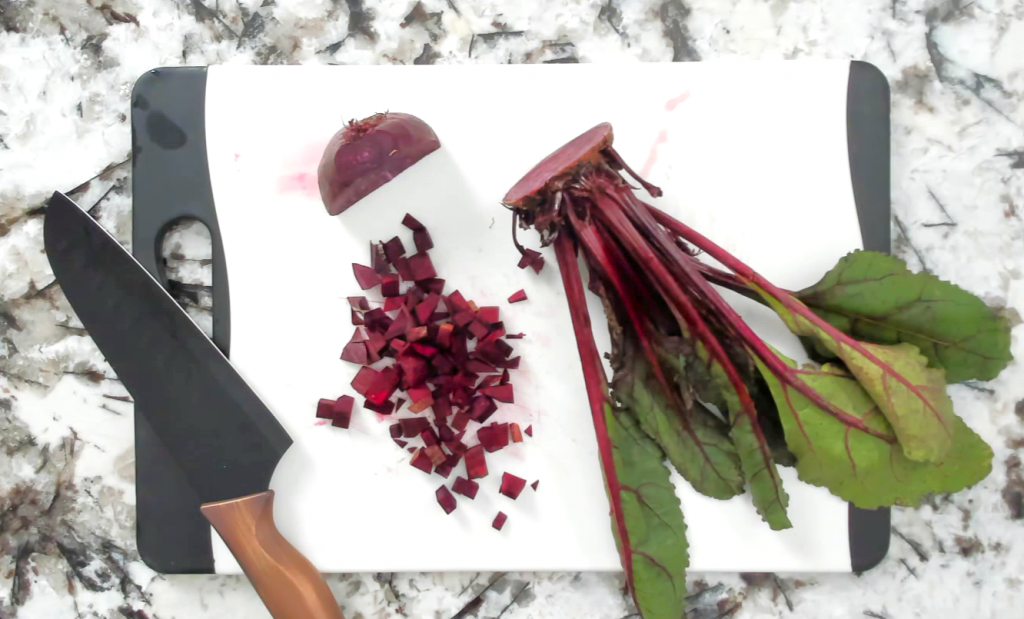
So the first thing we’re gonna do is wash the beet really well (these tend to still have a lot of dirt on them) and then cut up the beet.

cut and chopped red beet on a cutting board with a knife

You can peel the beet if you want, but studies have shown that good bacteria from unpeeled vegetables can help boost the immune system. So I opt NOT to peel mine.

Then cut it up really small. If you don’t have a high-powered blender, boil them first for 20-40 minutes to get them softer and then let them cool.

Those can go right into the blender.

And don’t throw the greens away! You can chop them up and use them in dishes like frittatas, in salads, and even nourish bowls.

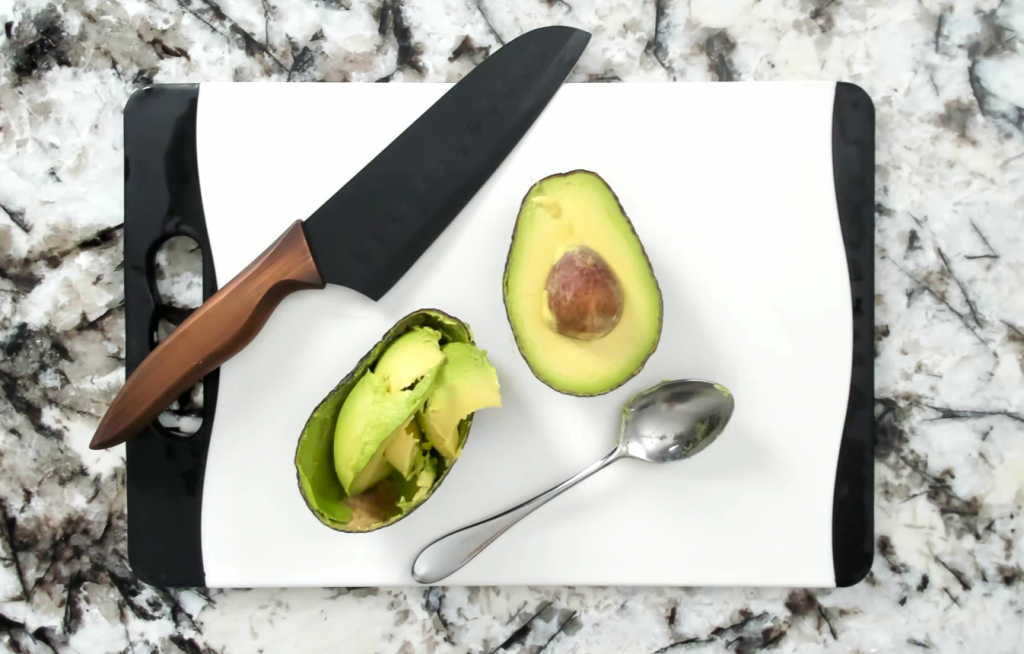
Avocado

Cut open your avocado and spoon out ½ of it into the blender.

cut up avocado and knife and spoon on a cutting board

If you’re not using the other half, seal it in a snack-size baggie and store it in the fridge with the seed in it.

Milk

Add your milk—I say use full-fat whole if you tolerate dairy, if not, choose an unsweetened dairy-free version

Cocoa Powder

Add your Cocoa powder

Vanilla

red velvet smoothie red beet smoothie in a blender with vanilla extract

Add the Vanilla – make sure it’s pure vanilla extract and not imitation to avoid artificial flavorings.

Sweetener

Add your natural, zero-calorie sweetener – I prefer stevia, monk fruit, erythritol, or allulose.

different natural sweetener options on a counter top

Remember, per anti-inflammatory guidelines, we’re steering clear of any sugar, but also artificial sweeteners.

Ice

Add your Ice

Blend

Blend until it’s super smooth, keeping an eye on the beet chunks.

woman blending red velvet smoothie red beet smoothie in the blender

Tips

Now if you’re watching your blood sugar levels, a good trick is to add in more protein.

Two ways to add a boost of protein to this would be to:

  1. sub in ½ cup of Greek yogurt for ½ of the milk, or
  2. add in 1 scoop of chocolate protein powder.
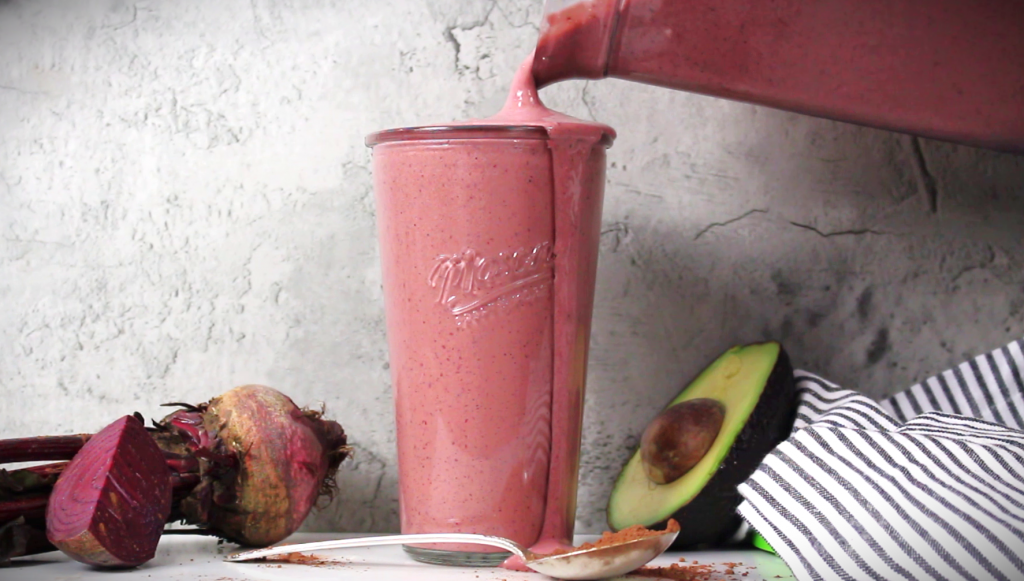
red velvet smoothie red beet smoothie

When it’s super smooth, pour it up, and enjoy!

woman drinking a red velvet smoothie red beet smoothie

Print

Red Velvet Smoothie | Anti Inflammatory Red Beet Smoothie

5 Stars 4 Stars 3 Stars 2 Stars 1 Star

No reviews

This Red Velvet Smoothie is super easy and packs in healthy fats plus mega antioxidants with red beets. If you’re all in on healthy anti inflammatory smoothies that taste like dessert, you’ll love this red beet smoothie!

  • Author: Laura Brigance, MS, CHC

Ingredients

Scale
  • 2 cups of milk
  • 2 cups of ice
  • 1/2 avocado
  • 1/2 beet
  • 3 TBSP cocoa powder
  • 1/4 tsp vanilla
  • 2 TBSP granular sweetener (2-4 TBSP, to taste)

Instructions

  1.  Wash the beet really well and cut it up into super small chunks. If you don’t have a high powered blender, you may want to boil the beet for 20-40 minutes to soften it up. Add the beet to the blender.
  2. Cut open your avocado and spoon out ½ of it into the blender.
  3. Add the rest of the ingredients to the blender.
  4. Blend on high until super smooth.
  5. Pour and enjoy!

Did you make this recipe?

Share a photo and tag us @truewell.co — we can’t wait to see what you’ve made!

Don’t forget to SHARE THIS or PIN IT for later!

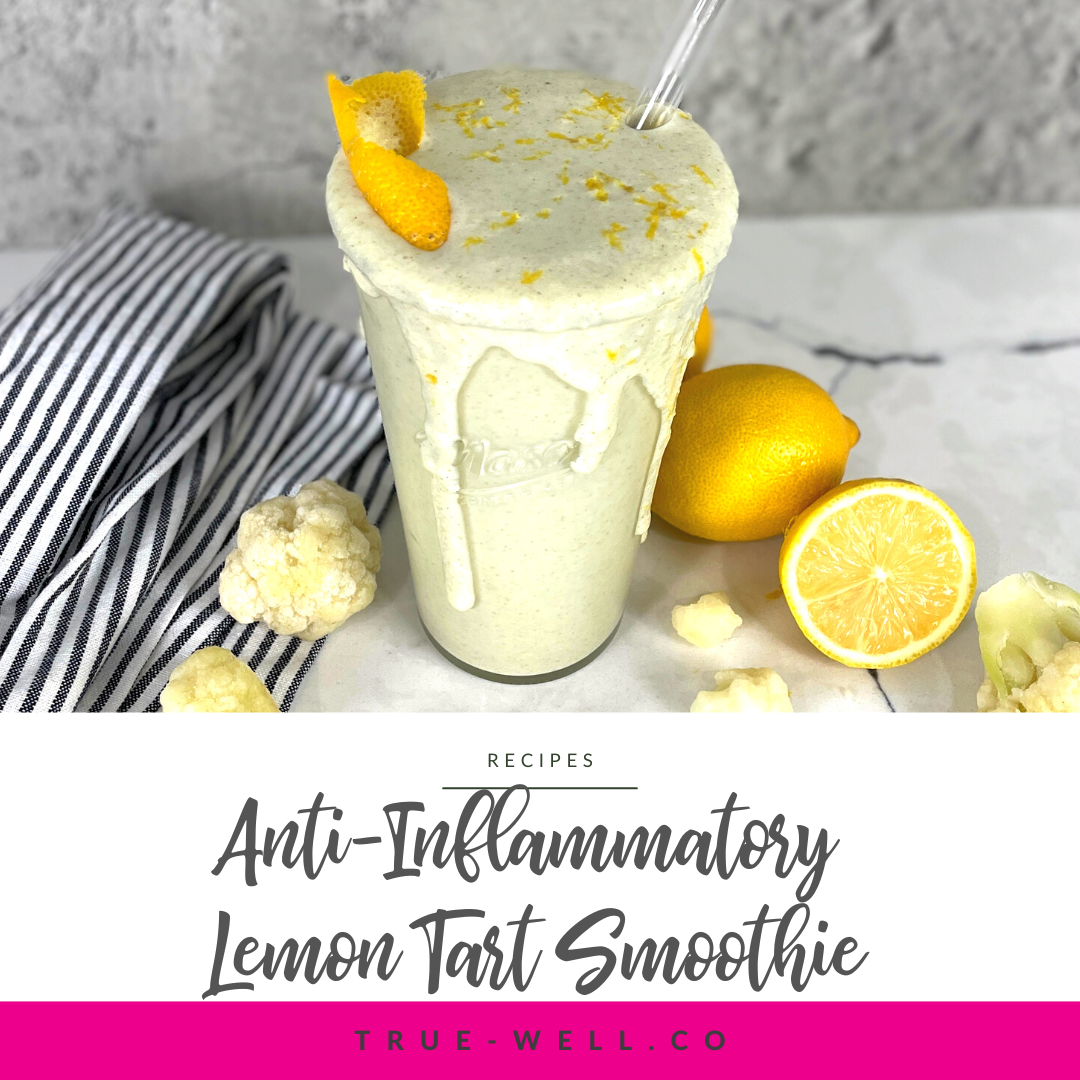
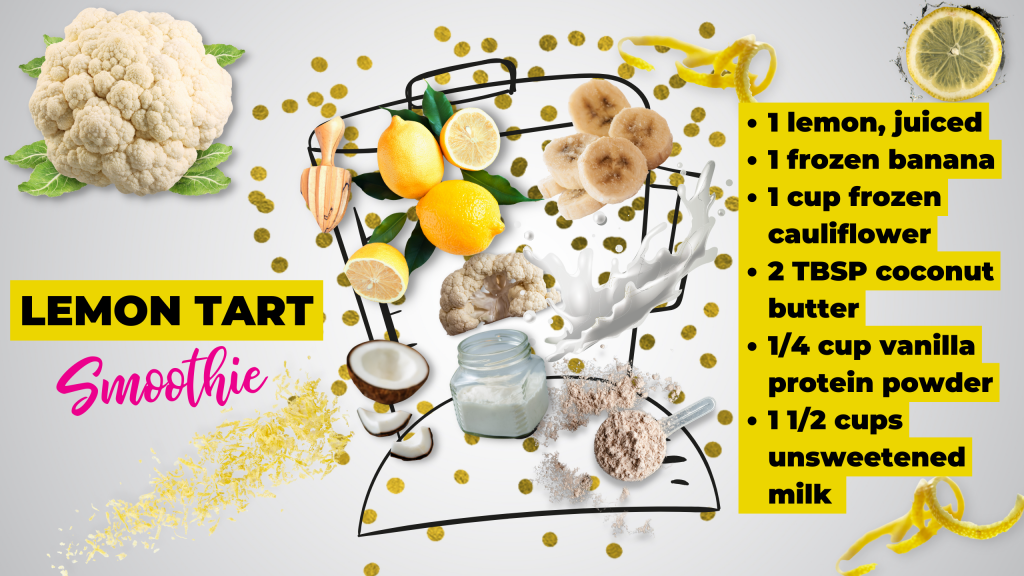
Lemon Tart Smoothie

This lemon tart smoothie is full of protein and healthy fats, making it a perfect anti-inflammatory smoothie for breakfast, snacks, or even a meal replacement!

In this winter anti-inflammatory smoothie recipe we’re gonna be taking advantage of cauliflower and, obviously, lemon.

anti inflammatory lemon tart smoothie

This smoothie recipe includes:

  • 1 lemon, juiced
  • 1 frozen banana
  • 1 cup of frozen cauliflower
  • 2 tbsp of coconut butter
  • 1/4 cup of vanilla protein powder
  • And 1 ½ cups of unsweetened milk
anti inflammatory lemon tart smoothie for breakfast

Frozen bananas

Now if you don’t have a bag of frozen bananas and just toss bananas into the freezer when they’re about to go bad like I do, the easiest way to use them is to put in the microwave for about 20 seconds, then just slice the skin off the banana and slice the banana up. I know it looks super gross, but bananas naturally brown in the freezer like that, so no worries.

Frozen cauliflower

frozen cauliflower in bags

For the cauliflower, you can find this in the freezer section at your grocery store, but just know that they should have cauliflower florets, and riced cauliflower. You can use either, but I prefer the riced because that’s just that much less blending you’ll need to get the chunks out of your smoothie.

Coconut butter

coconut butter

Now for the coconut butter, this can sometimes be tricky to find. Basically, coconut butter is the coconut meat ground down into butter, the same way that peanut butter or any other nut butter is made.

So for this recipe if you can’t find coconut butter, you can do one of 2 things:

  1. Either make your own coconut butter with coconut flakes—but you’ll need to make sure they’re free of any type of coating,
  2. Or you can use coconut oil.

The difference in the two lies in the fact that the fat is all extracted from the coconut butter, which is the oil. So on these containers you can see that they have the same servings size, and per 1 TBSP, the coconut butter has 100 calories, 10 grams of fat, 3 grams of carbs, and 2 grams of fiber.

Coconut oil, on the other hand, is 120 calories of only fat. No carbs and no fiber.

coconut butter and coconut oil jars

If you’re counting calories and/or macros, this is something to be aware of if you need to sub out the coconut butter.

Protein powder

putting protein powder into a blender

For the protein powder, I recommend checking the label and making sure there’s no sugar added. A lot of reputable protein powders are now using stevia or monk fruit to sweeten the powder.

If you can handle dairy, a whey protein powder is great. If you need non-dairy or vegan, pea protein powder is really great.

Milk

pouring milk into a measuring cup

And lastly, the milk can either be dairy if you can tolerate it or any other non-dairy unsweetened milk. Make sure it’s unsweetened so it doesn’t have added sugar.

I really don’t like using oat milk either because it has so many carbs straight from grains with no fiber.

Directions

So into the blender, we juice our whole lemon, add in the frozen banana, 1 cup of frozen cauliflower, 2 TBSP coconut butter, ¼ cup of vanilla protein powder, and 1 ½ cups of unsweetened milk.

Then blend or pulse it in a high-powered blender until it’s super smooth, pour, and enjoy!

Grab the free Winter Anti-Inflammatory Meal Prep Guide: Click the image below! 👇

anti inflammatory meal plan
Print

Lemon Tart Smoothie

5 Stars 4 Stars 3 Stars 2 Stars 1 Star

No reviews

This anti inflammatory smoothie is packed with protein, fiber, and healthy fat, making it perfect for a winter breakfast, snack, or even meal replacement.

  • Author: Laura Brigance, MS, CHC
  • Prep Time: 5 minutes
  • Total Time: 5 minutes
  • Yield: 1 smoothie 1x

Ingredients

Scale
  • 1 lemon, juiced
  • 1 frozen banana
  • 1 cup of frozen cauliflower
  • 2 tbsp of coconut butter
  • 1/4 cup of vanilla protein powder
  • And 1 1/2 cups of unsweetened milk

Instructions

Place all ingredients in a high powered blender.

Pulse or blend on high until super smooth.

Enjoy!

Did you make this recipe?

Share a photo and tag us @truewell.co — we can’t wait to see what you’ve made!

Don’t forget to SHARE this or PIN IT for later!

Carrot Cake Smoothie

This carrot cake smoothie takes advantage of our winter root vegetables while packing an anti-inflammatory smoothie punch that’s filling and satisfies the sweet tooth!

anti inflammatory carrot cake smoothie

So let’s talk ingredients.

carrot cake smoothie ingredients

Carrot

Our carrot is gonna be raw so the smaller the pieces you can put in your blender, the easier it will be to get smooth.

Frozen bananas

cutting a frozen banana on a cutting board

If you don’t have a bag of frozen bananas and just toss bananas into the freezer when they’re about to go bad like I do, the easiest way to use them is to put in the microwave for about 20 seconds, then just slice the skin off the banana and slice the banana up.

I know it looks super gross, but bananas naturally brown in the freezer like that, so no worries.

Milk

pouring milk into a measuring cup over a blender

The milk can either be dairy if you can tolerate it (organic, full fat) or any other non-dairy unsweetened milk. Make sure it’s unsweetened so it doesn’t have added sugar.

I really don’t like using oat milk either because it has so many carbs straight from grains with no fiber.

Yogurt

2 containers of yogurt on a counter top

I personally prefer Greek yogurt, so if you can tolerate dairy- I’ve got 2 options for you that abide by anti-inflammatory diet guidelines.

  1. The first is just plain unsweetened Greek yogurt.
  2. The second is the Oikos brand called Oikos Pro.

I always prefer for any dairy to be organic, but if it’s not available, these options will do. The Oikos Pro has no sugar added, and no artificial sweeteners, but has added whey protein to bump up the protein content.

If you’re dairy free you can use coconut yogurt or any other dairy-free yogurt as long as it’s unsweetened.

Cinnamon

holding a bottle of cinnamon forward

Cinnamon is a beautiful spice that adds that perfect complimentary carrot cake spice, and not only is anti-inflammatory, but it also helps control blood sugar levels.

Fresh ginger

grating fresh ginger over a blender

Lastly, fresh ginger is an amazing add-in whenever you’re able. It’s got anti-inflammatory properties and gives this smoothie recipe the bite that it needs to be fresh, zingy, and satisfy your sweet tooth.

Directions

So once we’ve got the carrot chopped or grated, add it into the blender with the bananas, milk, yogurt, cinnamon, and grated ginger.

Then blend it in your high-powered blender, pour up your anti-inflammatory Carrot Cake Smoothie, and enjoy!

Click the image below to grab the Free Winter Anti-Inflammatory Meal Prep Guide! 👇

winter anti inflammatory meal plan
Print

Carrot Cake Smoothie

5 Stars 4 Stars 3 Stars 2 Stars 1 Star

No reviews

This carrot cake smoothie takes advantage of our winter root vegetables while packing an anti-inflammatory smoothie punch that’s filling and satisfies the sweet tooth!

  • Author: Laura Brigance, MS, CHC
  • Yield: 1 smoothie 1x

Ingredients

Scale

1 medium carrot, chopped or grated

2/3 of a frozen banana (or 2/3 cup frozen banana)

1/2 cup of unsweetened milk

1/2 cup Greek yogurt

1/4 tsp cinnamon

1 tsp grated ginger (fresh)

Instructions

  1. Grate or finely chop the carrot.
  2. Grate the fresh ginger.
  3. Combine all ingredients into a high-powered blender. Blend on high until super smooth, taking care to ensure all the carrot chunks are broken down.
  4. Pour and enjoy!

Did you make this recipe?

Share a photo and tag us @truewell.co — we can’t wait to see what you’ve made!

Don’t forget to SHARE this or PIN IT for later!

Citrus Pear Smoothie

This Citrus Pear Smoothie is a green anti-inflammatory smoothie that combines signature winter flavors to create an absolutely refreshing snack or breakfast smoothie.

citrus pear smoothie

So let’s talk ingredients.

citrus pear smoothie ingredients

Frozen avocado

So, first off, if you’re not using frozen avocado chunks, which you can buy at the grocery store, you can either freeze your own avocado ahead of time, or use it at room temperature.

Just know that if you use it at room temperature, that’s the only ingredient that was frozen, so we’ll need to use some ice in the place of part of the water so your smoothie is cold and slushie.

Pear

cutting a pear into wedges with an apple corer

We start out cutting up the pear and parsley. Pear is so delicious when it’s in season in the winter, and the skin is usually softer than an apple.

The skin is also full of antioxidants, and one in particular is quercetin, which has been shown to reduce inflammation, plus it has lots of fiber.

So I keep the skin on. You can cut the top and bottom off so it stands on its own, then use an apple corer get perfect wedges while taking the core out.

Parsley

chopping parsley on a cutting board

Parsley is full of vitamins K, C, A, and Bs. It’s also been shown to help reduce blood pressure and bloating, so I love to use parsley in any recipe I can. It just needs to be roughly chopped for this smoothie.

Lemon juice

juicing a lemon into a blender

Lemon juice adds just a bit of tang to this smoothie, as well as a bit more Vitamin c. Fresh is always best since most lemon juice in the bottle has added preservatives.

Water

pouring water into a blender for an anti inflammatory citrus pear smoothie

Make sure you use filtered water, and if your avocado isn’t frozen, use ½ cup of water and about ¾ to 1 cup of ice to replace the 1 cup of water.

Instructions

And then we just add all the ingredients to the high-powered blender, blend really well until all smooth—remember it’s chopping up pear skin if you kept it on, so you may need to let it go for a bit.

Then pour up and enjoy!

👇Grab the free Winter Anti-Inflammatory Meal Prep Guide! Click the image below! 👇

winter anti inflammatory meal plan
Print

Citrus Pear Smoothie

5 Stars 4 Stars 3 Stars 2 Stars 1 Star

No reviews

This smoothie combines the winter flavors of pear and citrus with anti-inflammatory greens to create a refreshing combo that will keep you full.

  • Author: Laura Brigance, MS, CHC
  • Prep Time: 5 minutes
  • Total Time: 5 minutes
  • Yield: 1 smoothie 1x

Ingredients

Scale

1/2 avocado (or 1/2 cup frozen avocado chunks)

1 pear

1 cup of spinach

1 handful of parsley (fresh)

1/2 of a lemon, juiced

1 cup of water

Notes

If you don’t have frozen avocado, you can freeze your own, or substitute 3/4 cup ice and 1/2 cup of water for the full cup of water in the recipe.

Did you make this recipe?

Share a photo and tag us @truewell.co — we can’t wait to see what you’ve made!

Don’t forget to SHARE this recipe or PIN IT for later!

3 Anti-Inflammatory Smoothies Perfect for Winter

Even though winter produce is less abundant than our other 3 seasons, there’s still plenty of goodness available—especially for anti-inflammatory smoothies.

So today I’m got 3 anti-inflammatory smoothie recipes to take advantage of the winter produce and give you a balanced anti-inflammatory breakfast smoothie, or snack.

We’ve got an anti-inflammatory green smoothie, which we call Citrus Pear Smoothie, a Lemon Tart Smoothie chock full of protein, and a Carrot Cake Smoothie that will satisfy your sweet tooth without the sugar.

Grab the Winter Anti-Inflammatory Meal Prep Guide: Click the image below!👇

anti inflammatory smoothies

Citrus Pear Smoothie

First up is our citrus pear smoothie. This green smoothie tastes clean and refreshing and is super yummy with the combination of pear and lemon.

green anti-inflammatory smoothie in glass

Grab the printable Citrus Pear Smoothie recipe HERE.

Lemon Tart Smoothie

This anti-inflammatory smoothie definitely has the tart flavor down. But it’s also packed with protein and healthy fat, which would make it a perfect meal replacement as well.

lemon tart smoothie on counter with lemons and straw

Grab the printable Lemon Tart Smoothie recipe HERE.

Carrot Cake Smoothie

And last, we have our Carrot Cake Smoothie which satisfies the sweet tooth while still being crazy healthy! I love to be able to use root vegetables from the winter, so this smoothie is perfect!

carrot cake smoothie

Grab the printable Carrot Cake Smoothie recipe HERE.

Let me know in the comments what your favorite is!

👇Don’t forget to SHARE this or PIN IT for later!👇

Blueberry Paleo Pancakes

One of the best things about summer has got to be the delicious assortment of fresh berries. And if your family is like mine, it’s pretty darn rare for anyone to turn their nose up these gorgeous juicy gems.

Our typical problem with baking with them is that so many recipes add in (totally unnecessary) sugar to sweeten berries up. The thing is, if they’re in season and fresh, they absolutely don’t need extra sweetness.

And one of our absolute favorite ways to use them is in pancakes. And these Paleo blueberry pancakes are super yummy AND can easily take a switchout for whichever summer berry goodness you have on hand!

Print

Blueberry Paleo Pancakes

5 Stars 4 Stars 3 Stars 2 Stars 1 Star

No reviews

These Paleo blueberry pancakes are super yummy AND can easily take a switchout for whichever summer berry goodness you have on hand!

  • Cook Time: 15 minutes
  • Total Time: 15 minutes
  • Yield: 2 1x
  • Category: Breakfast, Snack

Ingredients

Units Scale
  • 4 Eggs
  • 1/4 cup Unsweetened Almond Milk (or milk of choice)
  • 1 tsp white wine vinegar
  • 1 tsp vanilla extract
  • 1/2 cup almond flour
  • 1/3 cup tapioca flour
  • 1/4 cup coconut flour
  • 1/2 tsp baking powder
  • 1/4 tsp sea salt
  • 1 1/2 TBSP monk fruit sweetener (granulated, or keto maple syrup)
  • 1 1/2 tsp avocado oil (for pan)
  • 1/4 cup blueberries (fresh or frozen; or other summer berries)

Instructions

  1. In a mixing bowl, whisk all the wet ingredients EXCEPT the blueberries; in a separate bowl mix all the dry ingredients. Then add the dry into the wet a little at a time, whisking until completely combined.
  2. Either add blueberries into batter, or save for topping pancakes (or both!)
  3. Heat a pan over medium heat. When the pan is hot add the oil. Spoon the batter into the pan in scant 1/4 cup portions to form small pancakes. Divide the blueberries between pancakes and cook for about three to five minutes per side or until golden brown and cooked through. Repeat with any remaining batter, adding more oil to the pan as needed.
  4. Divide pancakes between plates and enjoy!

Nutrition

  • Calories: 241

Did you make this recipe?

Share a photo and tag us @truewell.co — we can’t wait to see what you’ve made!

Blueberry paleo pancakes