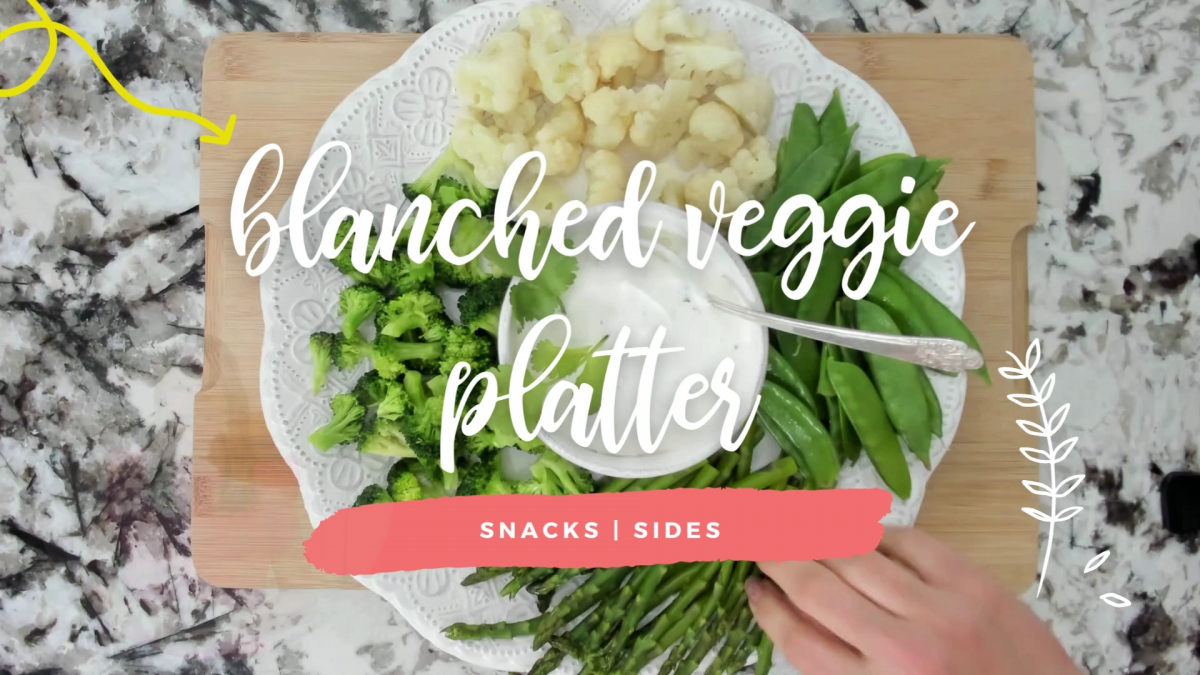
This Spring Blanched Vegetable Platter takes a veggie board to the next level! Not only does blanching bring out even more flavor in veggies, it also brightens their colors, making an even more gorgeous spring vegetable board.
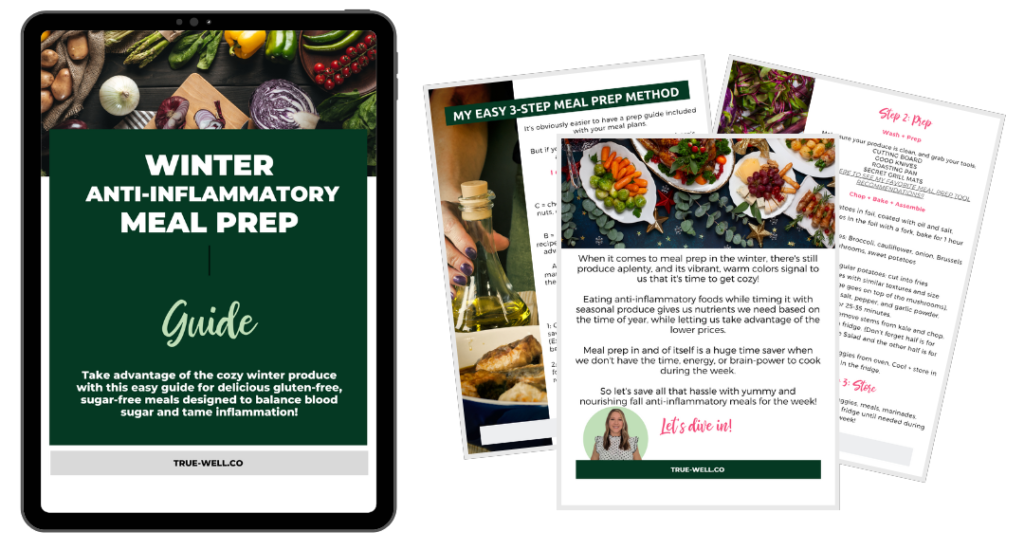
This recipe is featured in our Spring Anti-Inflammatory Meal Prep Guide! Grab it HERE!


Ingredients
- 4 quarts of water
- 2 TBSP kosher salt
- 1 bunch asparagus, ends trimmed
- 1 head of broccoli, chopped into florets
- 1 head of cauliflower, chopped into florets
- 8 oz snow peas

Equipment
- Large to extra large pot
- Steamer basket or colander insert that will sit inside the pot, but low enough for water to reach the vegetables inside
If you don’t have a steamer basket or colander insert, you can still blanch the veggies in the pot of water. It’s just much easier with the insert.
Also, many people would rather simply steam the veggies with this basket to lose as few nutrients as possible in the boiling water. Either method works.
Difference between Steaming and Blanching
So let’s talk about the difference between steaming and blanching really quick…
Blanching is actually fully submerging the veggies in the water, then putting in an ice-bath to stop the cooking process;

While Steaming is letting the hot water boil below the veggies, enough to create steam, and that steam is actually what’s cooking the vegetables.

Many people like steaming over boiling because you can cook a lot of the nutrients out of vegetables if you boil them, and they’re left in the water.
Blanching is sort of the compromise between the two because you’re only cooking the vegetables for 3-5 minutes, not longer times like is typical with longer cooking in boiling water.

Instructions
Make sure to watch the video at the top to see this in action! 😉
- Bring a large pot of water to a boil. Add salt.
- Fill an extra large bowl halfway with ice, and fill to 3/4 full with cold water. Keep near the pot of water.
- Put your first vegetables into the steamer basket or colander insert.
- Lower the steamer basket into the pot of boiling water.
- Cook about 3-5 minutes, then lift the steamer basket out of the water.
- Dump veggies into the bowl of ice water to immediately stop the cooking process.
- While those veggies are cooling, move on to the next set of vegetables.
- While that set is cooking, spoon the first veggies out of the cold water with a slotted spoon and place in a bowl for the water to drain.
- Keep this going until all vegetables are blanched, cooled, and into a bowl to rest.
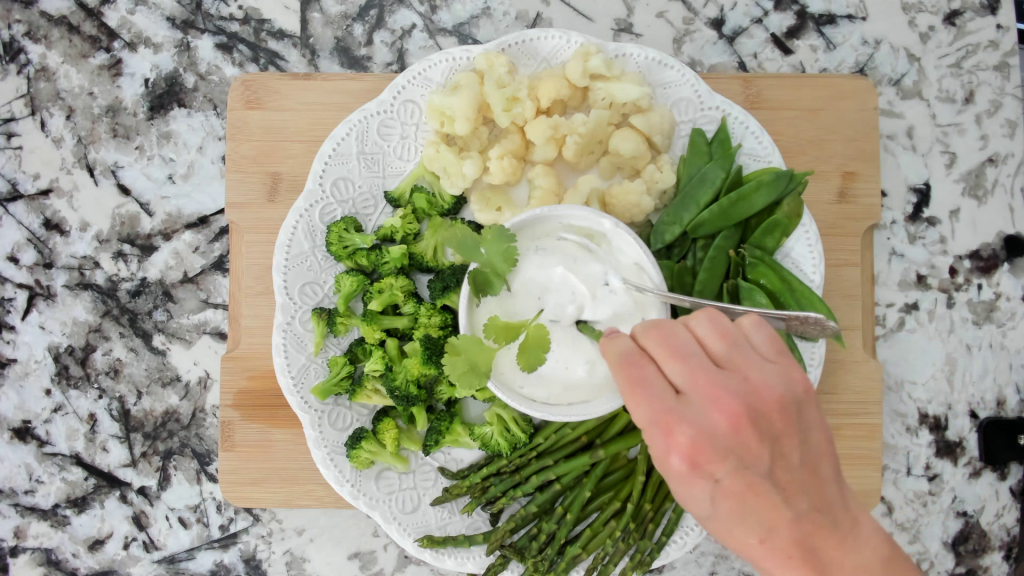
- The vegetables can be stored a few days in the fridge, or plated on a platter.
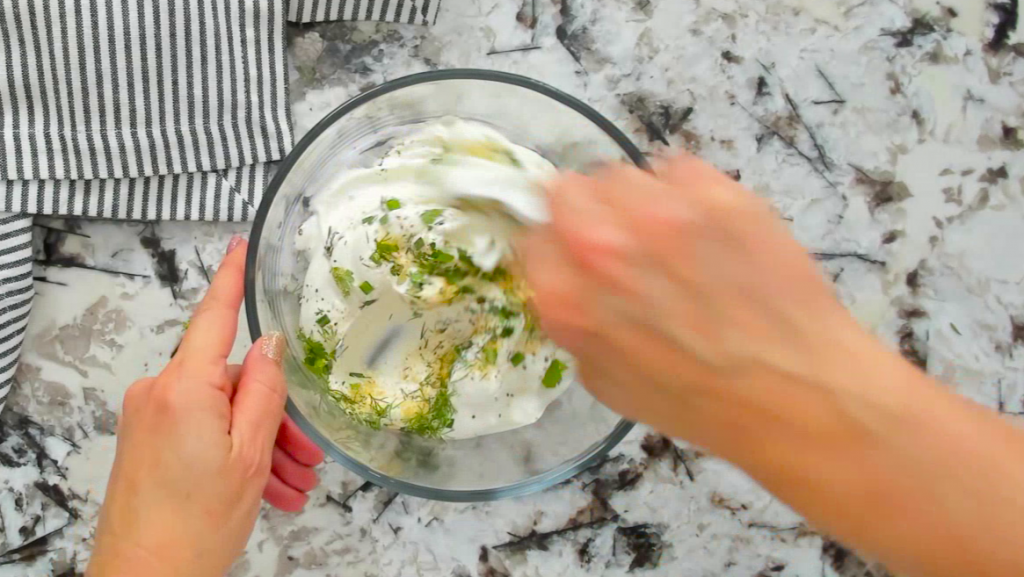
- Pair with our Anti-Inflammatory Homemade Ranch Dip for the ultimate healthy, delicious, and gorgeous crowd-pleaser!

Notes
If you’re not using the vegetables immediately, you can store them in the fridge for a few days in a sealed container.
PrintSpring Blanched Vegetable Platter

This Spring Blanched Vegetable Platter takes a veggie board to the next level! Not only does blanching bring out even more flavor in veggies, it also brightens their colors, making an even more gorgeous spring vegetable board.
- Prep Time: 5 minutes
- Cook Time: 15
- Total Time: 20 minutes
- Yield: 6 1x
Ingredients
-
- 4 quarts of water
- 2 TBSP kosher salt
- 1 bunch asparagus, ends trimmed
- 1 head of broccoli, chopped into florets
- 1 head of cauliflower, chopped into florets
- 8 oz snow peas
Instructions
-
- Bring a large pot of water to a boil. Add salt.
- Fill an extra large bowl halfway with ice, and fill to 3/4 full with cold water. Keep near the pot of water.
- Put your first vegetables into the steamer basket or colander insert.Lower the steamer basket into the pot of boiling water.
- Cook about 3-5 minutes, then lift the steamer basket out of the water.
- Dump veggies into the bowl of ice water to immediately stop the cooking process.
- While those veggies are cooling, move on to the next set of vegetables.
- While that set is cooking, spoon the first veggies out of the cold water with a slotted spoon and place in a bowl for the water to drain.
- Keep this going until all vegetables are blanched, cooled, and into a bowl to rest.
- The vegetables can be stored a few days in the fridge, or plated on a platter.
- Pair with our Anti-Inflammatory Homemade Ranch Dip for the ultimate healthy, delicious, and gorgeous crowd-pleaser!
Notes
If you’re not using the vegetables immediately, you can store them in the fridge for a few days in a sealed container.